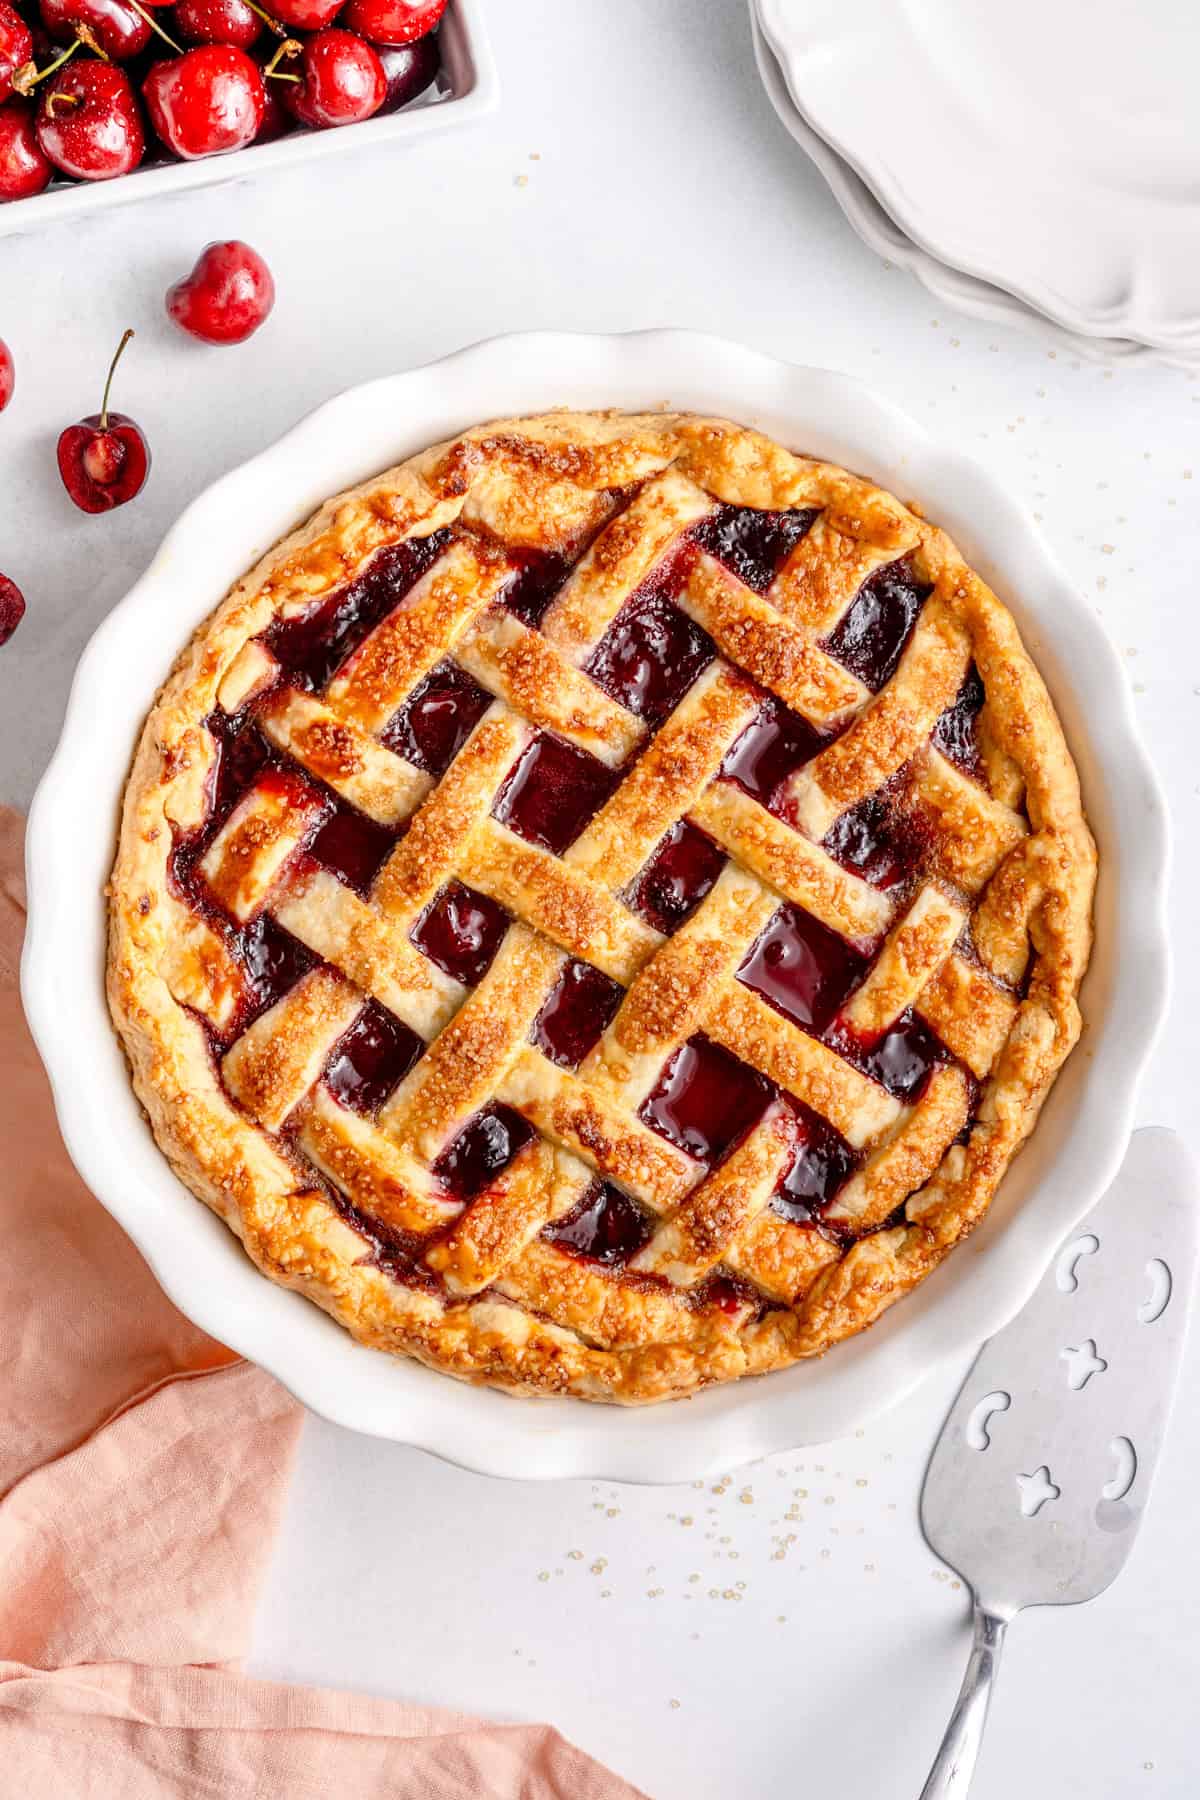
Gluten Free Cherry Pie


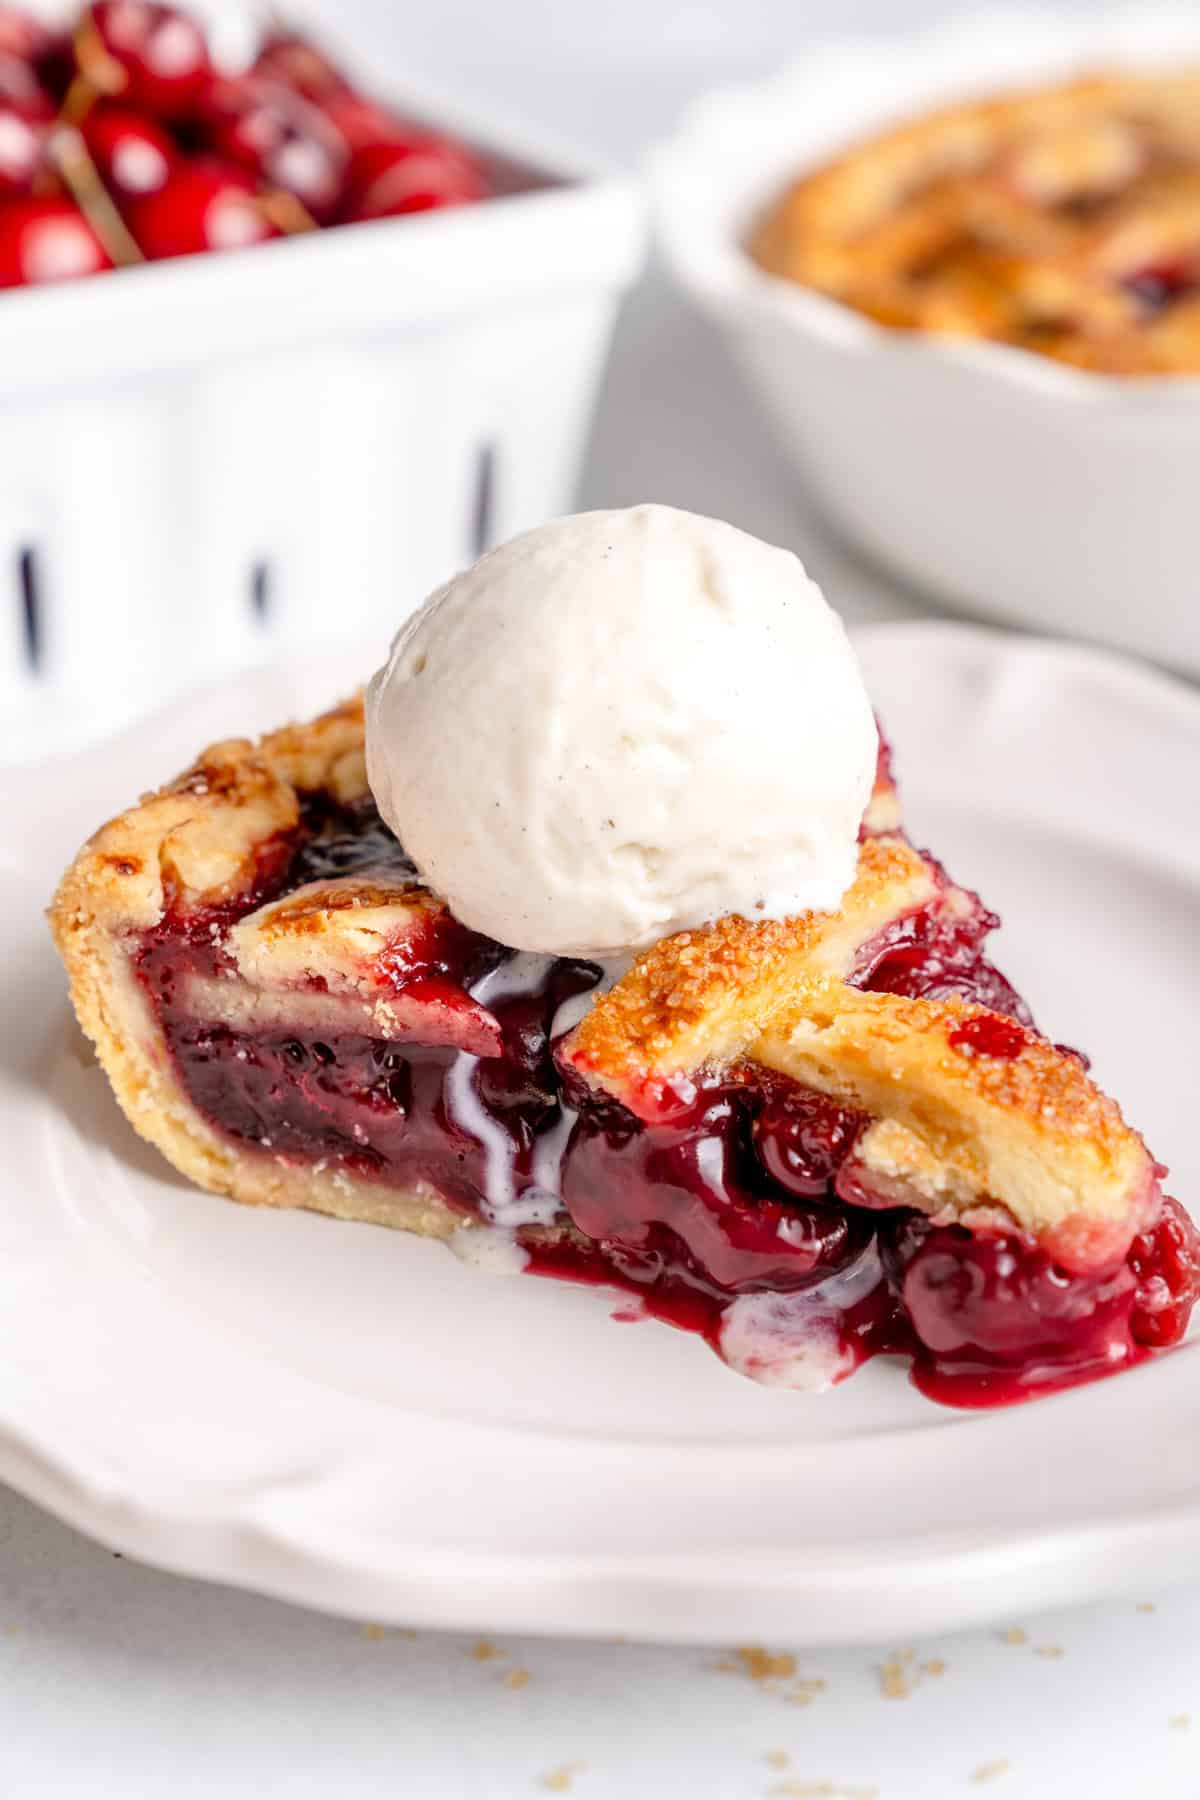
This is the perfect gluten free cherry pie recipe! With a buttery crust, a filling that actually holds together and the perfect combination of sweet and tart flavors. A total fan favorite at your next summer barbecue!
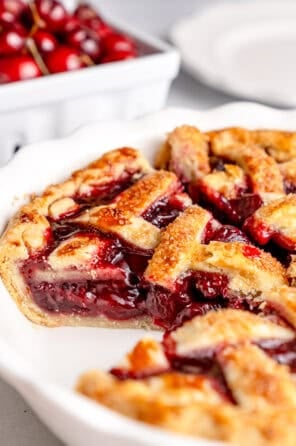
For longest time I was a cake over pie girl, but in the summer months, I really can not resist this gluten free cherry pie. It’s bursting with flavor, the perfect balance of sweet and tart and wrapped in my favorite gluten free pie crust that even the biggest gluten free skeptics will love.
While tart cherries are often considered the gold standard for cherry pie, I find sweet cherries much easier to come by and the addition of lemon juice will help balance out the sweetness. If you use tart cherries, you may want to add a touch more sugar to balance out the flavors.
This recipe has quite a few steps, especially if you’re making the crust from scratch, but I promise it actually all comes together really easily and will be well worth it! If you love this recipe, try my gluten free peach crisp next.
Quick tips!
Pitting the cherries is probably the most annoying part of this recipe. To make it easier, I suggest using a cherry pitter. It will still take some time but is so much easier than doing it by hand! This one that removes multiple pits at once is also helpful.
Please do not use frozen cherries for this recipe! I know it is easier, but it will not yield the same result as fresh cherries. They release too much liquid and will make the filling a bit too soggy.
How to make gluten free cherry pie
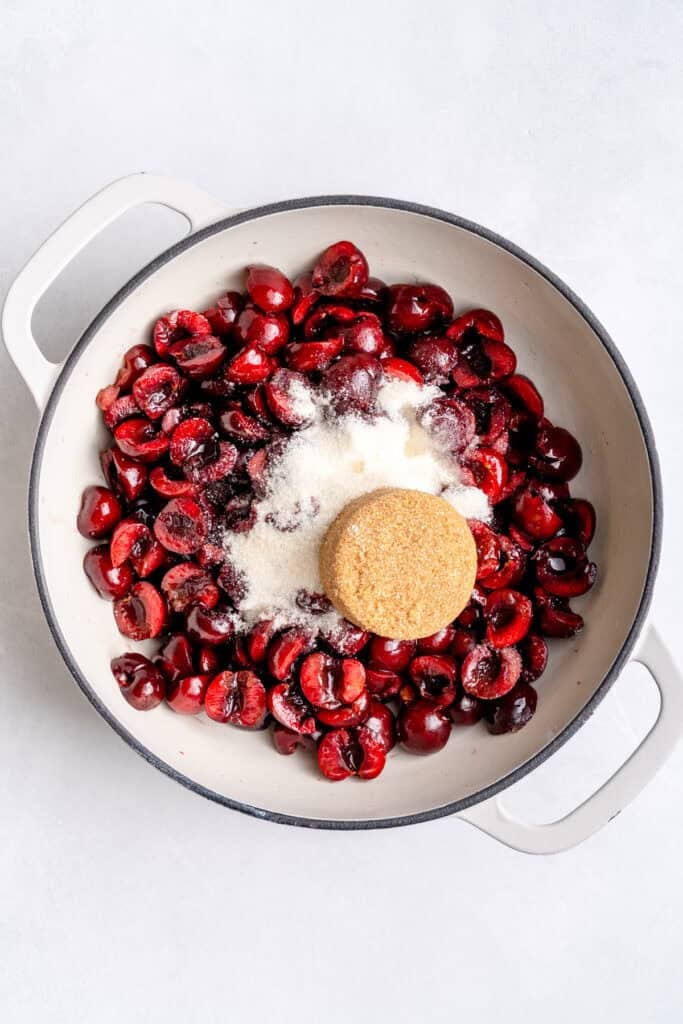
Add the halved and pitted cherries to a sauce pan with the white sugar, brown sugar and lemon juice.
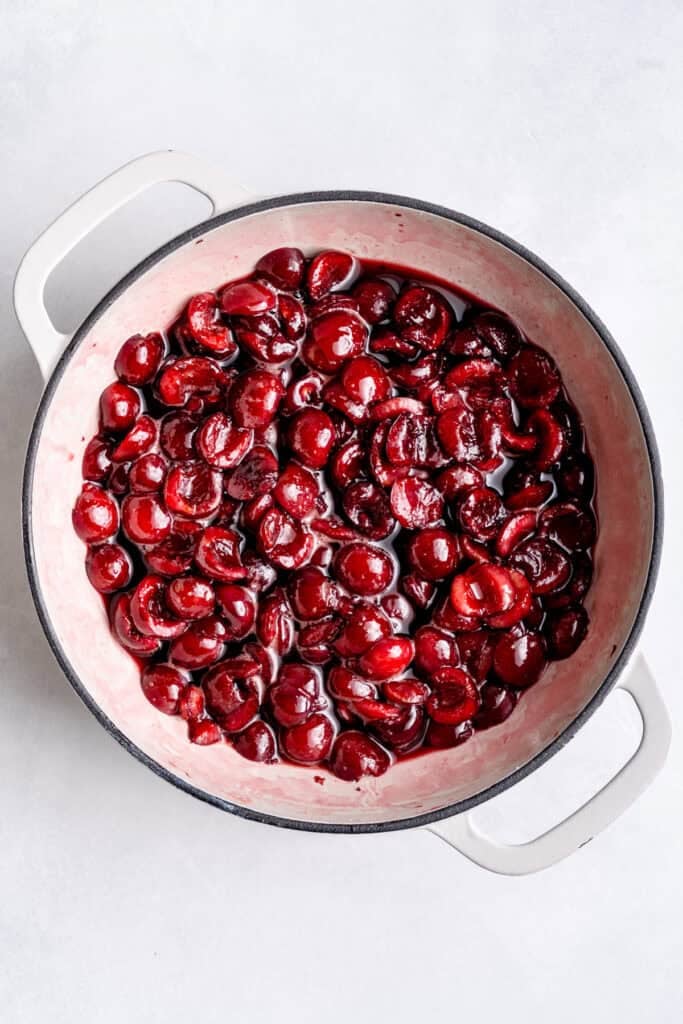
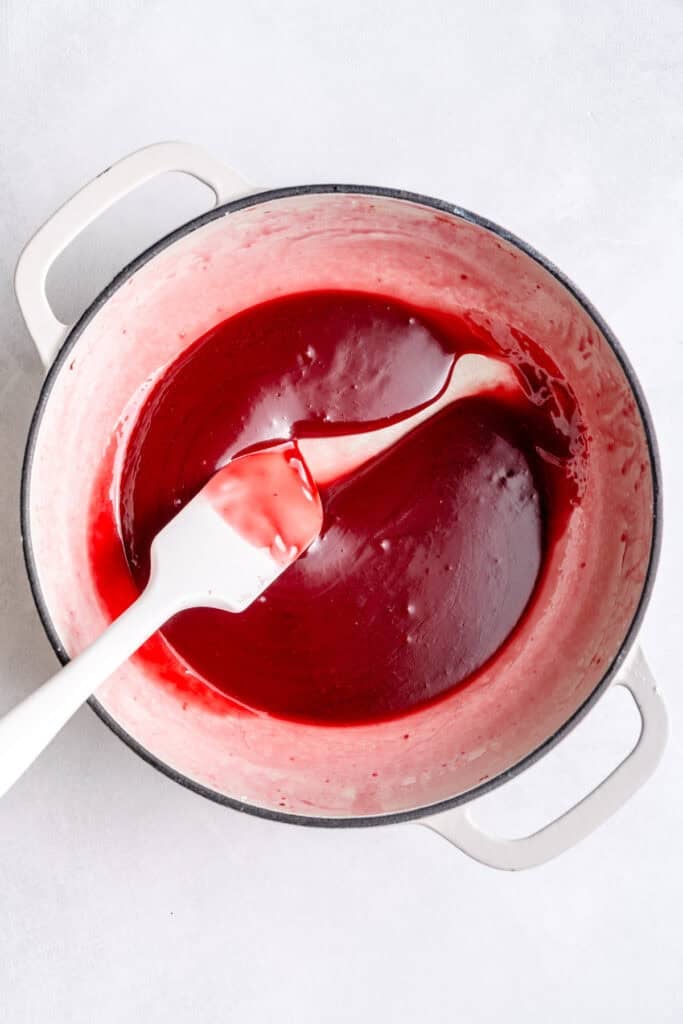
Heat over medium heat for about 3-4 minutes until some cherry juices are released. Don’t cook any longer than 5 minutes as we want the cherries to remain somewhat whole. Use a slotted spoon to spoon the cherries into a bowl but leave the sauce behind.
Whisk in the cornstarch until thickened, then whisk in the vanilla, almond extract salt and butter. Add this sauce to the bowl with the cherries and toss to combine.
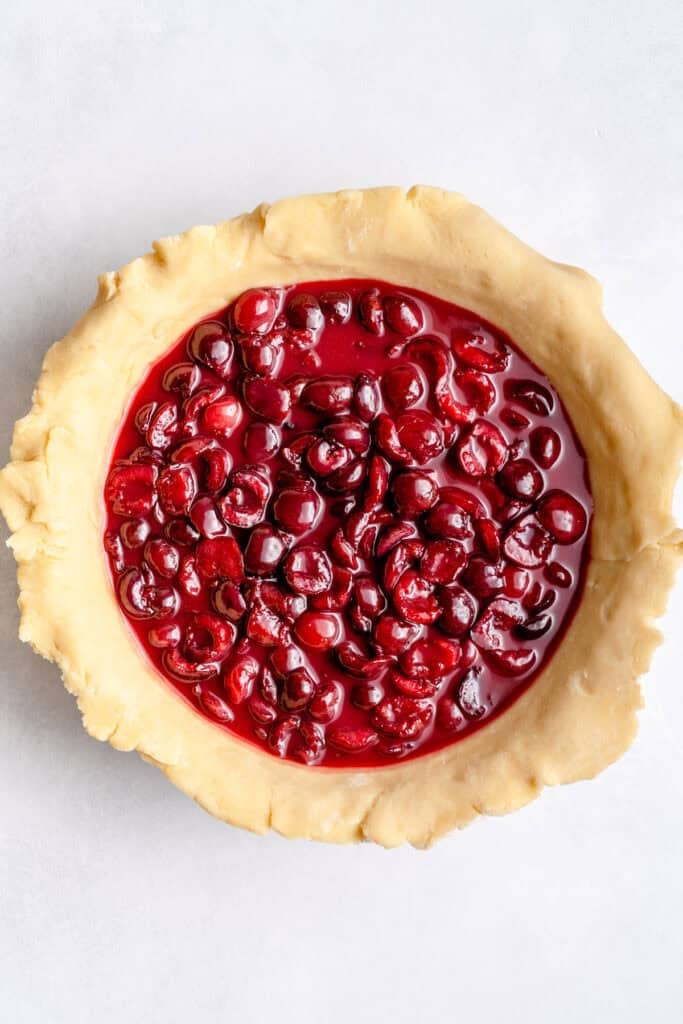
Add the cherry mixture to the pie dish with the bottom crust. Either add the top crust on top, or make a lattice top. Use a pizza cutter and cut strips of dough about 1 inch wide. Carefully thread the strips over and under one another, pulling back strips to weave.
Whisk up the egg in a small dish and use a brush to brush gently on top of the crust. Sprinkle the sanding sugar on top.
Place the pie on a large baking sheet (to prevent a mess in the oven) and bake for 20 minutes. Reduce the heat to 350 and bake an additional 35-40 minutes or until the crust is golden and the filling is bubbling. If you notice it browning too much too soon, lightly cover with foil.
WANT TO SAVE THIS RECIPE?
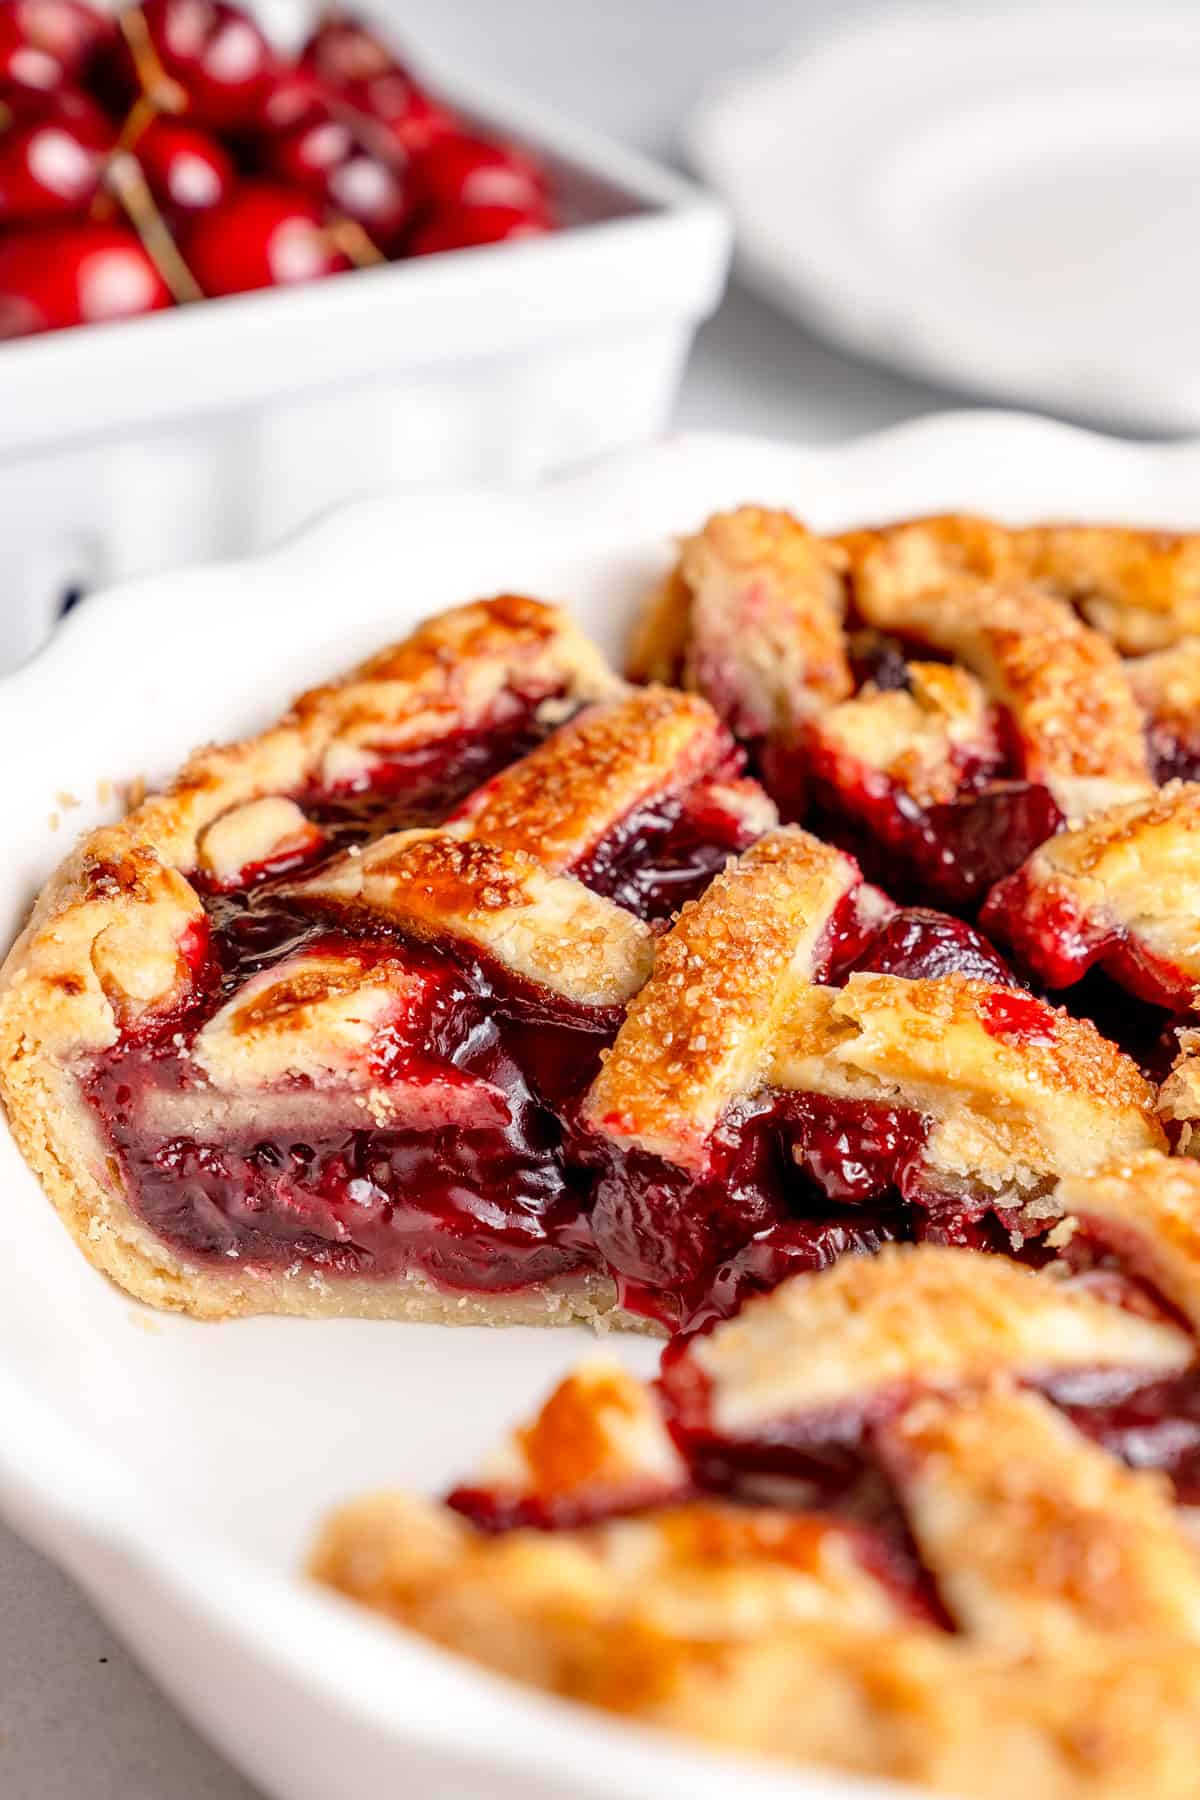
Let cool for at least 2-3 hours to let the filling set before serving- it will be too liquidy otherwise. I love mine with vanilla ice cream on top. Enjoy and try my gluten free blueberry pie next!

How to store
This gluten free cherry pie keeps well in the fridge for up to 5 days and the freezer for up to 3 months. You can make it in advance, either just the crust, filling or both and will save you time when you want to serve!
To can serve the refrigerated pie right from the fridge or warm up in the microwave for 20 or so seconds. For a frozen pie, I suggest thawing in the fridge and then serving or warming up in the oven at 300 until thawed.
Ingredient tips
Cherries. I used fresh dark sweet cherries here! You can use tart cherries or a mix of rainer cherries and dark sweet cherries. I don’t recommend canned or frozen here.
Crust. I suggest using real butter for the crust. You can definitely use a store bought crust if you prefer! Or simply place the top crust on top instead of doing the lattice.
Sugar. A mix of white and brown sugar will balance out the flavors really beautifully. Brown sugar has a bit of molasses which pairs well with the cherries.
Egg. The egg is just for the egg wash on top of the crust which will help it brown really nicely. If you don’t want to use egg, you can use heavy cream brushed on top instead.
Lemon. The brightness in the lemon really balances out the sweetness of the cherries. I don’t recommend any swaps here!
Summer sweets to try next!
Follow along on on instagram and subscribe to my email list for more recipes and updates. Leave a comment and rating below if you try this recipe and let us know how it turns out!
Gluten Free Cherry Pie
by: claire cary
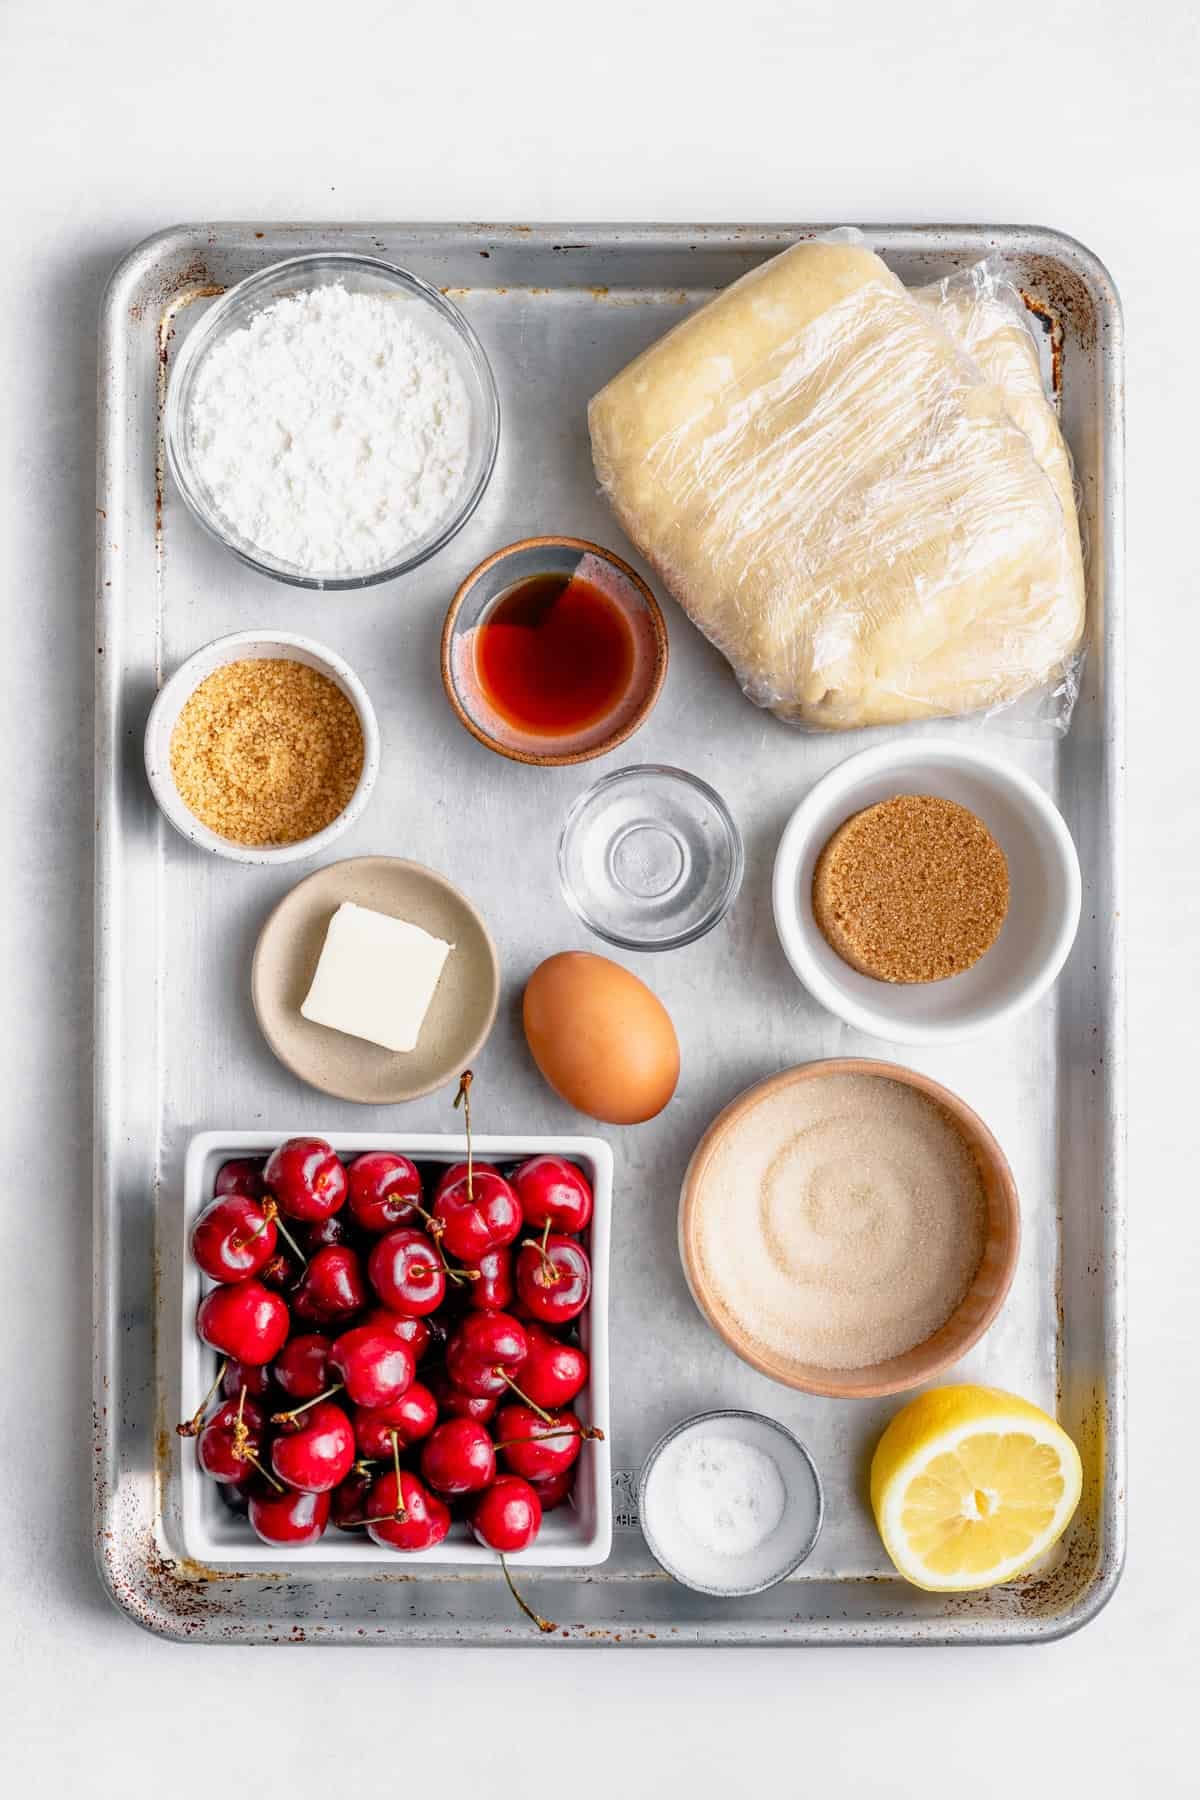
Ingredients
- 1 batch gluten free pie crust
- 5 cups pitted and halved fresh cherries about 2 pounds
- ⅓ cup white sugar
- ⅓ cup light brown sugar
- 1 tablespoon lemon juice
- 5 tablespoons cornstarch
- 2 teaspoons vanilla extract
- ¼ teaspoon almond extract optional but recommended
- ¼ teaspoon salt
- 1 tablespoon butter
- 1 egg for egg wash
- 2 tablespoons sanding sugar for sprinkling on top
Instructions
- Prep the pie crust. Add the bottom layer to a 9 inch pie dish and set aside.
- Preheat the oven to 400 degrees Fahrenheit.
- Add the halved and pitted cherries to a sauce pan with the white sugar, brown sugar and lemon juice.
- Heat over medium heat for about 3-4 minutes until some cherry juices are released. Don’t cook any longer than 5 minutes as we want the cherries to remain somewhat whole.
- Use a slotted spoon to spoon the cherries into a bowl but leave the sauce behind.
- Whisk in the cornstarch until thickened, then whisk in the vanilla, almond extract salt and butter. Add this sauce to the bowl with the cherries and toss to combine.
- Add the cherry mixture to the pie dish with the bottom crust. Either add the top crust on top, or make a lattice top. Use a pizza cutter and cut strips of dough about 1 inch wide. Carefully thread the strips over and under one another, pulling back strips to weave.
- Whisk up the egg in a small dish and use a brush to brush gently on top of the crust. Sprinkle the sanding sugar on top.
- Place the pie on a large baking sheet (to prevent a mess in the oven) and bake for 20 minutes. Reduce the heat to 350 and bake an additional 35-40 minutes or until the crust is golden and the filling is bubbling. If you notice it browning too much too soon, lightly cover with foil.
- Let cool for at least 2-3 hours to let the filling set before serving- it will be too liquidy otherwise. I love mine with vanilla ice cream on top. Enjoy!
Notes

Comments
leave a comment and rating