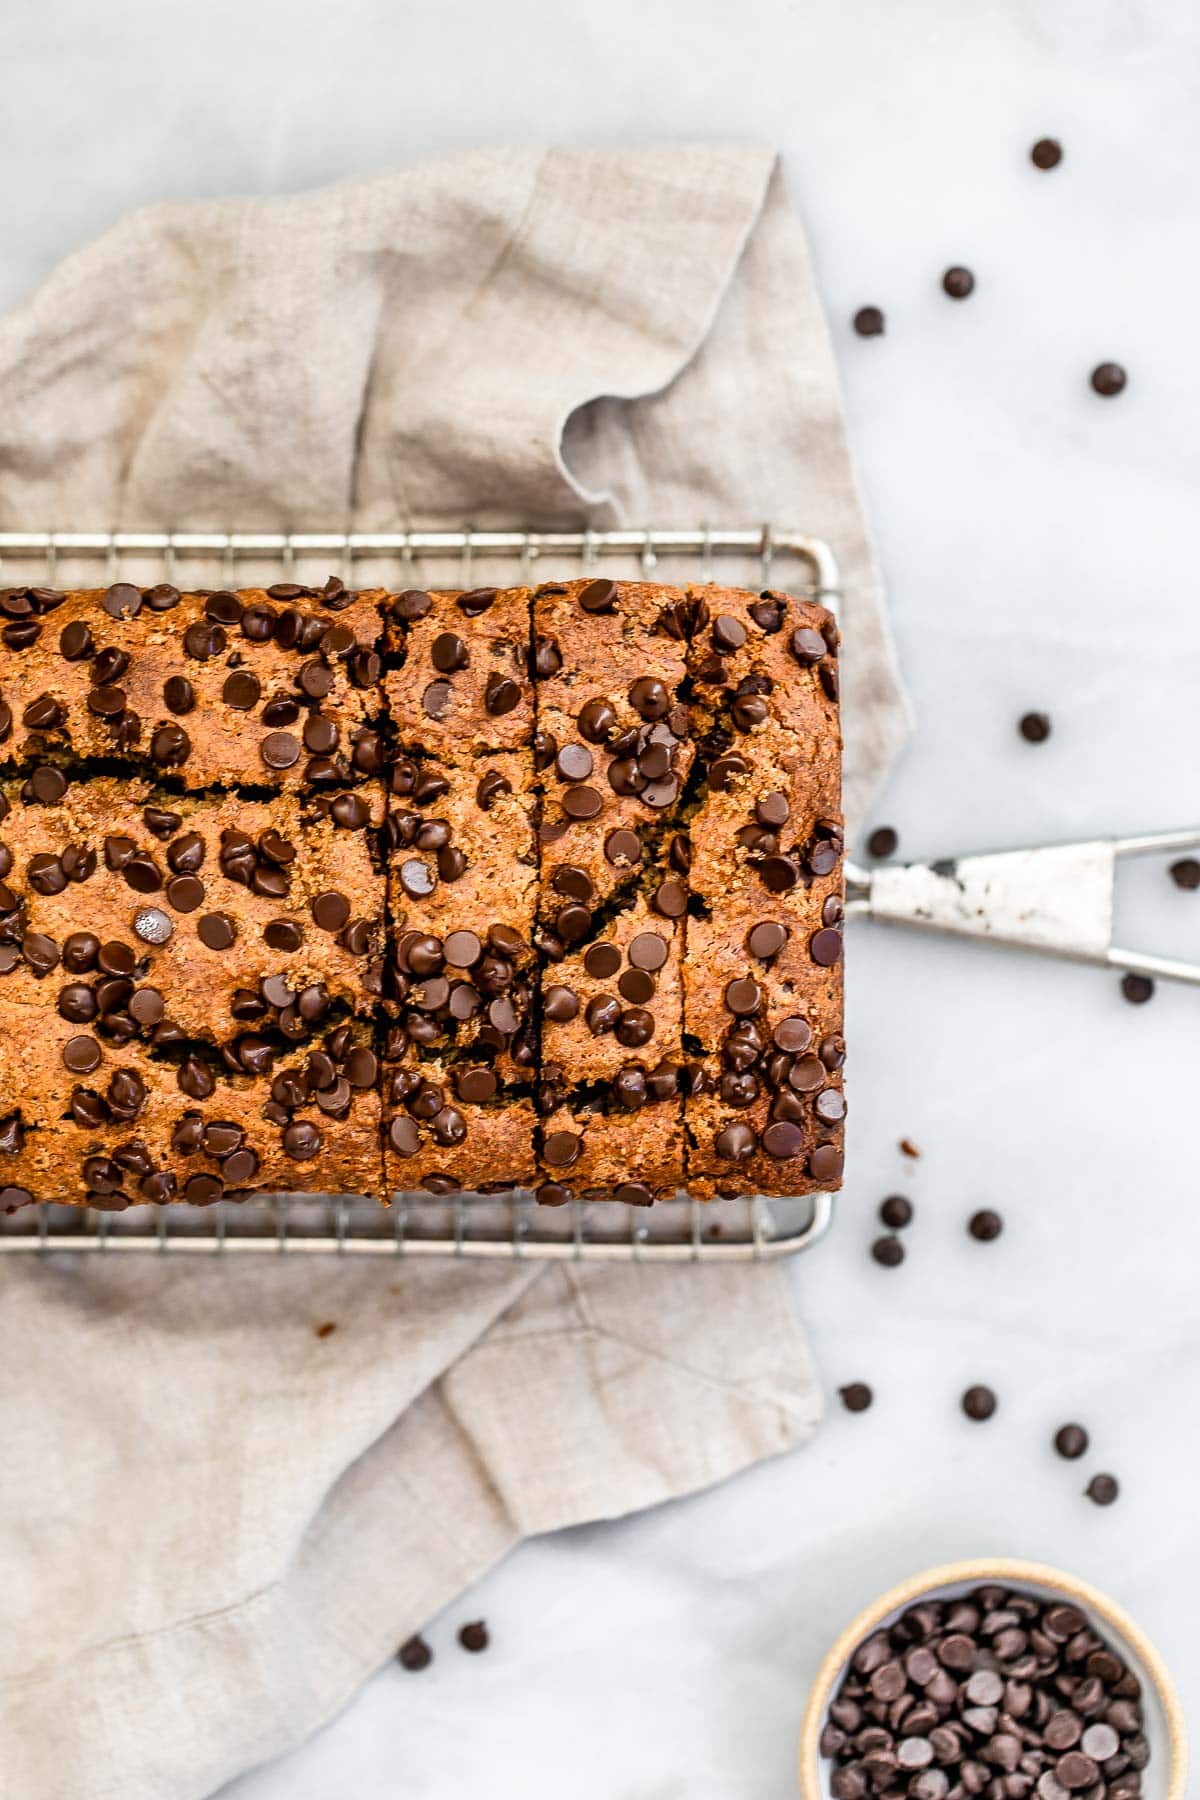
Vegan Gluten Free Banana Bread
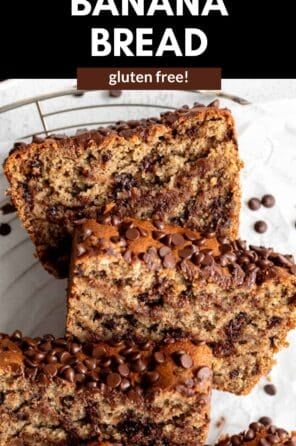
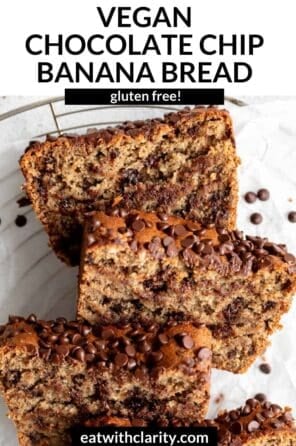
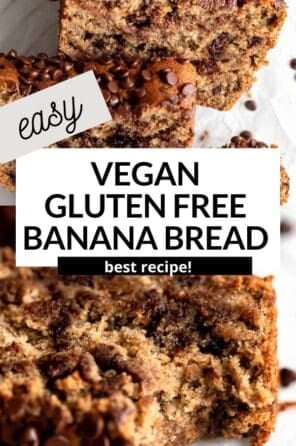
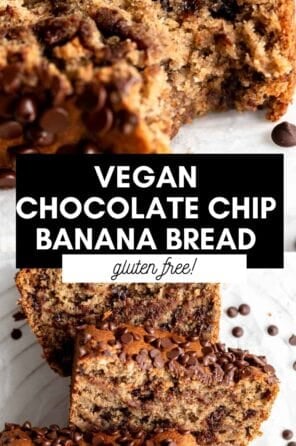
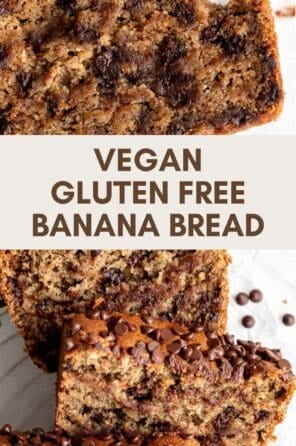

Fluffy, moist and easy to make, this vegan gluten free banana bread is absolutely delicious and made with simple, wholesome ingredients! Load it up with chocolate chips, walnuts, or enjoy as is! This banana bread is egg free, dairy free and refined sugar free.

My favorite thing about banana bread is that it passes as breakfast, a snack, and dessert! I mean, when could that ever be a bad thing? (Peep these banana bread breakfast cookies).
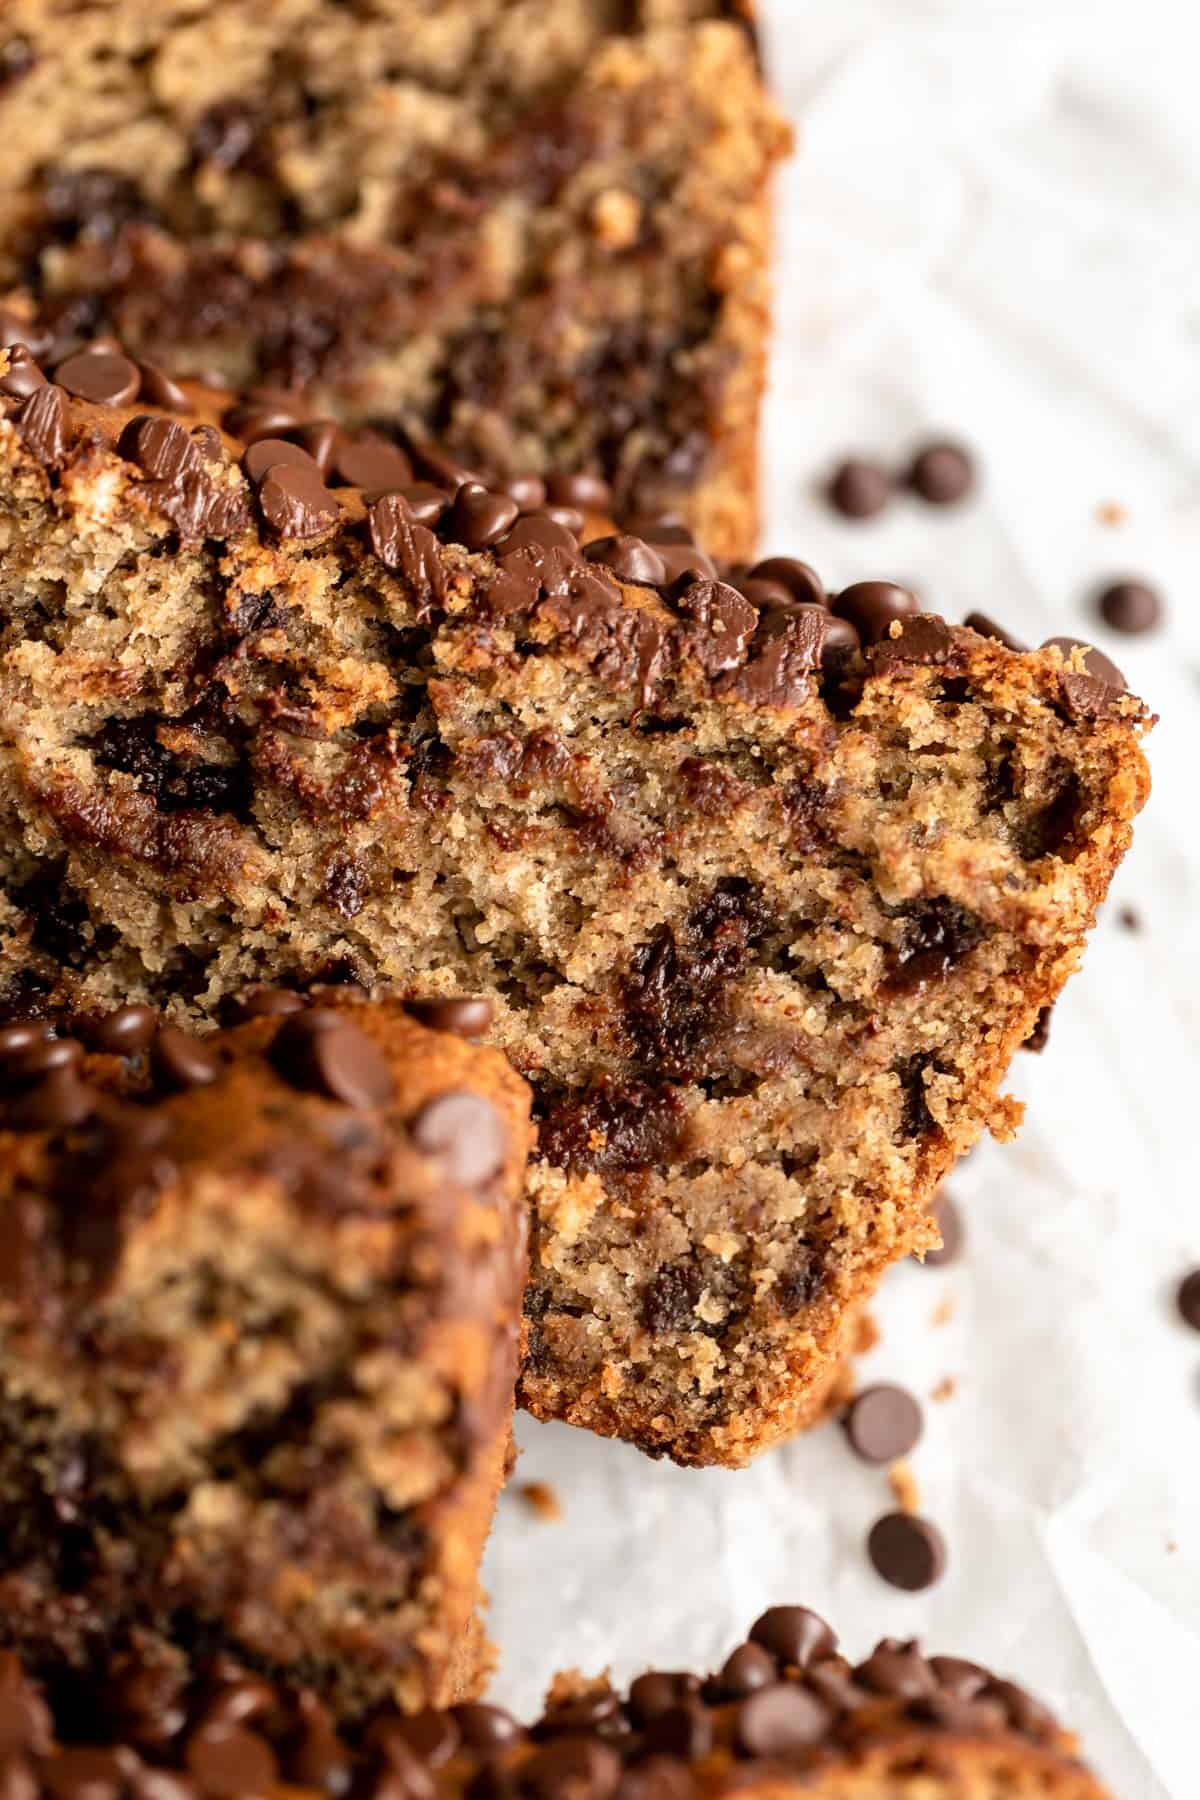
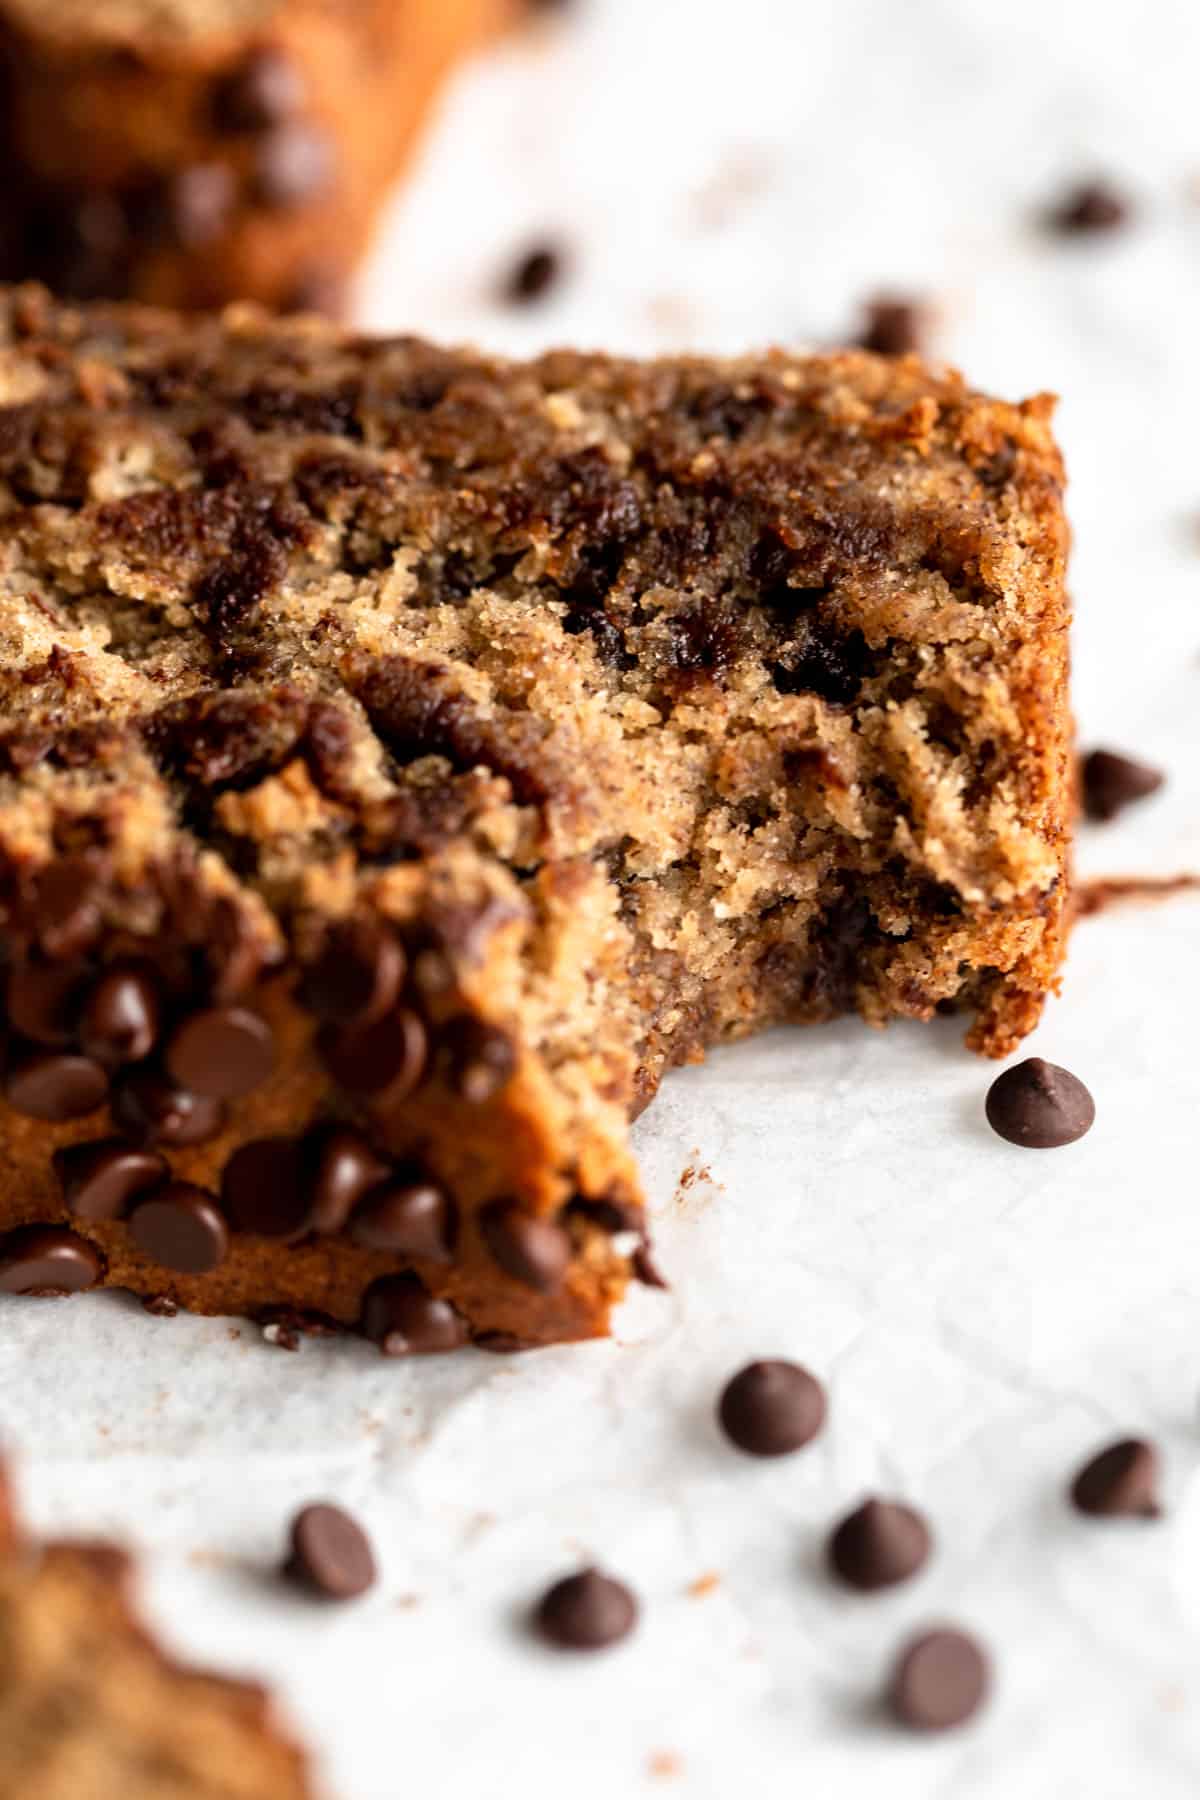
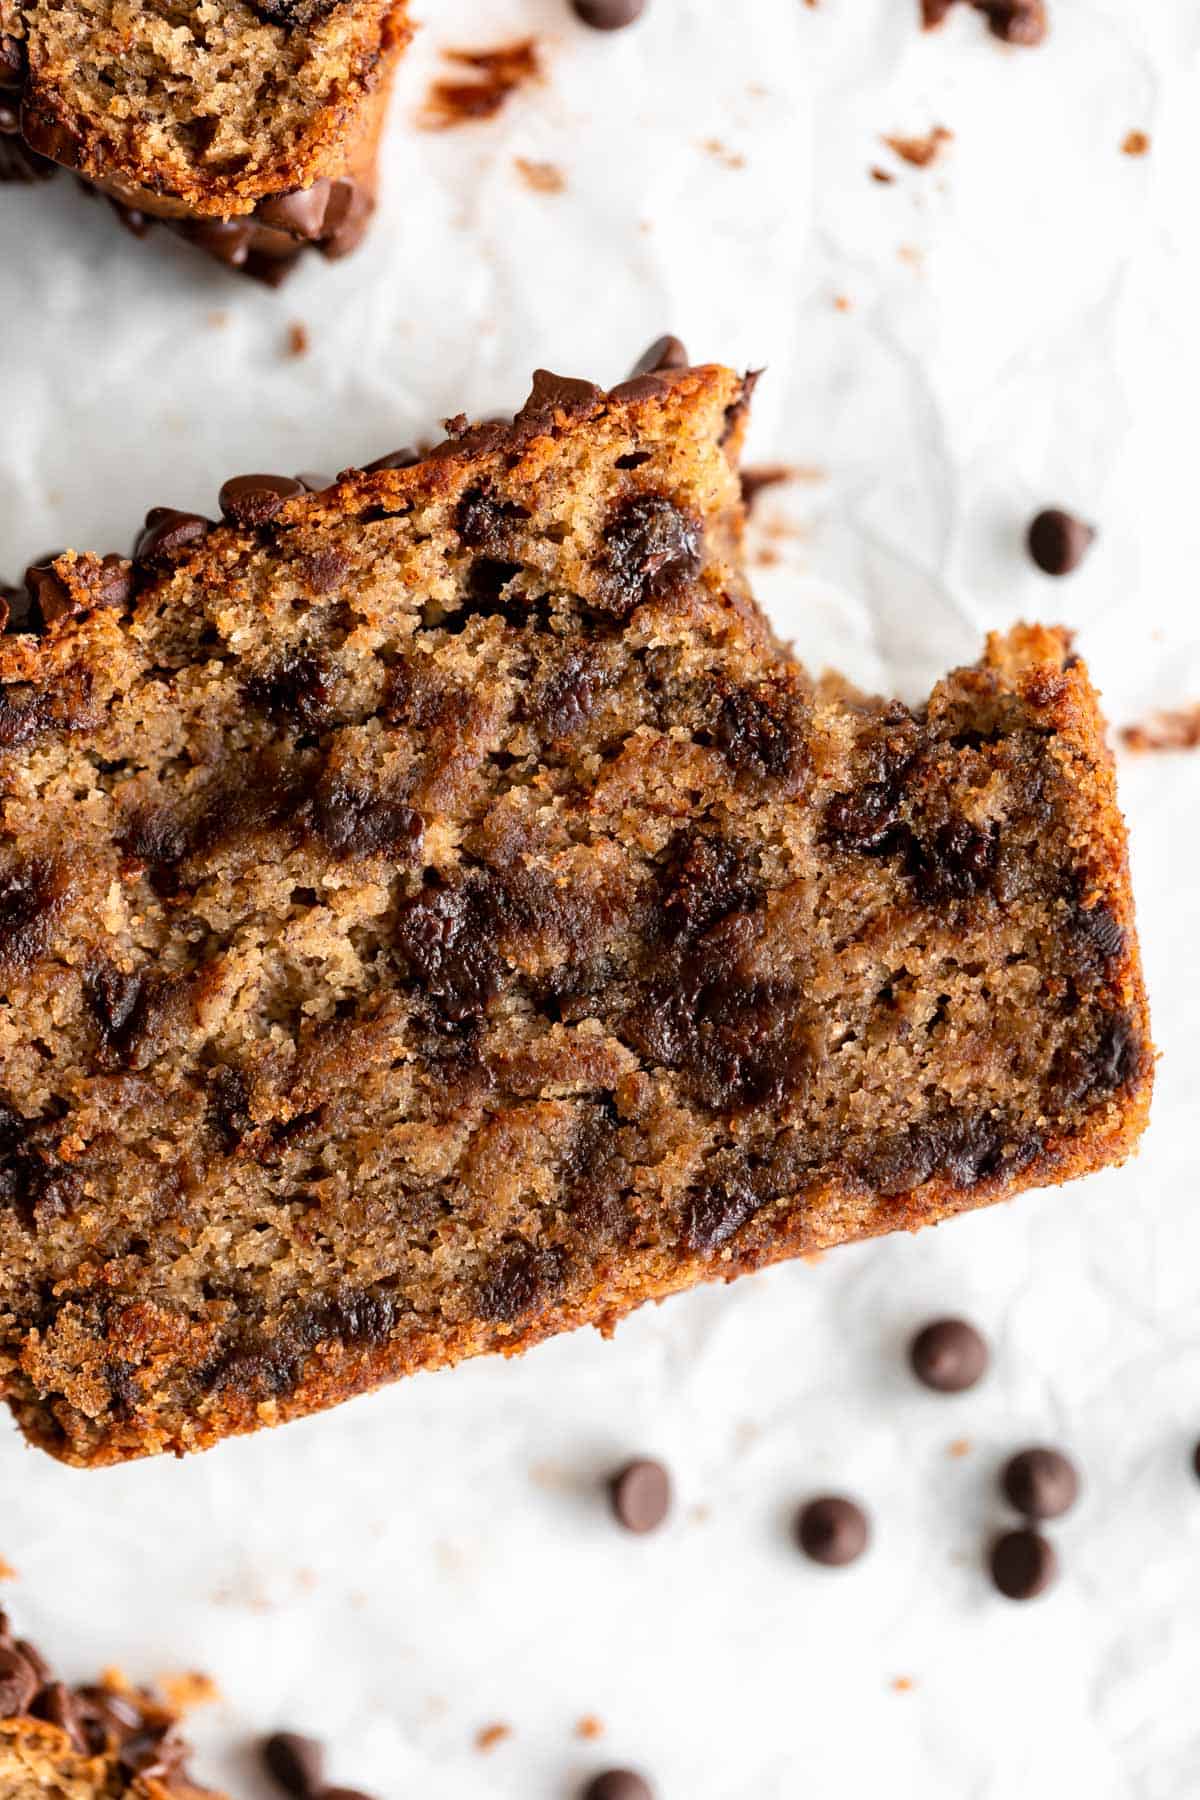
This vegan gluten free banana bread has no eggs, no dairy, no gluten and NO refined sugar but is 100% delicious you won’t even realize you’re missing those things. Seriously, if you’re looking for a classic chocolate chip banana bread and think a loaf made with oat flour and almond flour can’t be as good, think again! This recipe is fluffy, moist so easy to make and a truly crowd pleasing recipe.
It can be made vegan or with real eggs for extra fluff, you can use coconut sugar to keep it refined sugar free or keep it classic with brown sugar. You won’t even know the difference! Try my vegan banana cake or mini chocolate chip muffins next!
Tips before we get started!
- The uglier your bananas, the better! You want the bananas to have lots of brown spots before making banana bread. This will ensure they are sweet enough and will make the bread extra moist.
- This recipe originally called for almond meal from whole almonds, but I have tested it with almond flour from blanched almonds and it works either way. The color will be a bit darker if using almond meal.
How to make vegan gluten free banana bread
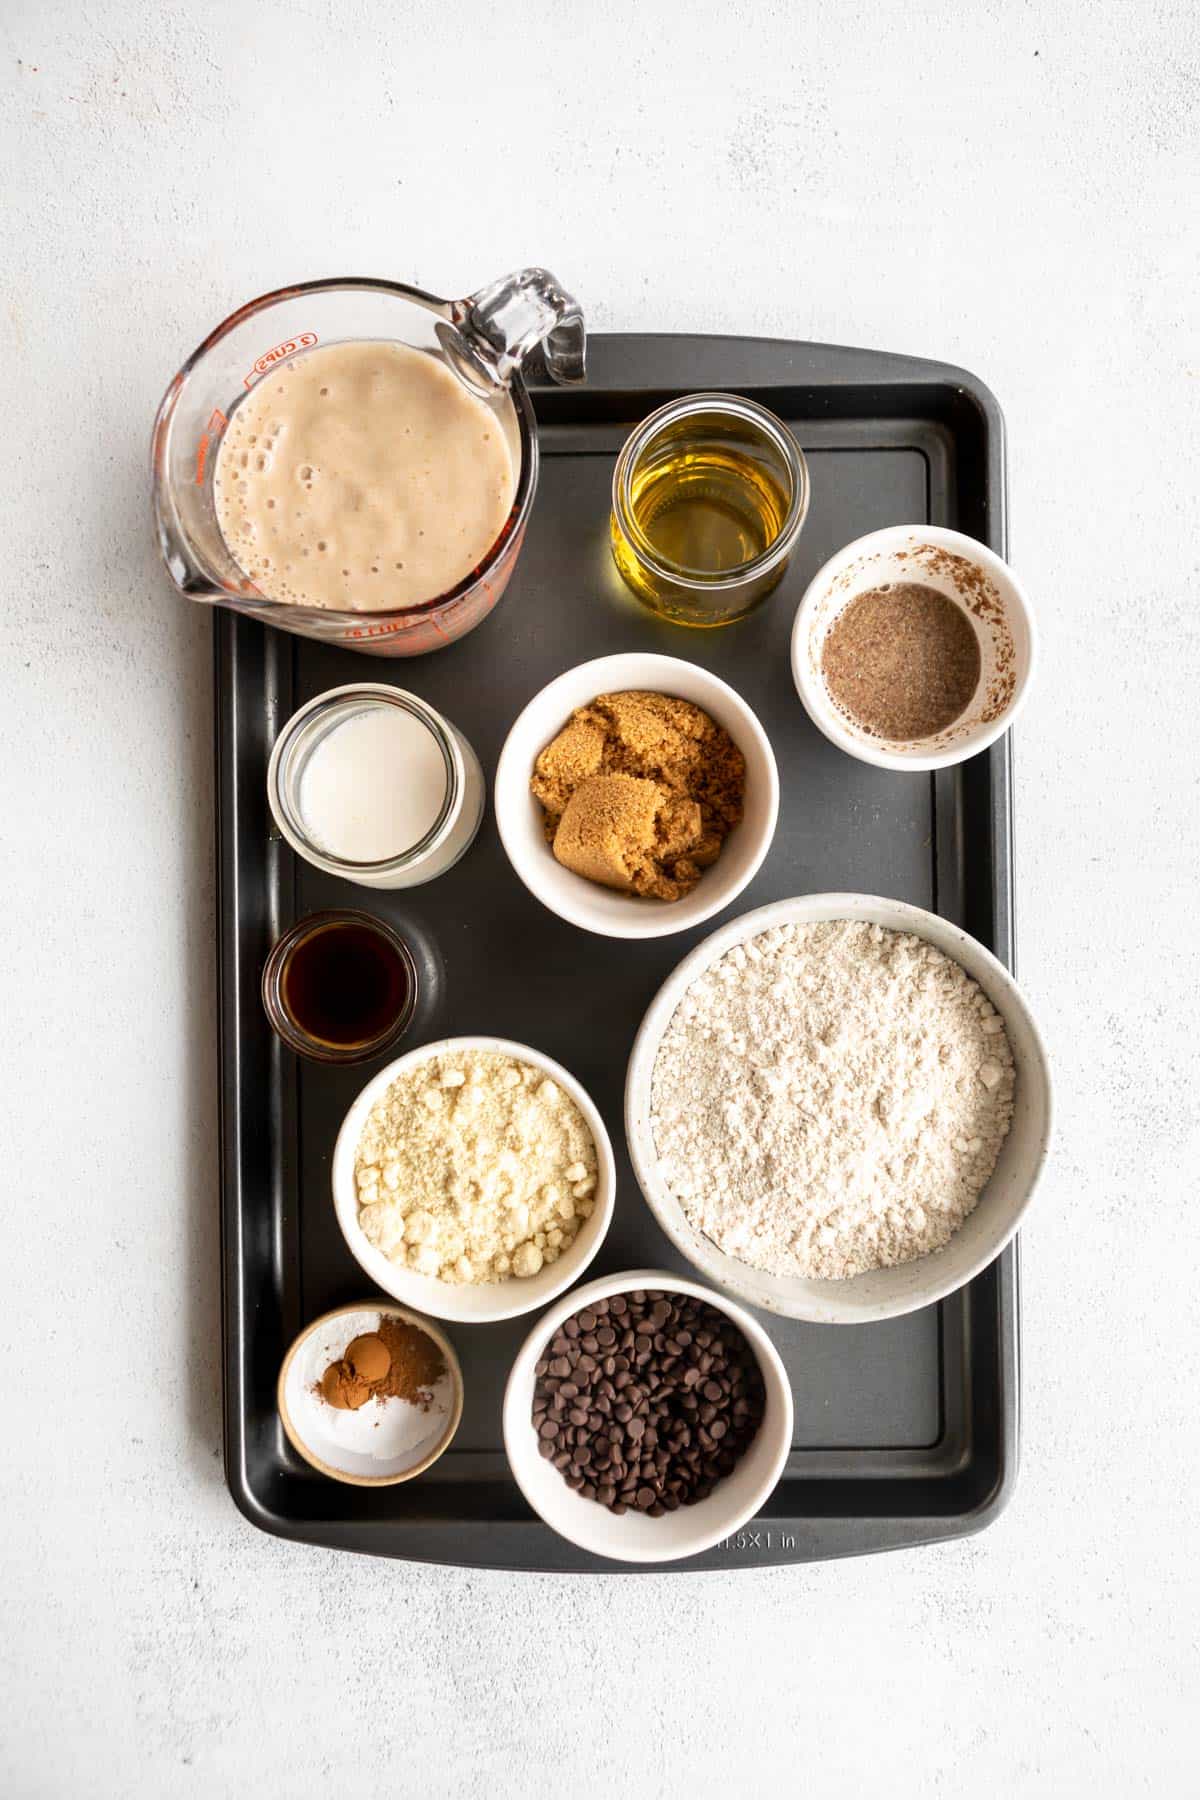
Preheat oven to 350 degrees Fahrenheit. Combine the ground flax seeds with 2.5 tbsp of water and set aside. Skip this step if using a regular egg.
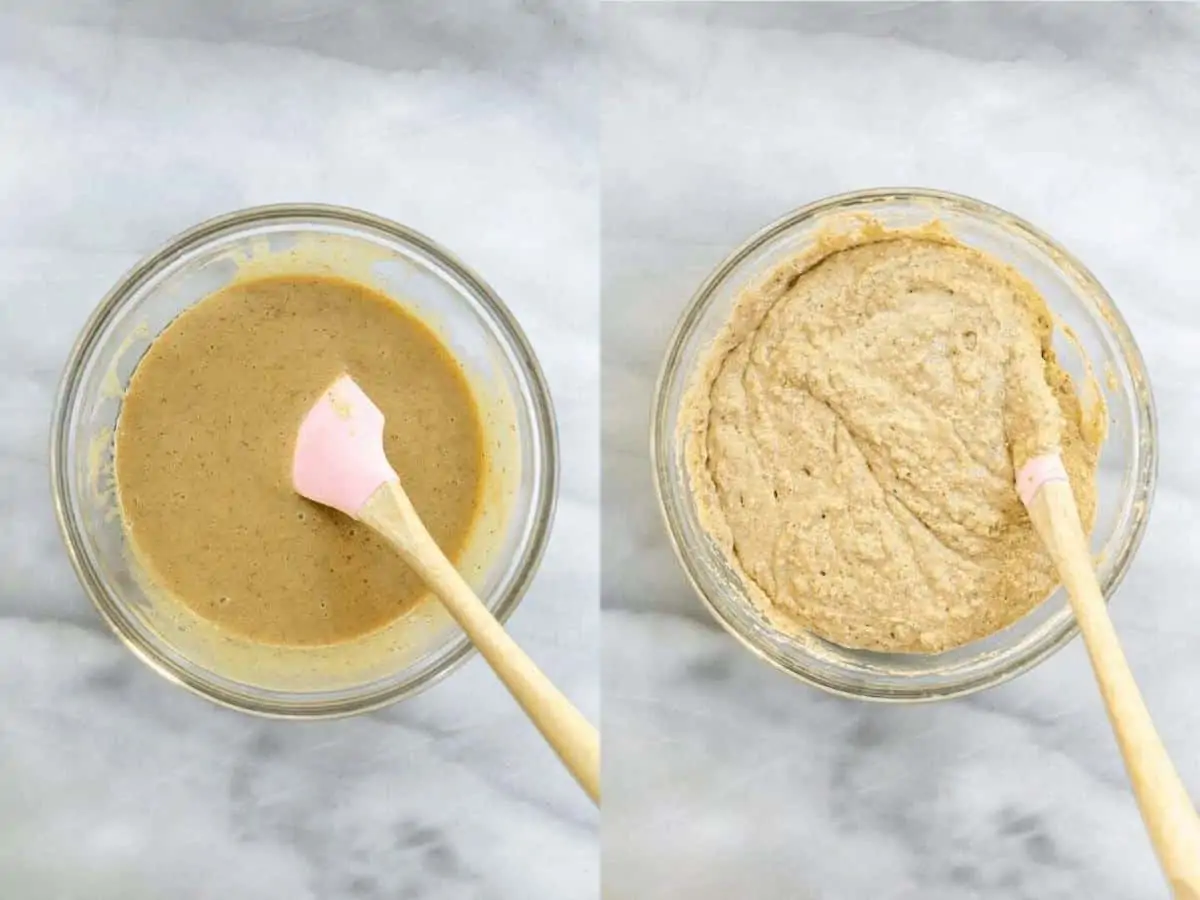
Add the bananas to a blender and puree until no lumps remain. Measure and make sure you have 1 3/4 cup worth. Add to a bowl and add in all remaining wet ingredients. Whisk together. Add in all remaining dry ingredients aside from the chocolate chips and mix well with a wooden spoon.
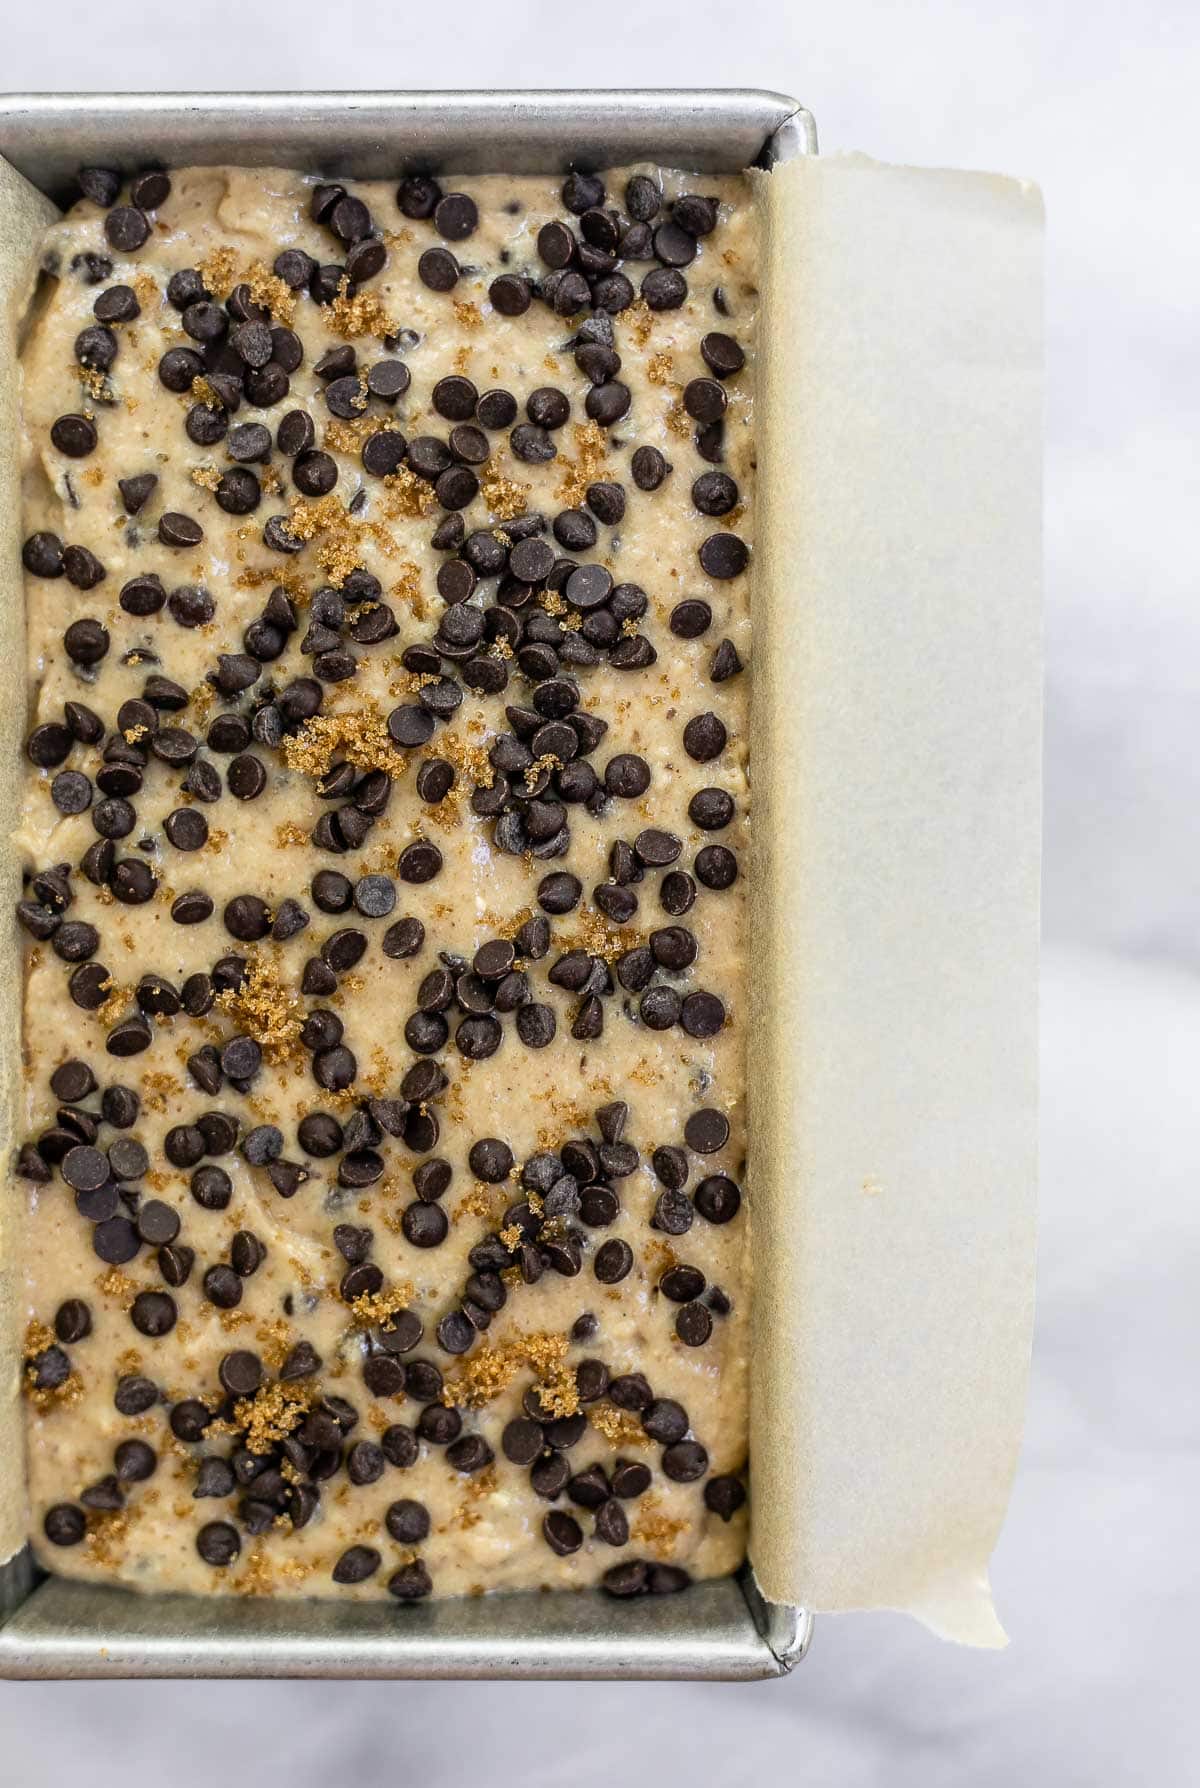
Fold in the chocolate chips. Add the batter to a loaf pan lined with parchment paper. Sprinkle with additional chocolate chips and sugar if desired.
Bake for about 55 minutes or until a toothpick comes out clean. All ovens are different, but a toothpick should come out mostly clean with a few moist specks when the bread is fully cooked.
Once done, let cool in the pan for about 15 minutes, then lift out onto a cooling rack and let cool for about 2 hours before slicing. If you love this recipe, try my vegan blondies next!
Key ingredients
BANANA PUREE. It’s more common to used mashed banana in banana bread, but I much prefer the texture with banana puree. Especially because a vegan gluten free banana bread runs the risk of getting gummy, banana puree keeps it super fluffy.
FLAX EGG. Since this recipe is vegan, well use one flax egg to help bind the ingredients together.
OIL. A bit of oil helps keep this bread extra moist. I used refined avocado oil, but any oil or even melted vegan butter will work.
MILK. I like using soy milk because the extra protein makes the banana bread a bit fluffier, but any kind of non-dairy milk will work such as oat, almond etc.
SUGAR. Light brown, coconut, or regular white sugar will all work here! I do not recommend a liquid sweetener like maple syrup.
FLOUR. We’ll use a mix of oat flour and almond flour to keep this healthy and gluten free. I do not recommend gluten free all purpose baking flour here as it absorbs wet ingredients differently.
WANT TO SAVE THIS RECIPE?
How to keep it moist
Thanks to the bananas and oil in this recipe (and even the almond flour!), this bread is incredibly moist. You shouldn’t have any issues with it drying out even after a few days.
However, to make sure it stays in tip top shape, I would suggest storing it either in a sealed tupperware container, or on a plate wrapped tightly with aluminum foil. The crust is the only part that may get slightly dry, but as long as you keep it covered, you should be good to go!
Mashed vs. pureed bananas
Most banana bread recipes will require you to mash the bananas, but in this recipe, it’s best to puree them. This just means you need to add them to your blender and blend until they are completely pureed.
The texture is much better in my opinion and you don’t have to worry about it being gummy even though it’s gluten free! It’s much less dense when you puree the bananas, but still just as flavorful and moist.
Substitutions & variations
Flax egg/egg: I used a flax egg in this recipe to keep it vegan, but I have tested it with a regular egg too and it works well either way! The real egg way will yield a slightly fluffier bread, but the taste will be the same.
Sugar: I used light brown sugar because I like to keep the color on the lighter side, but coconut sugar or even maple sugar (not maple syrup) works if you’re looking for a refined sugar free recipe!
Oat flour: Don’t have oat flour on hand? Make your own! Grind up some rolled or quick oats in a food processor or high speed blender until you get a very fine flour. Process for a while to ensure it’s very finely ground.
Almond flour: If you want to make this nut free, you can sub the almond flour for one cup of oat flour. The bread may not be as moist since almond flour adds a lot of fat/moisture, so try lowering the bake time by about 5 minutes if you make this change.
Spices/Nuts: This recipe calls for cinnamon, which is optional, but you can add other spices such as nutmeg or even some chopped nuts to spruce things up!
How to store and freeze
Once prepared, this vegan banana bread will keep at room temperature for about 3-5 days or in the fridge for up to 1 week.
You can also freeze it! Just let it cool completely, then slice and freeze in an air tight zip lock bag for up to 2 months. Reheat in the oven at 300 until warm through the center.
Pro tip: Make sure you let the bread cool completely before slicing. This ensures the bread will not flatten or sink in the middle and will maintain its rise when you cut into it. I suggest letting it cool for around two hours to keep the bread as fluffy as possible.
Try these next!
- Gluten Free Chocolate Chip Pancakes
- Almond Flour Brownies
- Paleo Chocolate Chunk Cookies
- Banana Bread Breakfast Cookies
- Gluten Free Zucchini Bread
Lastly, if you want more recipes straight to your inbox, be sure to subscribe to my email list. As always, tag me on instagram if you make this recipe so I can see your creation!

Vegan Gluten Free Banana Bread
by: claire cary
Ingredients
Wet:
- 1 ¾ cups pureed banana from about 4 large very ripe bananas
- ¼ cup oil I used refined avocado
- ¼ cup non-dairy milk
- ½ cup light brown sugar
- 1 tablespoon ground flax seeds
- 2 teaspoon apple cider vinegar
- 1 teaspoon vanilla extract
Dry:
- 1 cup almond flour
- 2 cups oat flour
- 2 teaspoons baking powder
- 1 teaspoon baking soda
- ½ teaspoon salt
- ½ teaspoon cinnamon optional
- ¾ cup chocolate chips plus more for topping
Instructions
- Preheat oven to 350 degrees Fahrenheit.
- Combine the 1 tbsp of ground flax seeds with 2.5 tbsp of water and set aside.
- Add the bananas to a blender and puree until no lumps remain. Measure and make sure you have 1 3/4 cup worth.
- Add to a bowl and add in all remaining wet ingredients including the flax mixture once thickened. Whisk together.
- Add in all remaining dry ingredients aside from the chocolate chips and mix well with a rubber spatula
- Gently fold in the chocolate chips.
- Add the batter to a loaf pan (mine was 8 1/2 x 4 1/2 but 9×5 works too) lined with parchment paper. Sprinkle with additional chocolate chips and coconut sugar if desired.
- Bake for 55-66 minutes or until a toothpick comes out clean. In my oven, a toothpick is usually clean at 55 minutes, but I usually add a few extra minutes to ensure the center is fully cooked.
- Once done, let cool in the pan for about 15 minutes, then lift out onto a cooling rack and let cool for about 2 hours before slicing.
- It’s important that it’s cool or it will crumble more easily since it really takes its shape as it cools! If you slice it early, it’ll still taste great, but it may sink a bit in the middle and crumble more easily.
Notes

Comments
-
Can I do all oat flour instead of oat and almond?
-
Yes, should be fine!
-
-
I love this recipe!

-
Instead of the oat and almond flour can I use Bob’s Red Mills GF 1:1 or BRM GF AP flour instead? I cannot have eggs or oats (grass families so I go GF bc it’s most of the flours), so I’m hoping I can can sub the flour. Thank you!
-
I haven’t tried that and those flours absorb wet ingredients differently, but if you do that, I’d use maybe 2 1/4 cups of GF all purpose flour. Let me know how it goes!
-
Okay, so sub just the oat flour for 2 1/4 c BRM GF AP flour or do you mean all 3 cups (almond + oat) flours? Excited to try this recipe out! Thanks!
-
I’d cut out both the almond and oat flour and instead use 2 1/4 cups of Bob’s AP. I can’t guarantee the results here though- this recipe was designed around the oat and almond flour.
-
-
-
-
This banana bread is so delicious , moist the texture is so pleasant , it’s healthy you can substitute raisins add walnuts very versatile recipe . I made it just as the recipe stated it I baked mine for 50 minutes it came out perfectly baked we love it . I browsed other recipes l am excited to make your oats breakfast banana cookies ..thank you !
-
Thank you! So happy you’re enjoying everything!
-
-
I decided to make this as muffins in the airfryer and they came out great! I did 25 minutes on 325°F/160°C. I don’t have a big sweettooth so I left out the sugar/chocolate chips and they were still sweet enough due to the banana. Very easy to make, definitely recommend you try!!
leave a comment and rating