Gluten Free Pie Crust


This is the easiest and best gluten free pie crust around. This foolproof recipe can be used for sweet or savory pies and is ready in just 20 minutes! It’s made with simple, every day ingredients.
Pie crusts can be intimidating, and coming up with the best flaky gluten free pie crust was no easy task! This recipe went through a few trial runs until we finally(!) landed on the perfect recipe.
This pie crust is crispy and flaky, so easy to make (it literally takes 10 minutes) and is made with simple ingredients and perfect for any skill level.
You can use this recipe for all sorts of pies, whether savory or sweet! Pumpkin pie and apple are my personal favorites, but you can also do a gluten free blueberry pie, gluten free cherry pie, quiches, pecan, whatever you like!
Tips before we get started!
- This recipe makes a top and bottom pie crust, so if you are making a pie that only needs the bottom, just divide the recipe in half!
- Be sure to check the specific pie recipe for how long (if at all) you need to par bake the crust for.

How to make gluten free pie crust
Add the flour, sugar and salt to a food processor. Pulse a couple times to combine.
Add in the cubed butter and combine until the dough looks like wet sand and there are no more large chunks of butter.
Next, add in the vodka and combine until a smooth dough forms. Divide into two discs. Each of mine were about 300 grams.

Transfer to a piece of plastic wrap and wrap tightly. Place in the fridge for 30 minutes. Once the dough is ready, add to a large piece of floured parchment paper on a flat surface.
Grab a floured rolling pin and roll the dough out into a roughly 12 inch circle. Try to get it as even as possible and just press the edges together if they’re cracking.
Now for the part that always makes people nervous! Pick up the piece of parchment paper with the dough and quickly flip it onto the pie plate.

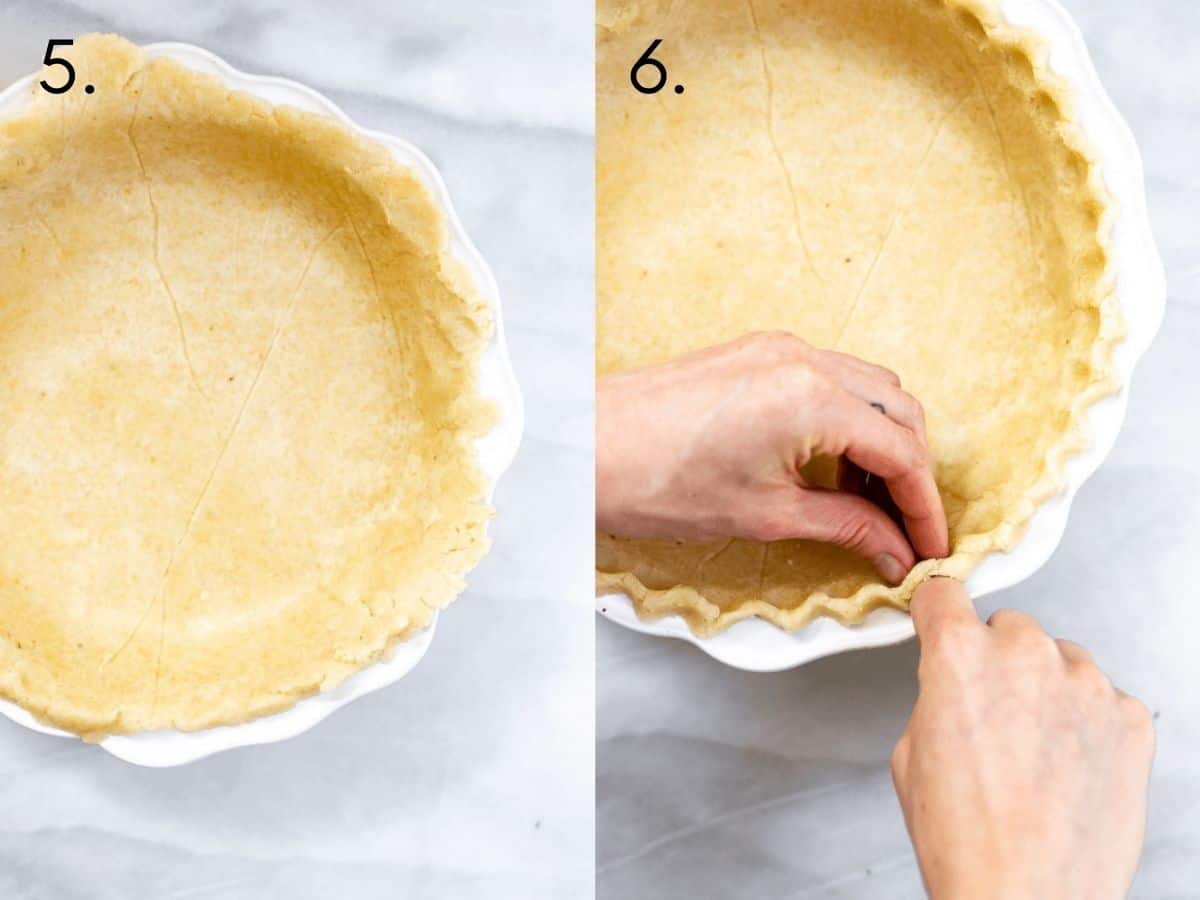
Don’t second guess yourself, you want to act quickly so the dough doesn’t fold in half. The edges might fall off or get messed up, don’t worry, we’ll fix that in a second! Peel off the piece of parchment paper. Carefully press the dough into the bottom corners of the plate. Careful not to tear the dough, but you can easily repair it if you do.
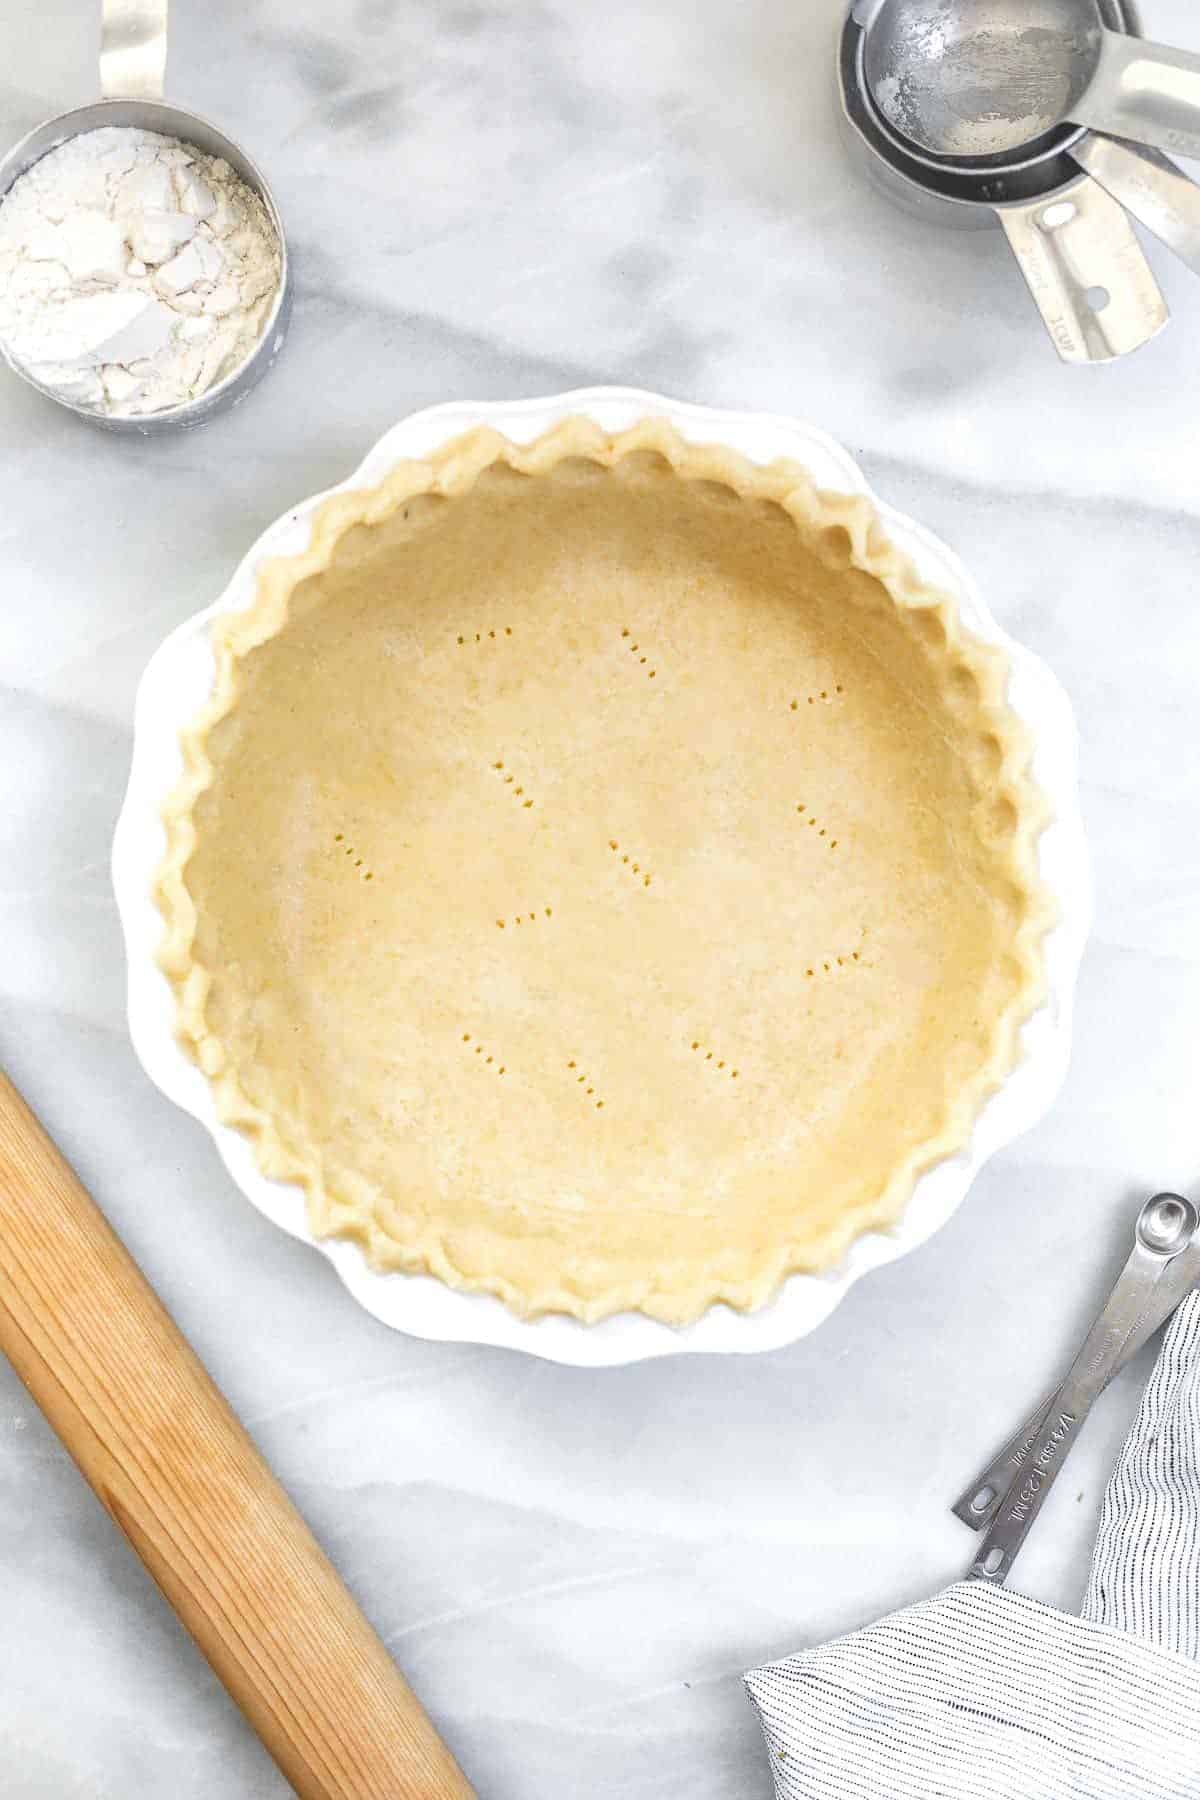
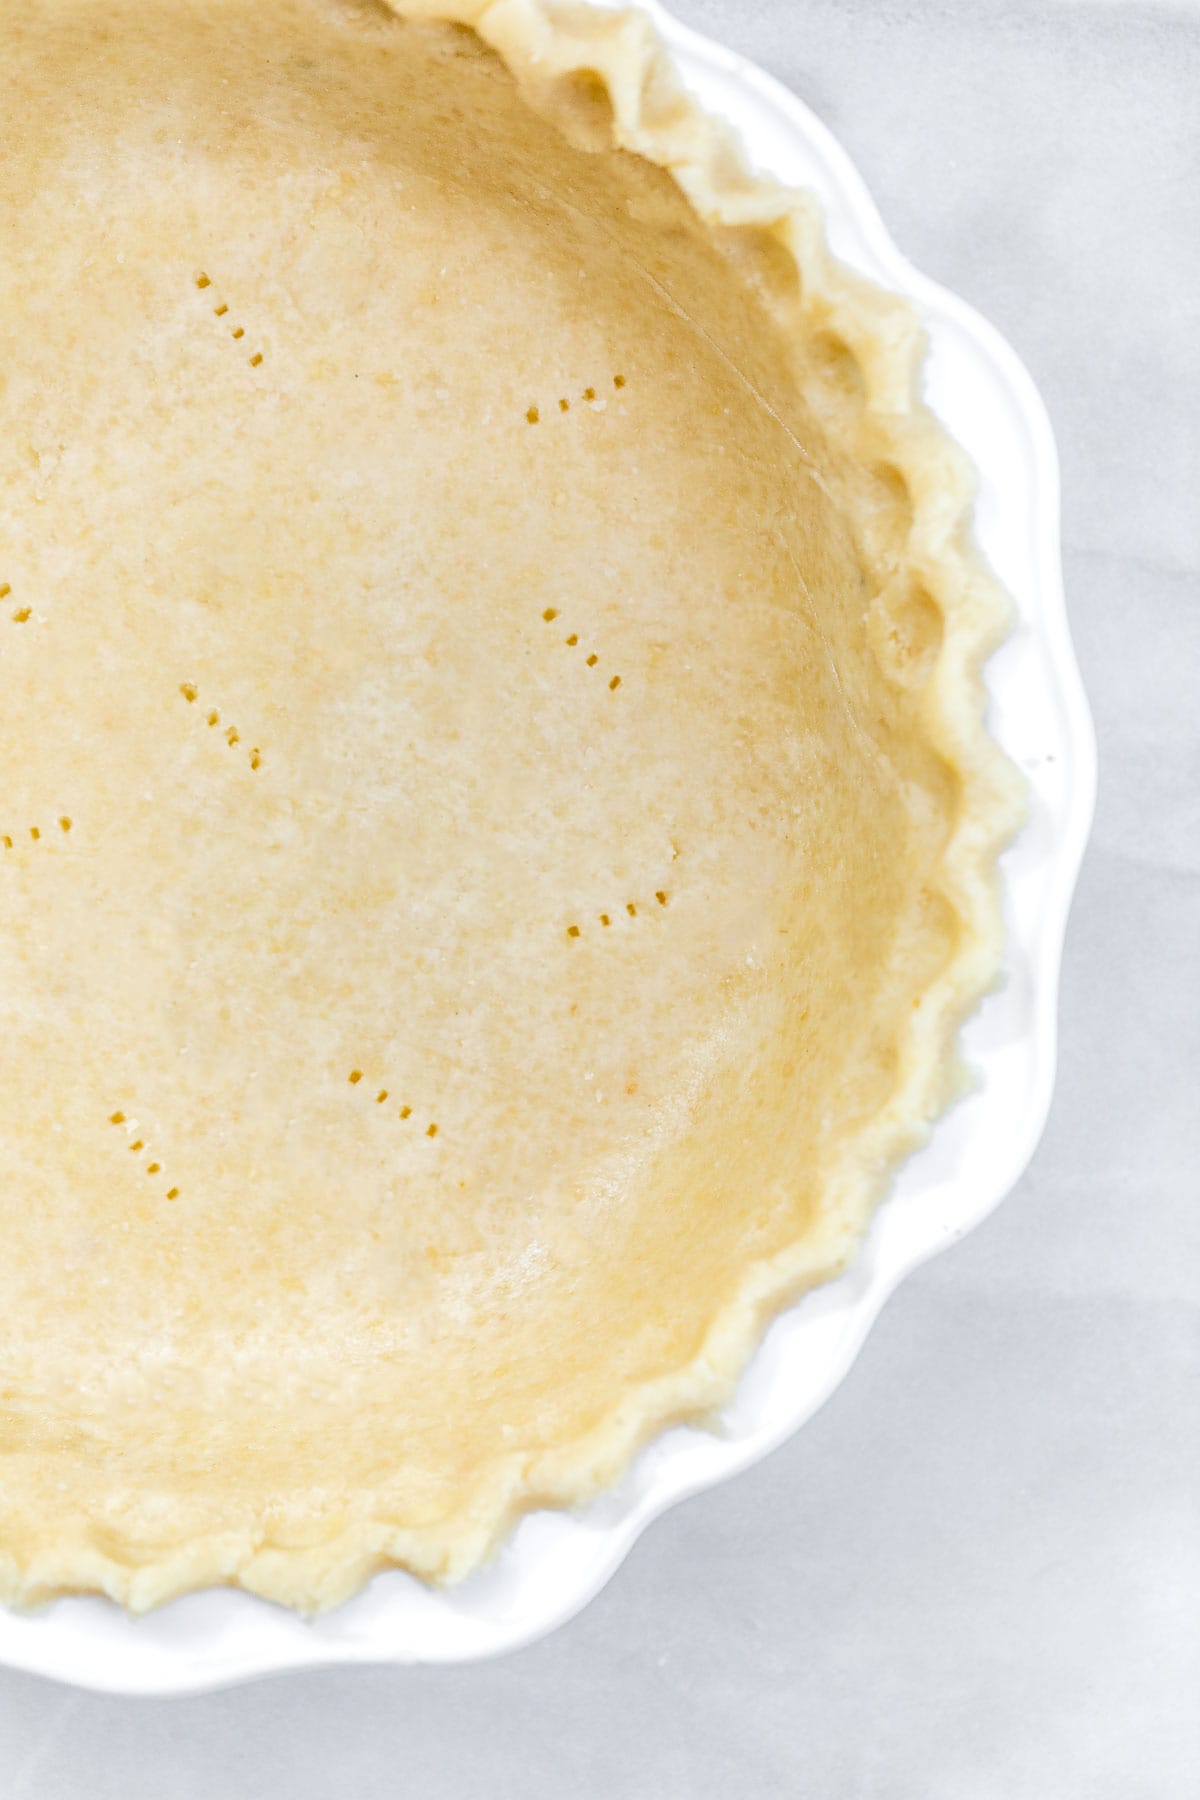
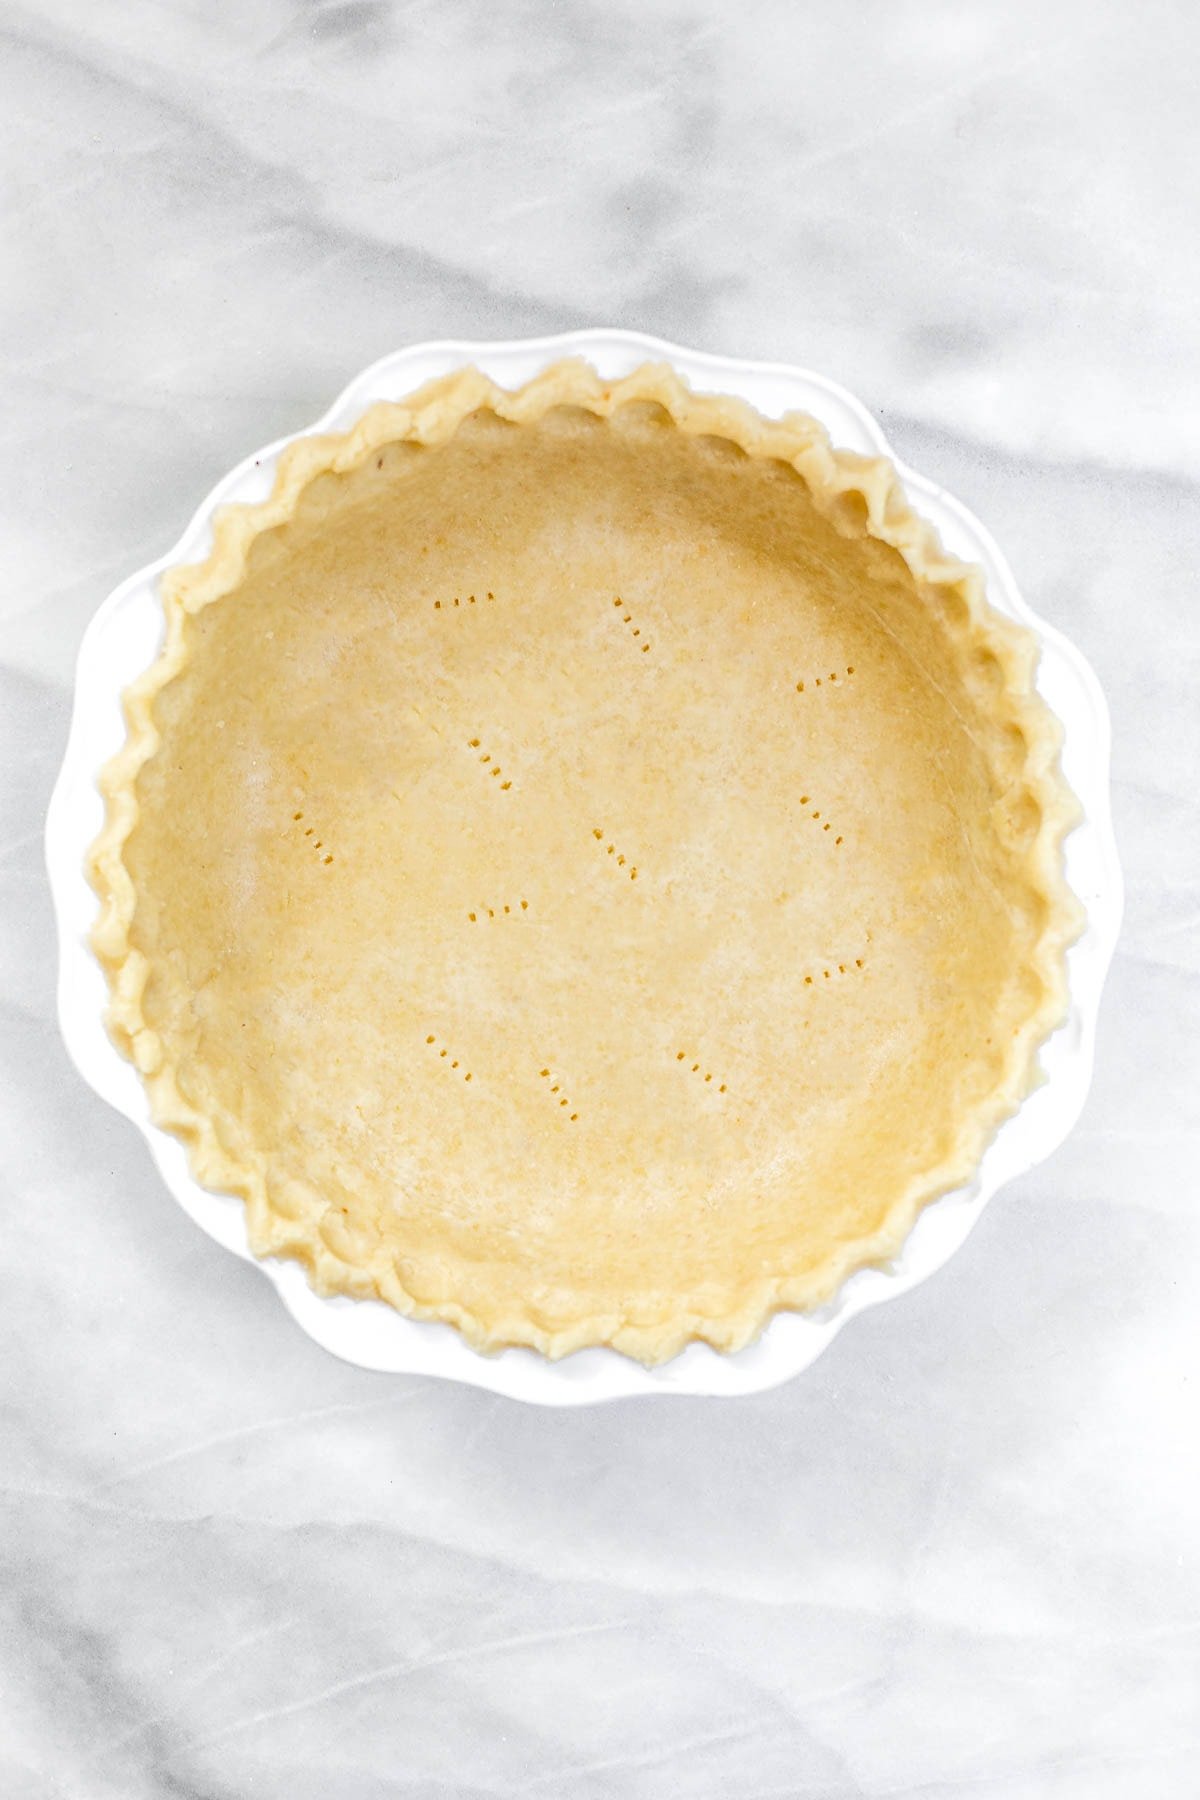
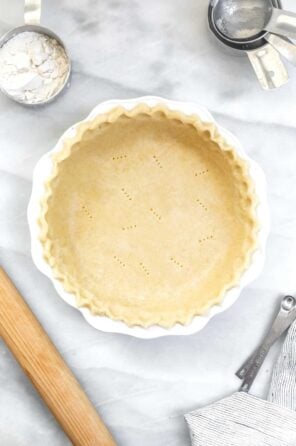
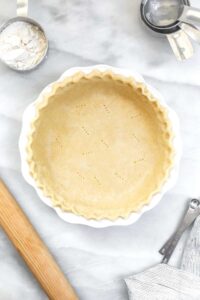
Use a knife to trim the excess dough around the edges and use the excess to make any patches, fill in the sides as needed etc. Use a fork to poke a few holes in the bottom of the crust.
WANT TO SAVE THIS RECIPE?
Now you can decorate the edge any way you like! Use a fork to make indents or use your knuckle and thumb/index finger on the opposite hand to make intends along the edge.
How to bake
Now for baking, if you are making a no-bake pie, you’ll bake the crust for 25-30 minutes at 350 Fahrenheit or until golden brown.
For baked pies like pumpkin, apple, pecan etc. bake the pie for just 5-10 minutes. 5 minutes for pies that require a long bake time of about an hour, or 10 minutes for pies with a bake time of 30-45 minutes. Let cool for about 10 minutes, then add your filling per your pie recipe instructions.
How do I prevent the crust from getting soggy?
While getting your temperatures and ingredients right helps solve other texture issues, par-baking your crust for just five to ten minutes helps avoid a soggy gluten free pie crust.
You only want to parbake for a few minutes, otherwise it can over-bake when the filling is added. The bottom of the crust should not be browned, this happens when finish baking with the filling.
Can I make it in advance and freeze it?
Yes! This gluten free pie crust can be made about 3 days in advance. However, you want to stop once the dough is made, then just roll it out and bake it when you’re ready to use it!
Just wrap it tightly in plastic wrap and store it in the fridge. Let it sit at room temperature for about 30 minutes before rolling. You are also welcome to freeze it. Just wrap it tightly in plastic wrap and thaw in the fridge overnight before rolling.
Can I make it vegan or dairy free?
Since there are no animal products other than butter in this recipe, it is fairly simple to make it vegan/dairy free. You can swap the butter for either a vegan butter (just make sure it is properly chilled) or a butter flavored non-hydrogenated vegetable shortening.
Try these next!
- Gluten Free Apple Pie Bars
- Lemon Squares
- Homemade Gluten Free Bread
- Gluten Free Pizza Crust
- Gluten Free Bagels
Lastly, if you want more recipes straight to your inbox, be sure to subscribe to my email list. As always, tag me on instagram if you make this recipe so I can see your creation! Be sure to comment and leave a review if you like this recipe!
Gluten Free Pie Crust
by: claire cary
Ingredients
- 2 ½ cups gluten free all purpose baking flour
- 1 cup cold butter
- 1 tablespoon sugar omit for savory pies/quiches
- ½ teaspoon salt
- 3 tablespoons cold vodka see notes
Instructions
- Add the flour, sugar and salt to a food processor. Be sure to spoon and level the flour, don’t scoop to measure. Pulse a couple times to combine.
- Add in the cubed butter and combine until the dough looks like wet sand and there are no more large chunks of butter.
- Next, add in the vodka and combine until a smooth dough forms. Add 1-2 more teaspoons of vodka as needed if it seems at all dry.
- Divide into two discs. Each of mine were about 300 grams.
- Transfer to a piece of plastic wrap and wrap tightly. Place in the fridge for 30 minutes.
- Once the dough is ready, add one disc at a time to a large piece of floured parchment paper on a flat surface.
- Grab a floured rolling pin and roll the dough out into a roughly 12 inch circle. Try to get it as even as possible and just press the edges together if they’re cracking.
- Now for the part that always makes people nervous! Get your generously greased 9 inch pie plate ready, pick up the piece of parchment paper with the dough and quickly flip it onto the pie plate. Don’t second guess yourself, you want to act quickly so the dough doesn’t fold in half. The edges might fall off or get messed up, don’t worry, we’ll fix that in a second!
- Peel off the piece of parchment paper. Carefully press the dough into the bottom corners of the plate, without tearing the dough.
- Use a knife to trim the excess dough around the edges and use the excess to make any patches, fill in the sides as needed etc. Use a fork to poke a few holes in the bottom of the crust.
- Now you can decorate the edge any way you like, use a fork to make indents or use your knuckle and thumb/index finger on the opposite hand to make intends along the edge.
- Now for baking, if you are making a no-bake pie, you’ll bake the crust for 25-30 minutes at 350 Fahrenheit or until golden. For baked pies like pumpkin, apple, pecan etc. bake the pie for just 5-10 minutes for pies that require a long bake time of about an hour (or more), or 10 minutes for pies with a bake time of 30-45 minutes.
- Let cool for about 10 minutes, then add your filling per your pie recipe instructions and top with the second pie crust as needed.
Notes
Comments
-
I made the GF pie crust yesterday to go with the GF Quiche recipe. The quiche was delicious. Wanted to give feedback on the GF pie crust. Par baked crust for 15min and then baked quiche for 45min. The crust did not separate easily from pie plate and half of it stuck to the pie plate. Been baking GF since 2012, this was the first time making GF pie crust. The pie crust was also v. crumbly (which I wasn’t surprised by bc GF doesn’t “hold” as well as gluten). Used King Arthur GF flour, omitted sugar bc made savory and used the vodka. Am wondering if I need to spray the pie plate to release the crust more easily? The taste of the crust is delicious. Just wondering how to improve the release from pie plate and also make crust less crumbly so it stays together better?

-
Yes, you definitely want to grease the pie plate! It should be flaky, not crumbly. Did the part that stuck to the plate seem underbaked? Or was just sticking?
-
Crust was just sticking, like glue. The crust was done. The pie plate will likely being going into rubbish. Even after soaking, could not get crust off sides of pie plate without vigorous scrubbing. Besides spraying next time, I am wondering if I need to par bake longer? Or, if I need to cool quiche longer before releasing? The taste of pie crust was delicious but v. v. crumbly – like shortbread cookie crumbly.
-
Yes, I would maybe try baking longer! What time of pie plate are you using? I would also definitely let things cool for longer before serving.
-
Used a metal pie plate (the kind used for pecan/s potato pies). Center circle is removable from sides so can serve. Hope that made sense. I have second pie crust in freezer and will try your recs above and report back!
-
I haven’t tried this on a metal plate- maybe that’s why it stuck? I always use ceramic. But let me know how it goes!
-
-
-
-
-
-
To parbake the crust for pumpkin pie do I just need to prick the crust and bake 5 minutes- no need to line with parchment paper or weights is that correct? thank you!
-
It works either way! To really prevent any air bubbles, you can line with parchment and weights. Up to you!
-
-
I tried using Pamela’s GF flour and had to add a significant amount of vodka to get the dough to stick together. Then it was challenging to roll out the first shot. Top crust was much better with experience. I will try a different GF flour next time. It didn’t taste bad.
-
I recommend sticking with the bob’s baking flour for best results!
-
-
Is this recipe meant for almond flour or gf all purpose flour? The link in the recipe for the flour goes to Amazon almond flour
-
Should be all purpose, I’ll correct that, thanks for letting me know!
-
-
Excited to try this recipe! Do you have any recommendations if I were to double the recipe to add a layer of dough to the top of my filling for a closed pie? I know you have to precook the pie crust for the base layer and that isn’t an option for the top layer. Let me know if there are any recommendations please!
-
No need to precook the top layer! Just add it to the recipe as usual.
-
leave a comment and rating