Butternut Squash Mac and Cheese


This easy butternut squash mac and cheese is rich, creamy and perfect for Fall! It’s creamy, cheesy, indulgent and made with simple, pantry staple ingredients. Keep as is or bake it!
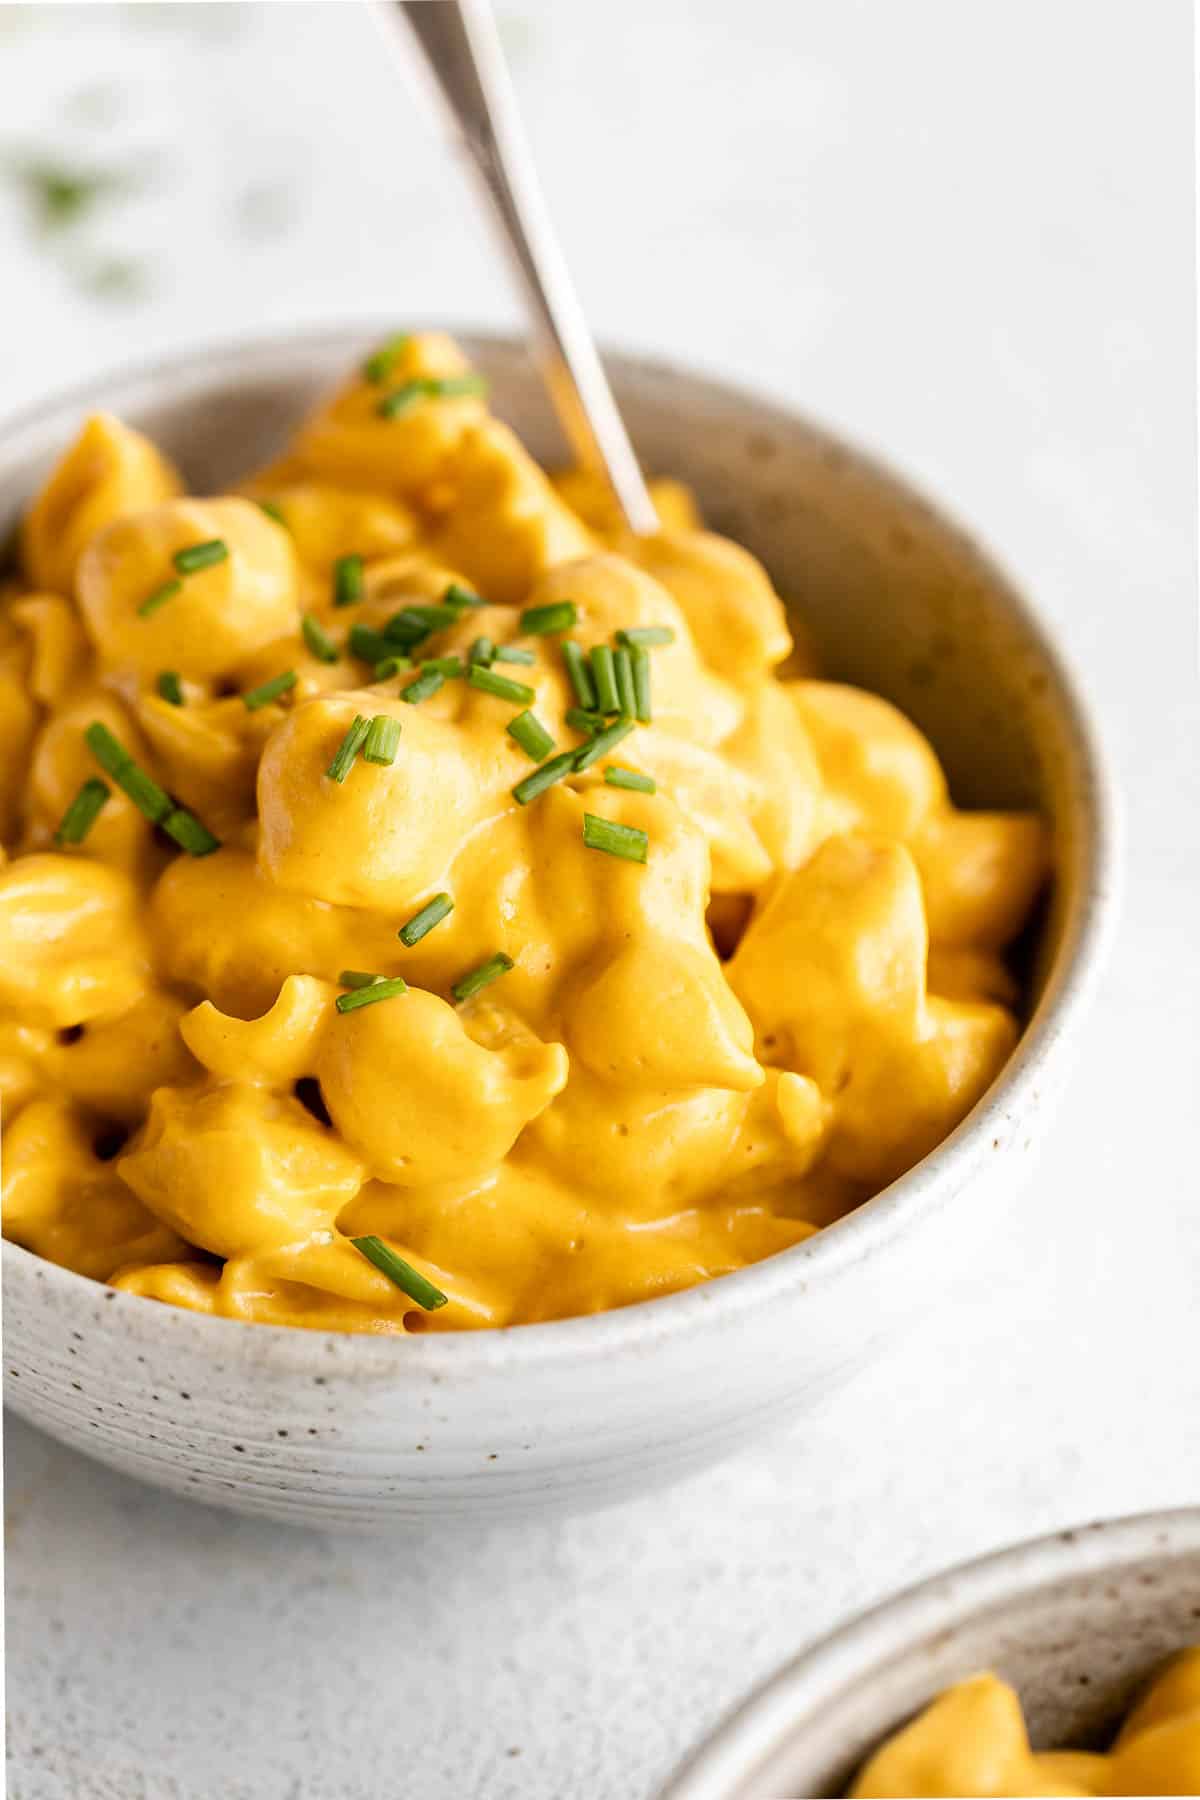
Mac and cheese is my ultimate comfort food. Annies was my go to when I was little, but these days I generally prefer a homemade version. This butternut squash mac and cheese is so rich and creamy thanks to two types of cheddar.
This recipe comes together very quickly and can be turned into a baked mac and cheese! It’s perfect for a simple Fall dinner, or Thanksgiving side dish.
I love using chickpea pasta like Banza for added protein, but anything goes! Shells or elbows are more traditional for mac and cheese, but even penne or rotini will work! Be sure to try my cauliflower mac and cheese next for another veggie packed comfort food recipe or my high protein mac and cheese!
Before we get started!
- I opted to just boil the butternut squash because it’s a bit faster and you can just buy pre-cubed squash from the market. However, you can bake the squash if you prefer. You will need one whole squash, then just slice in half, place cut side down and bake for about 45 minutes at 425. Then add to the blender with the onion mixture and milk.
- This recipe calls for sharp cheddar and white cheddar. You can also add in 1/2 cup grated parmesan for a sharper and richer flavor. Feel free to play around with what you like, there are so many cheeses that work well in Mac and cheese!

How to make butternut squash mac & cheese
Bring a large pot of salted water to a boil and cook pasta according to package instructions. Bring a pot of water to a boil and carefully add the cubed squash. Let boil until the squash is fork tender, about 20 minutes.
Heat a pot with the oil over medium heat and add in the diced onion. Saute for about 5-7 minutes, then add in the minced garlic and saute 1-2 more minutes.
Drain the butternut squash and add to a high speed blender with the onion mixture and milk. Blend until completely smooth. You want to let the blender run for a while to ensure it is 100% smooth.

In the same pot the onion was in, melt the butter over low heat, then whisk in the flour until smooth. Pour the blended squash mixture in and whisk to combine.
WANT TO SAVE THIS RECIPE?
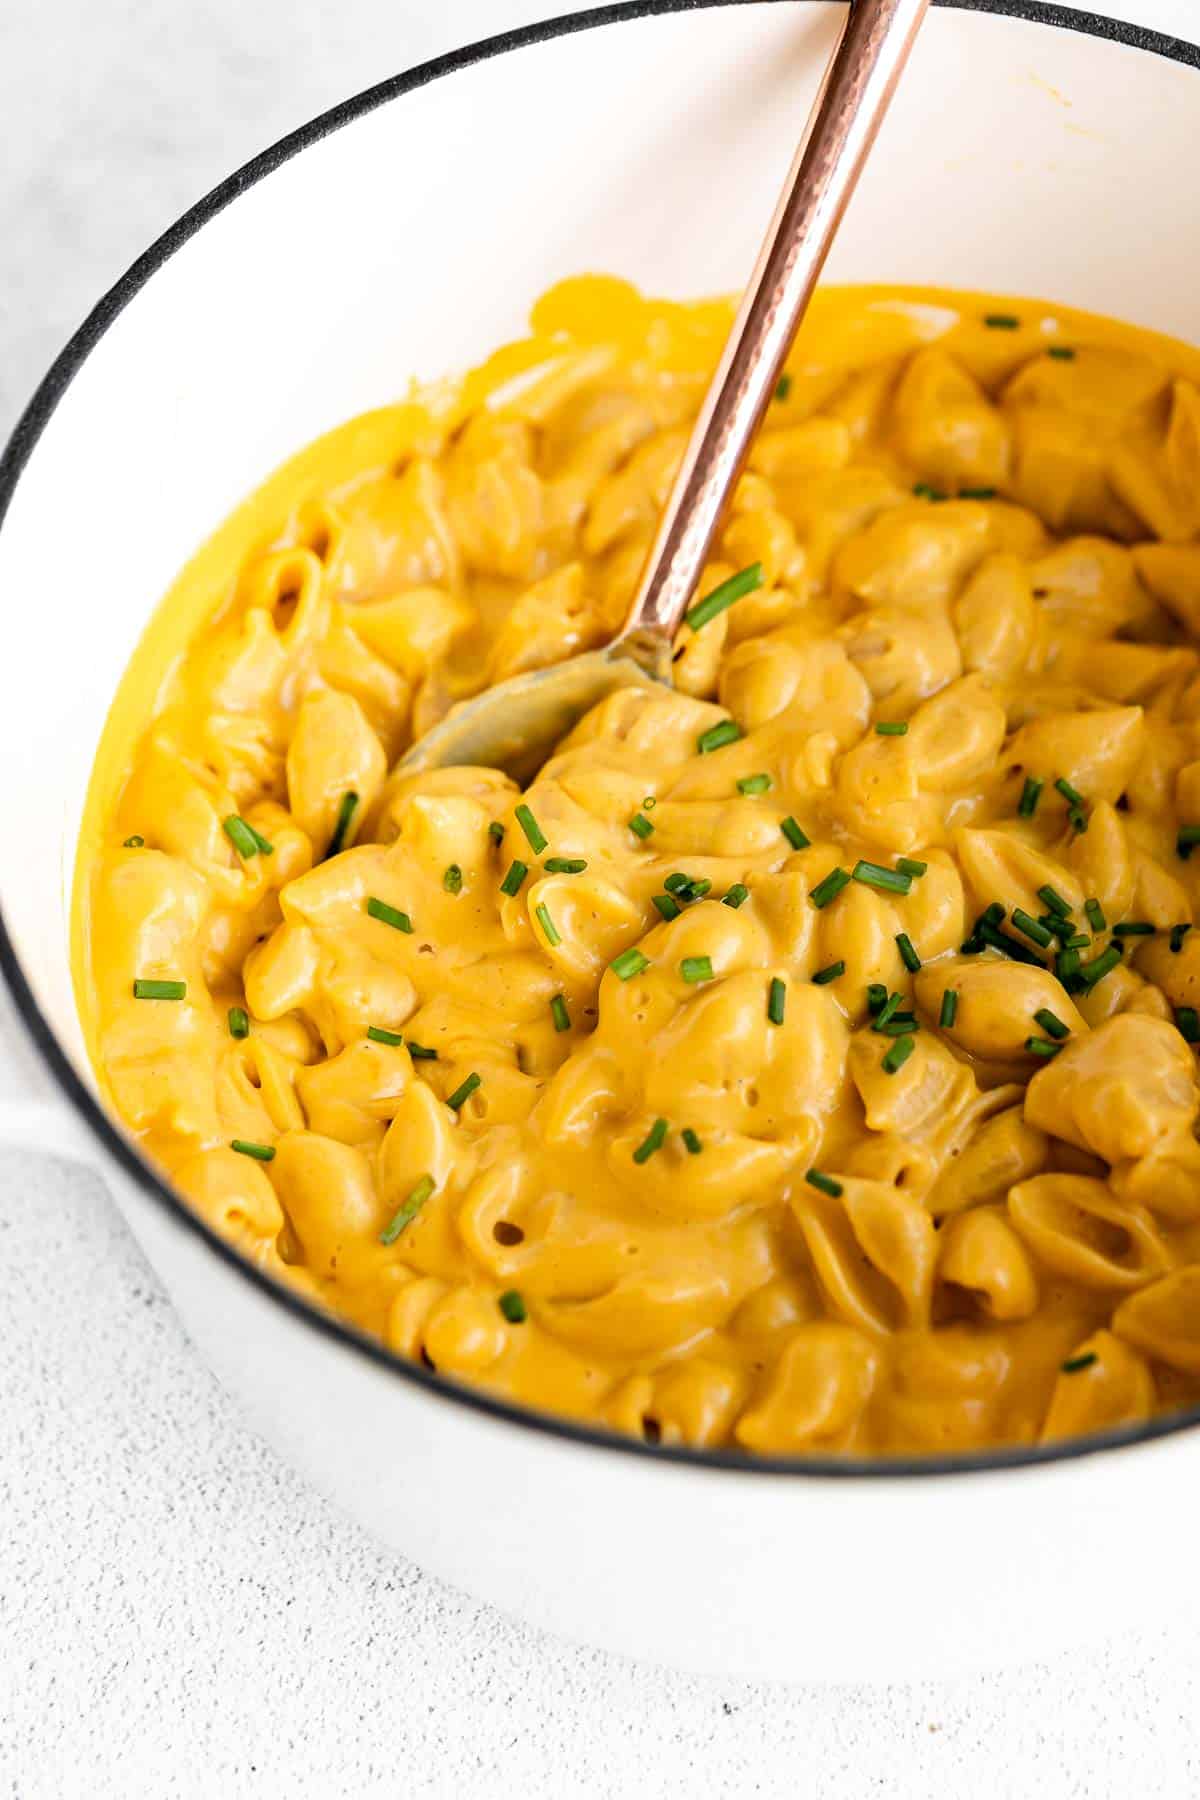
Add in the salt, pepper and both cheeses. Keep the heat very low and stir until both cheeses have melted. Remove from heat. Once melted, stir in the cooked pasta until well combined. Taste and adjust flavors as desired, I usually like a bit more salt. You can also stir in some grated parmesan cheese for a sharper flavor.
It will seem very saucy at first, but the pasta will absorb some of the sauce, especially if you’re using a gluten free pasta. If you prefer it less saucy, just pour less on top! Serve, enjoy and try my roasted carrot pasta next!

Bake it!
To turn this into baked mac & cheese, follow all of the steps as usual in the recipe, then transfer to an oven safe dish. Top with breadcrumbs and more cheese if desired and bake for 20 minutes at 350, or simply broil on high for about 2 minutes to crisp the top.
I love to just broil the top because it keeps the rest of the mac really creamy, whereas baking can sometimes dry things out a bit.
Make it vegan!
You can easily make this a vegan butternut squash mac and cheese by using almond milk, Earth Balance butter and the VioLife just like cheddar cheese shreds.
There are so many vegan cheeses on the market these days, but VioLife is one of my favorite brands. The flavor will vary if you use something different, so keep that in mind.
How to store
Once prepared, this butternut squash mac and cheese will keep in the fridge for about 3 days. I like to reheat it on the stove with a splash of milk and butter so it gets nice and creamy again. Just be sure you let it cool completely before storing.

Try these next!
If you want more recipes straight to your inbox, be sure to subscribe to my email list! As always, don’t forget to tag me on instagram so I can see your creations!
Butternut Squash Mac and Cheese
by: claire cary
Ingredients
- 1 pound pasta of choice
- 4 cups cubed butternut squash
- 1 tablespoon olive oil
- 1 large white or yellow onion diced
- 3 cloves garlic minced
- 2 ½ cup milk
- 3 tablespoons butter
- 3 tablespoons flour
- ½ teaspoon salt or more, to taste
- ¼ teaspoon black pepper
- 2 cups shredded sharp cheddar cheese
- 1 ½ cups shredded white cheddar
Instructions
- Bring a large pot of salted water to a boil and cook pasta according to package instructions.
- Bring a pot of water to a boil and carefully add the cubed squash. Let boil until the squash is fork tender, about 20 minutes.
- Heat a pot with the oil over medium heat and add in the diced onion. Saute for about 5-7 minutes, then add in the minced garlic and saute 1-2 more minutes.
- Drain the butternut squash and add to a high speed blender with the onion mixture and milk. Blend until completely smooth. You want to let the blender run for a while to ensure it is 100% smooth.
- In the same pot the onion was in, melt the butter over low heat, then whisk in the flour until smooth. Pour the blended squash mixture in and whisk to combine.
- Add in the salt, pepper and both cheeses. Keep the heat very low and stir until both cheeses have melted. Remove from heat.
- Once melted, stir in the cooked pasta until well combined. Taste and adjust flavors as desired, I usually like a bit more salt. You can also stir in some grated parmesan cheese for a sharper flavor.
- It will seem very saucy at first, but the pasta will absorb some of the sauce, especially if you’re using a gluten free pasta. If you prefer it less saucy, just pour less on top! Serve and enjoy!
Notes
Comments
-
This is amazing! I made the baked version and used GF breadcrumbs—it was so good! Lots of fresh ground pepper and a green salad made this a meal.

-
Can defrosted frozen butternut squash work or is it better to cook fresh?
-
Defrosted from frozen should work just fine!
-
-
This is probably the best butternut squash mac and cheese recipe I’ve tried. Such great texture and flavor – the perfect combination for a fall dish! My boyfriend went back for seconds (which doesn’t happen very often). Highly, highly recommend.
-
So happy to hear that! Thanks Alyssa!
-
leave a comment and rating