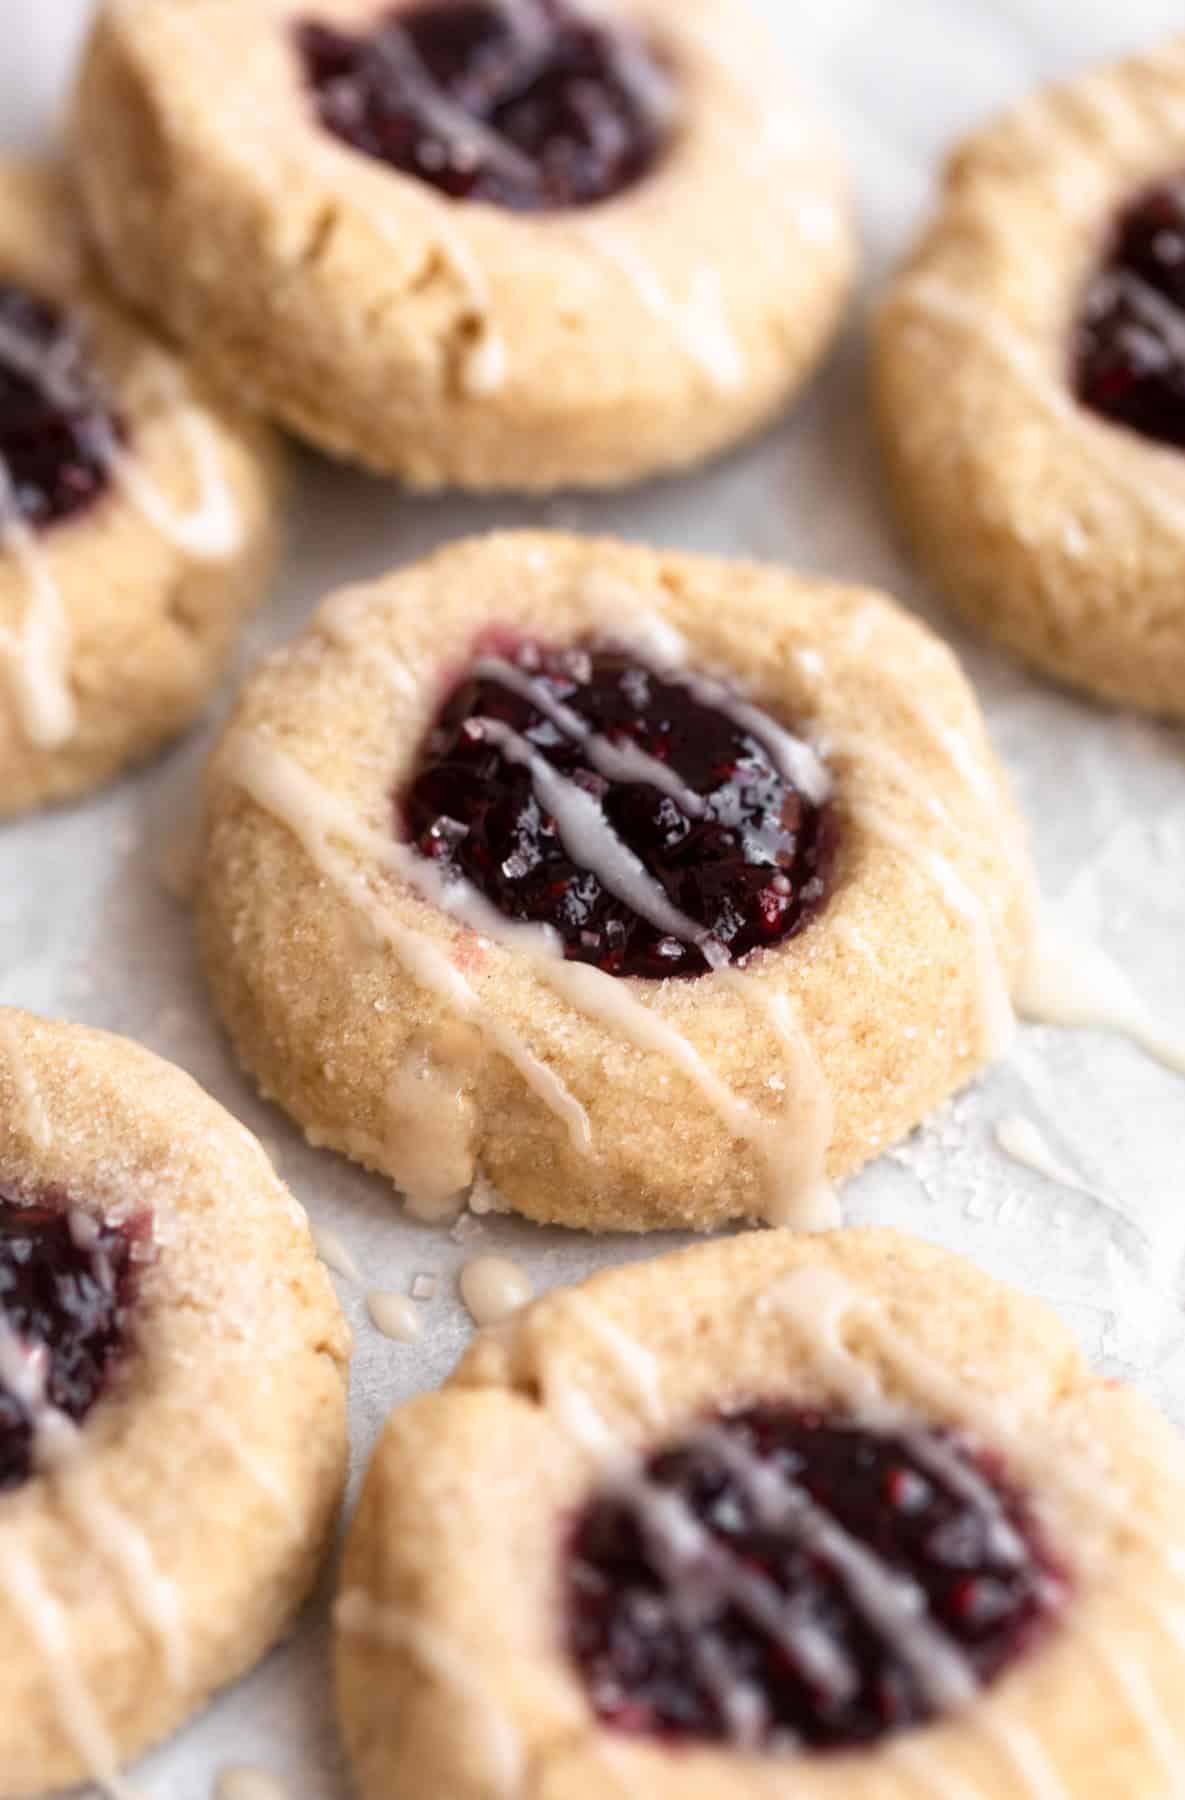
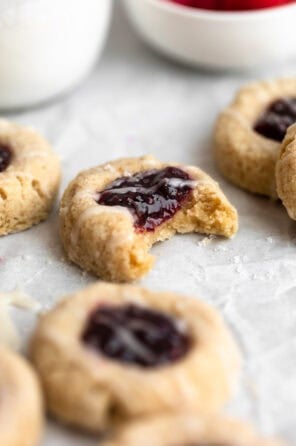
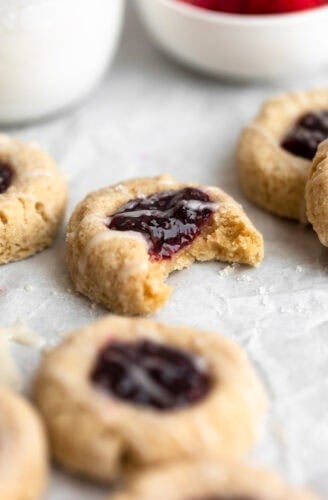
Gluten Free Thumbprint Cookies


These gluten free thumbprint cookies are buttery, soft and filled with your favorite jam in the center! They’re easy to make with pantry staple ingredients and are the perfect addition to any cookie platter.

While traditionally a holiday cookie, these gluten free thumbprint cookies are one of my favorites to make for spring! They have a buttery base and a fresh flavor from the jam in the center, so they don’t feel as heavy as a chocolate based cookie, making them perfect for this time of year!
You can use any jam flavor you like here, I opted for raspberry for a classic take, but apricot, blueberry, mixed berry etc. are all delicious. If you love this recipe, try my gluten free crumbl cookies next!
Tips before we get baking!
- Be sure your butter is softened/at room temperature. We are chilling the dough before baking, so if the butter is a little too soft, don’t worry! It just needs to be soft enough to cream with the sugars.
- You can use any kind of jam you like here! I love adding a tablespoon of lemon zest to the cookie dough (you can even add some lemon extract) and blueberry jam- making the perfect lemon blueberry cookie for Spring!
- I know chilling dough is annoying, but please do not skip this step! We want the cookies to retain their shape and chilling will ensure that.

How to make gluten free thumbprint cookies
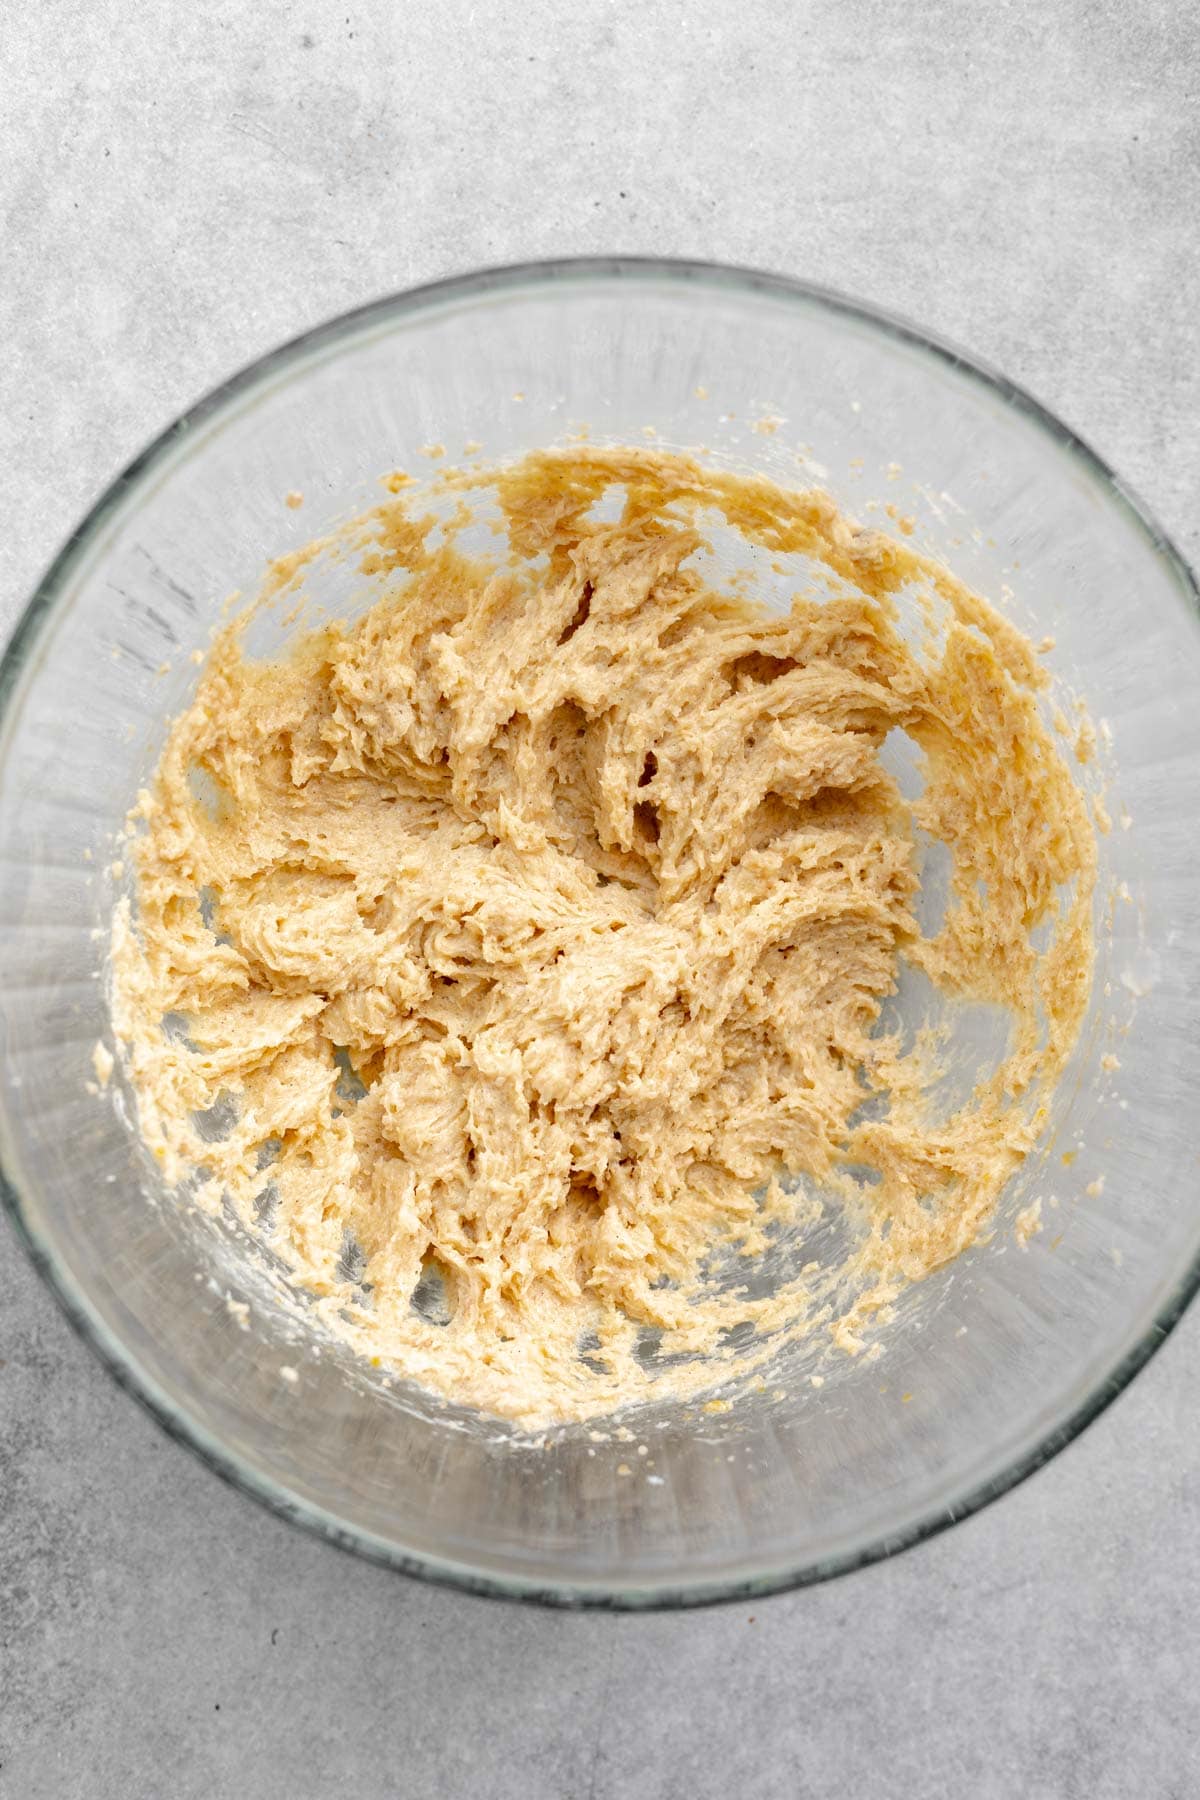
Line a baking sheet with parchment paper and set aside. In a medium mixing bowl or bowl of a stand mixer, combine the butter, white sugar and brown sugar and beat with an electric mixer for about 1 minute.
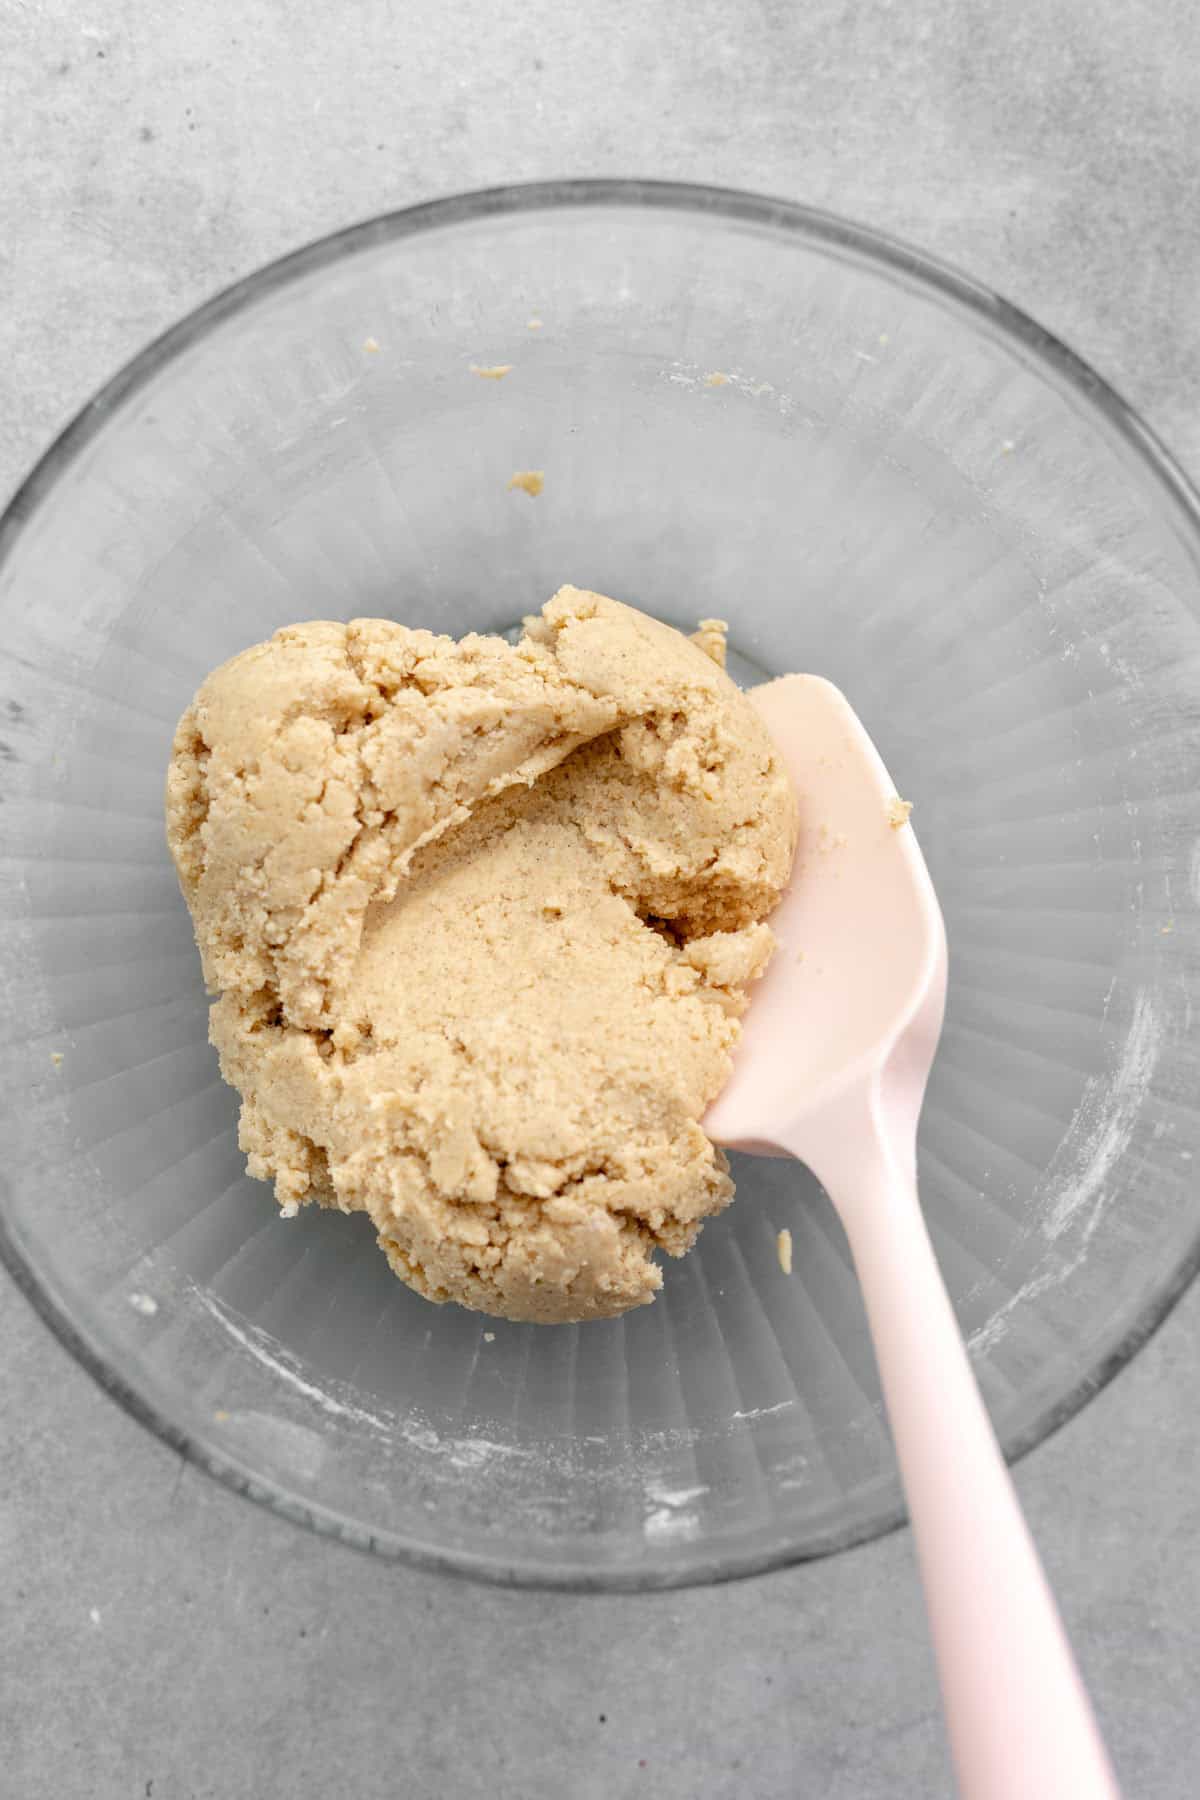
Add in the egg yolk and vanilla and beat to combine. Beat in the flour and salt until combined.
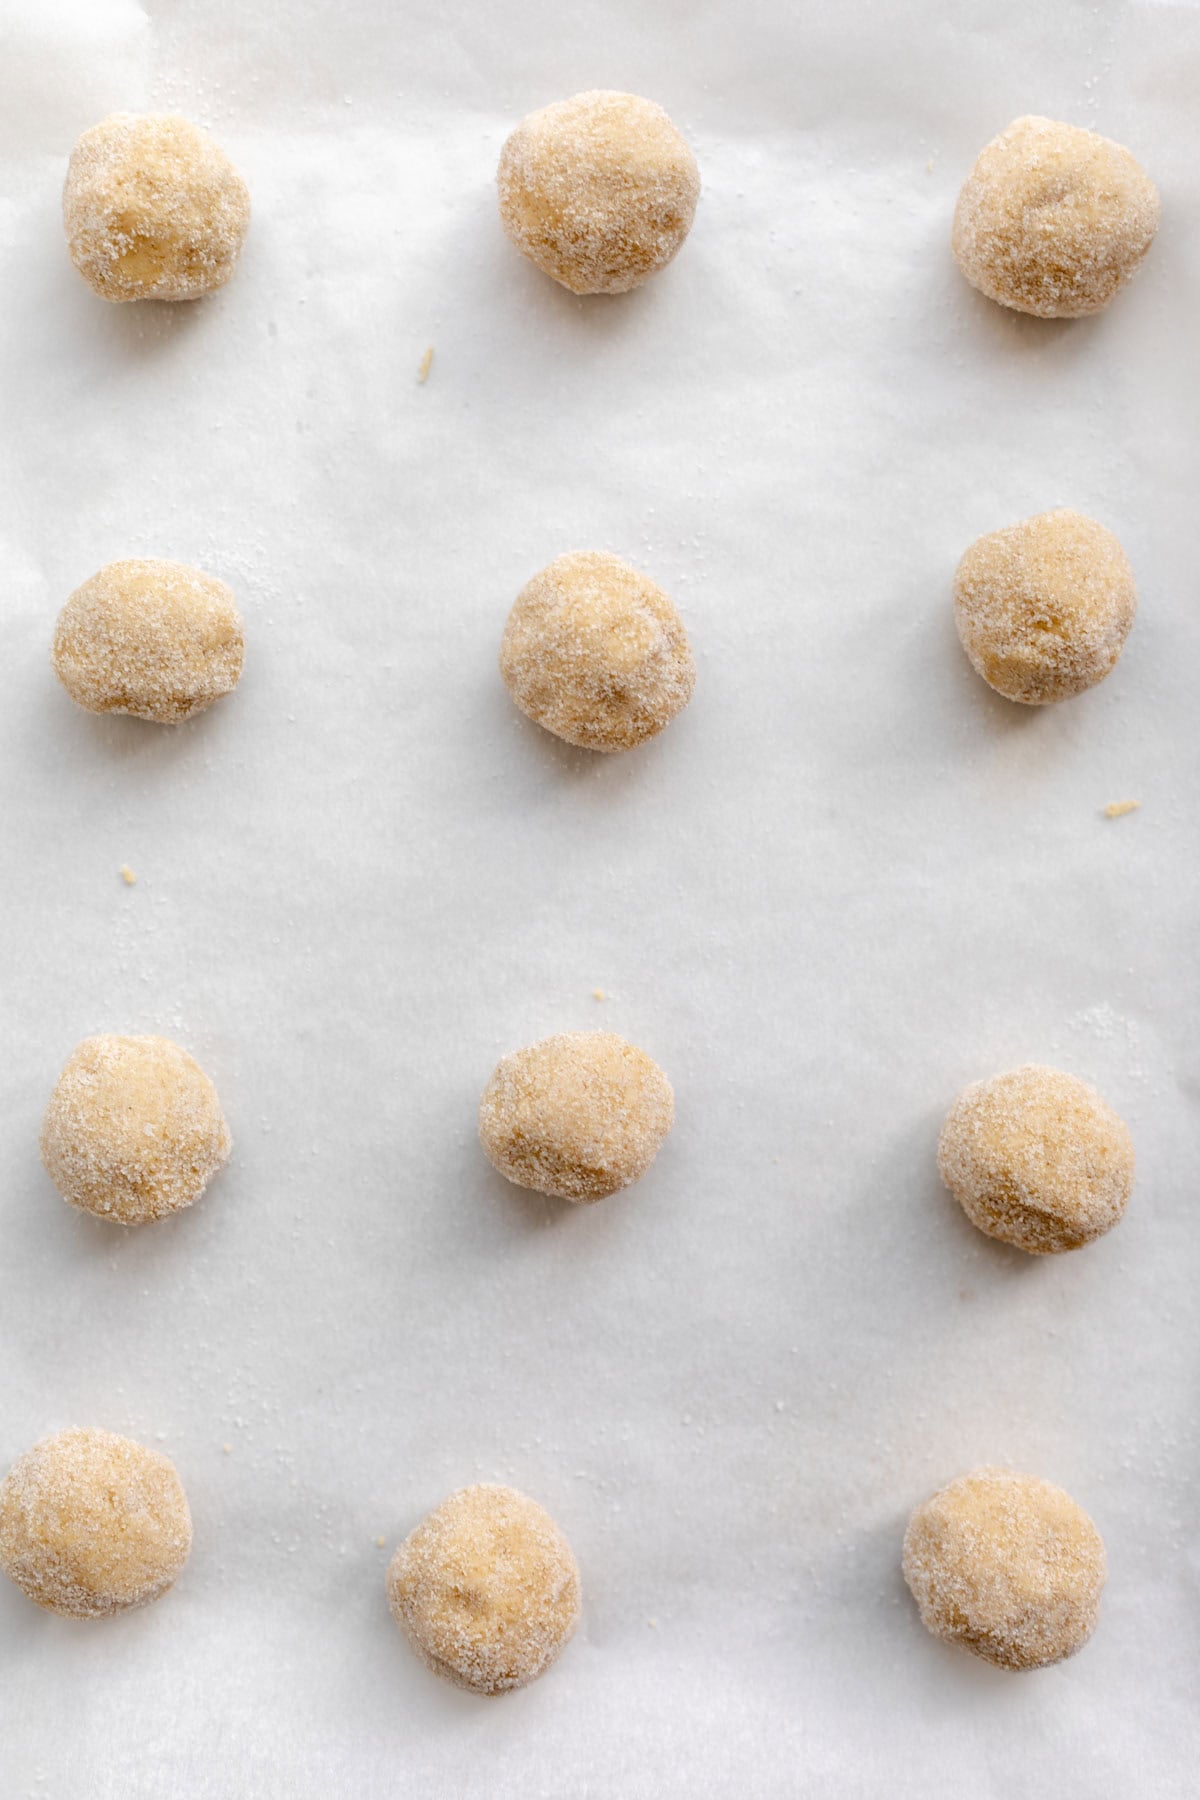
Use a small cookie scoop, about 1 tablespoon and scoop into balls. Roll in the sugar and place on the baking sheet, leaving a bit of space between each cookie.
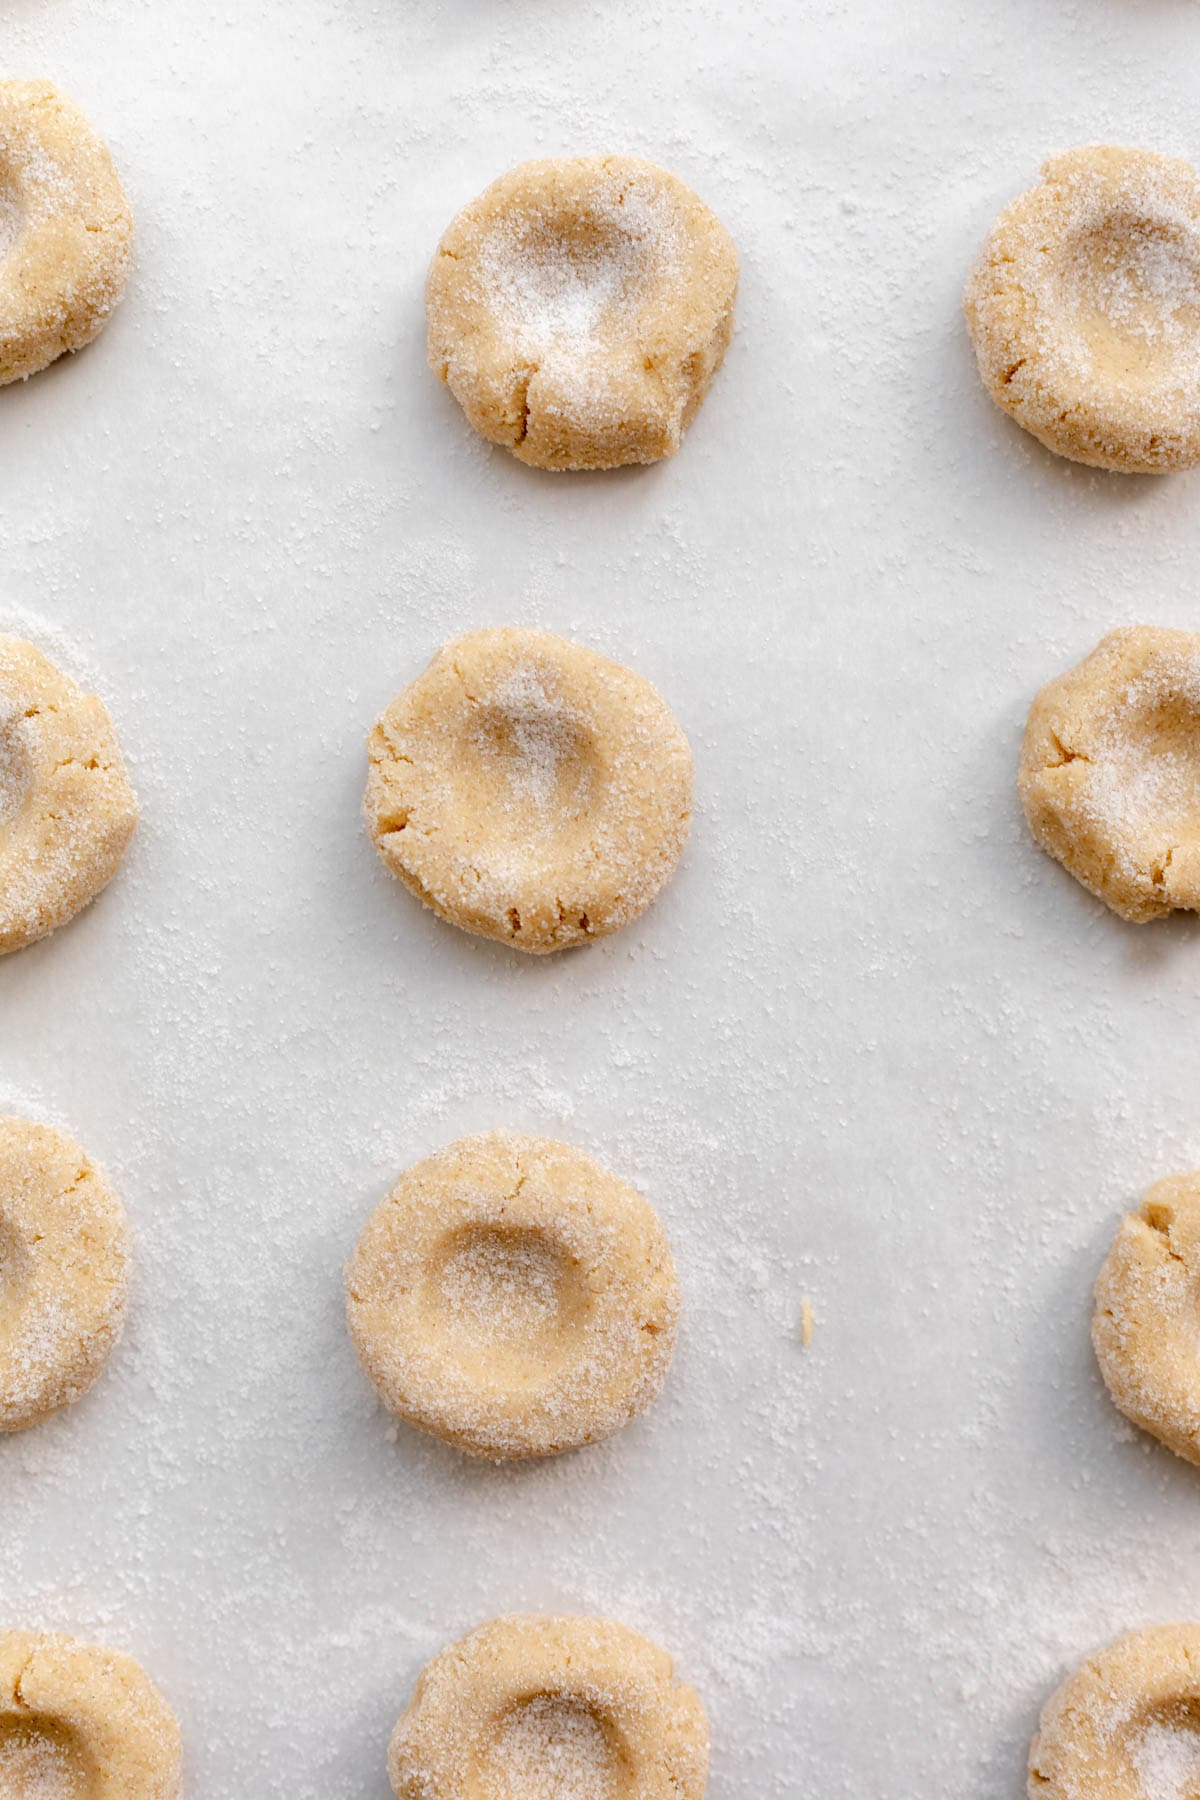
Press down slightly, then take the back of 1 teaspoon and press an indent in the center of each cookie.
Place in the fridge to set for 1 hour. Toward the end of the hour, preheat the oven to 350 degrees Fahrenheit.
Once preheated, bake the cookie for 12-14 minutes or until the edges are lightly golden brown. If the indents have filled in at all, you can reform lightly with the teaspoon, then take about 1 teaspoon of jam to fill in each cookie. Let cool to allow them to firm up, then enjoy! Try my strawberry chocolate chip cookies next!
WANT TO SAVE THIS RECIPE?
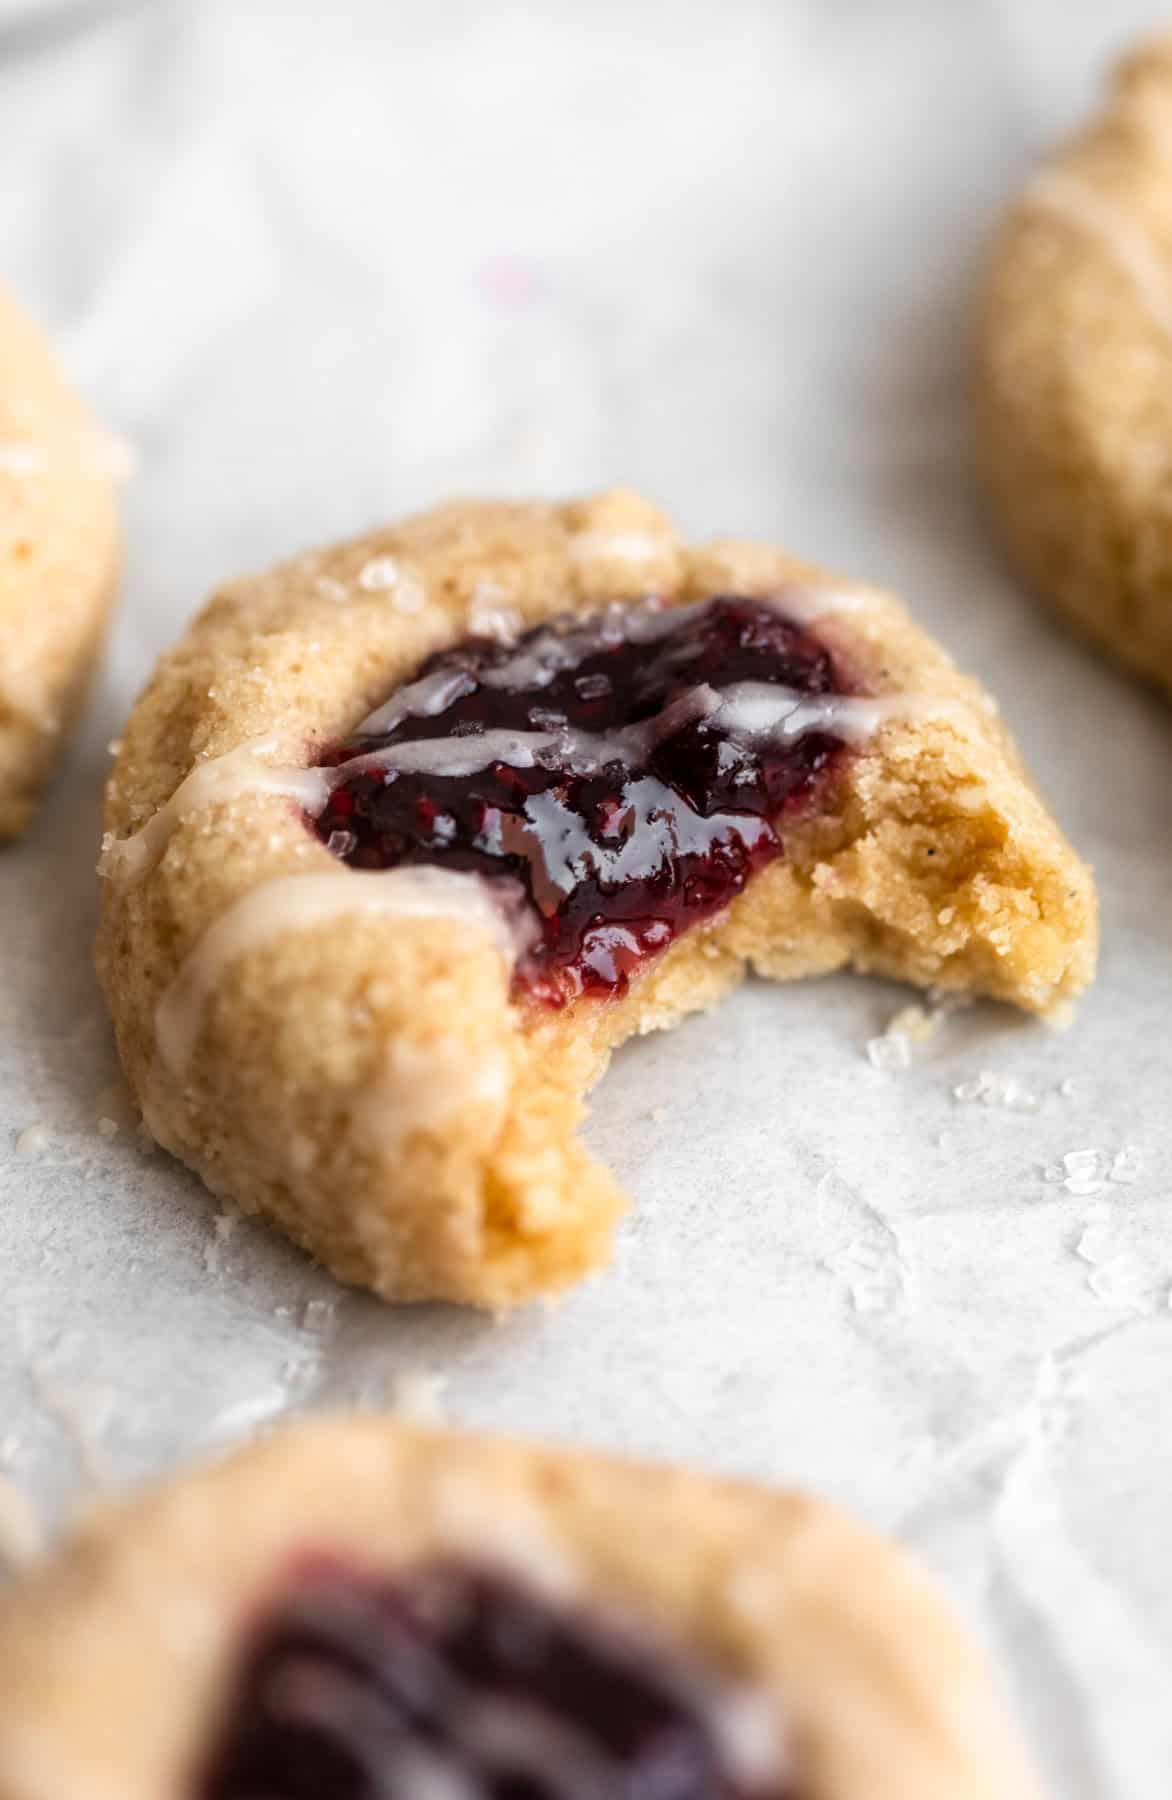
Adding jam before or after baking
These gluten free thumbprint cookies went through a lot of rounds of testing. They aren’t a cookie that you want to spread, so getting them to keep their shape can be tricky! I tested them with placing the jam in the center both before and after baking, and ultimately found the most success with adding the jam after baking.
When applied before baking, you can have to be really careful about the amount you use because any excess will seep out and cause the cookies to morph a bit. Filling after baking will help prevent leakage and burnt sugar. However, filling before baking will help the jam set and create a really chewy texture. To get the best of both worlds, you can bake for about 8 minutes, fill, then bake for the remaining time.
How to store
Once prepared, these gluten free thumbprint cookies will keep for about 3 days at room temperature. Keep them in an air tight container for best results so they don’t dry out.
You can freeze these cookies, but do so before you add the jam. Let the cookies cool completely, then transfer to a freezer safe bag and freeze for up to 2 months. Reheat in the oven just until warm through the center, then cool and add your jam!
Ingredient swaps
Flour. I used Bob’s Red Mill 1:1 baking flour here, but you can definitely use King Arthur if you prefer! Just be sure you are spooning and leveling to measure, don’t scoop from the bag.
Butter. I highly recommend real butter here, but if you need to make these dairy free, you can opt for something like Earth Balance. I just do not recommend coconut oil for the best flavor.
Sugar. A mix of white and brown sugar will sweeten the cookies and help create the perfect balance of a chewy center and crisp edge.
Egg yolk. One egg yolk will add a really nice chew to the cookies. The lack of egg white will prevent any cakey texture. I do not recommend any swaps here!
Try these gluten free cookies next!
If you want more recipes straight to your inbox, be sure to subscribe to my email list. If you make this recipe, be sure to tag me on instagram and leave a comment below!
Gluten Free Thumbprint Cookies
by: claire cary
Ingredients
Wet
- ½ cup unsalted butter
- ¼ cup white sugar
- ¼ cup brown sugar
- 1 egg yolk
- 1 teaspoon vanilla extract
Dry
- 1 ½ cups gluten free all purpose baking flour
- ¼ teaspoon salt
Other
- ¼ cup white sugar for rolling
- ⅓ cup raspberry jam or jam of choice
Instructions
- Line a baking sheet with parchment paper and set aside.
- In a medium mixing bowl or bowl of a stand mixer, combine the butter, white sugar and brown sugar and beat with an electric mixer for about 1 minute.
- Add in the egg yolk and vanilla and beat to combine. Beat in the flour and salt until combined.
- Use a small cookie scoop, about 1 tablespoon and scoop into balls. Roll in the sugar and place on the baking sheet, leaving a bit of space between each cookie.
- Press down slightly, then take the back of 1 teaspoon and press an indent in the center of each cookie.
- Place in the fridge to set for 1 hour.
- Toward the end of the hour, preheat the oven to 350 degrees Fahrenheit.
- Once preheated, bake the cookie for 12-14 minutes or until the edges are lightly golden brown. If the indents have filled in at all, you can reform lightly with the teaspoon, then take about 1 teaspoon of jam to fill in each cookie. Let cool to allow them to firm up, then enjoy!
Notes
Comments
-
Thumbprint cookies sound like a fun twist for a wedding dessert table. Have you tried using different jam flavors?
-
Yes! Truly any jam flavor is delicious here!
-
leave a comment and rating