Gluten Free Chocolate Cake
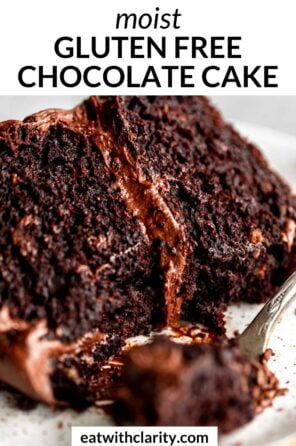
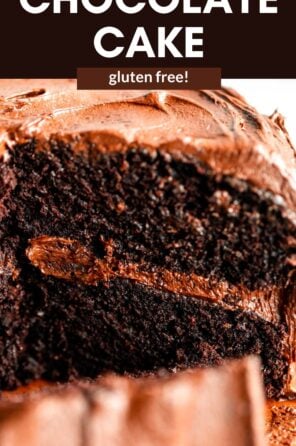
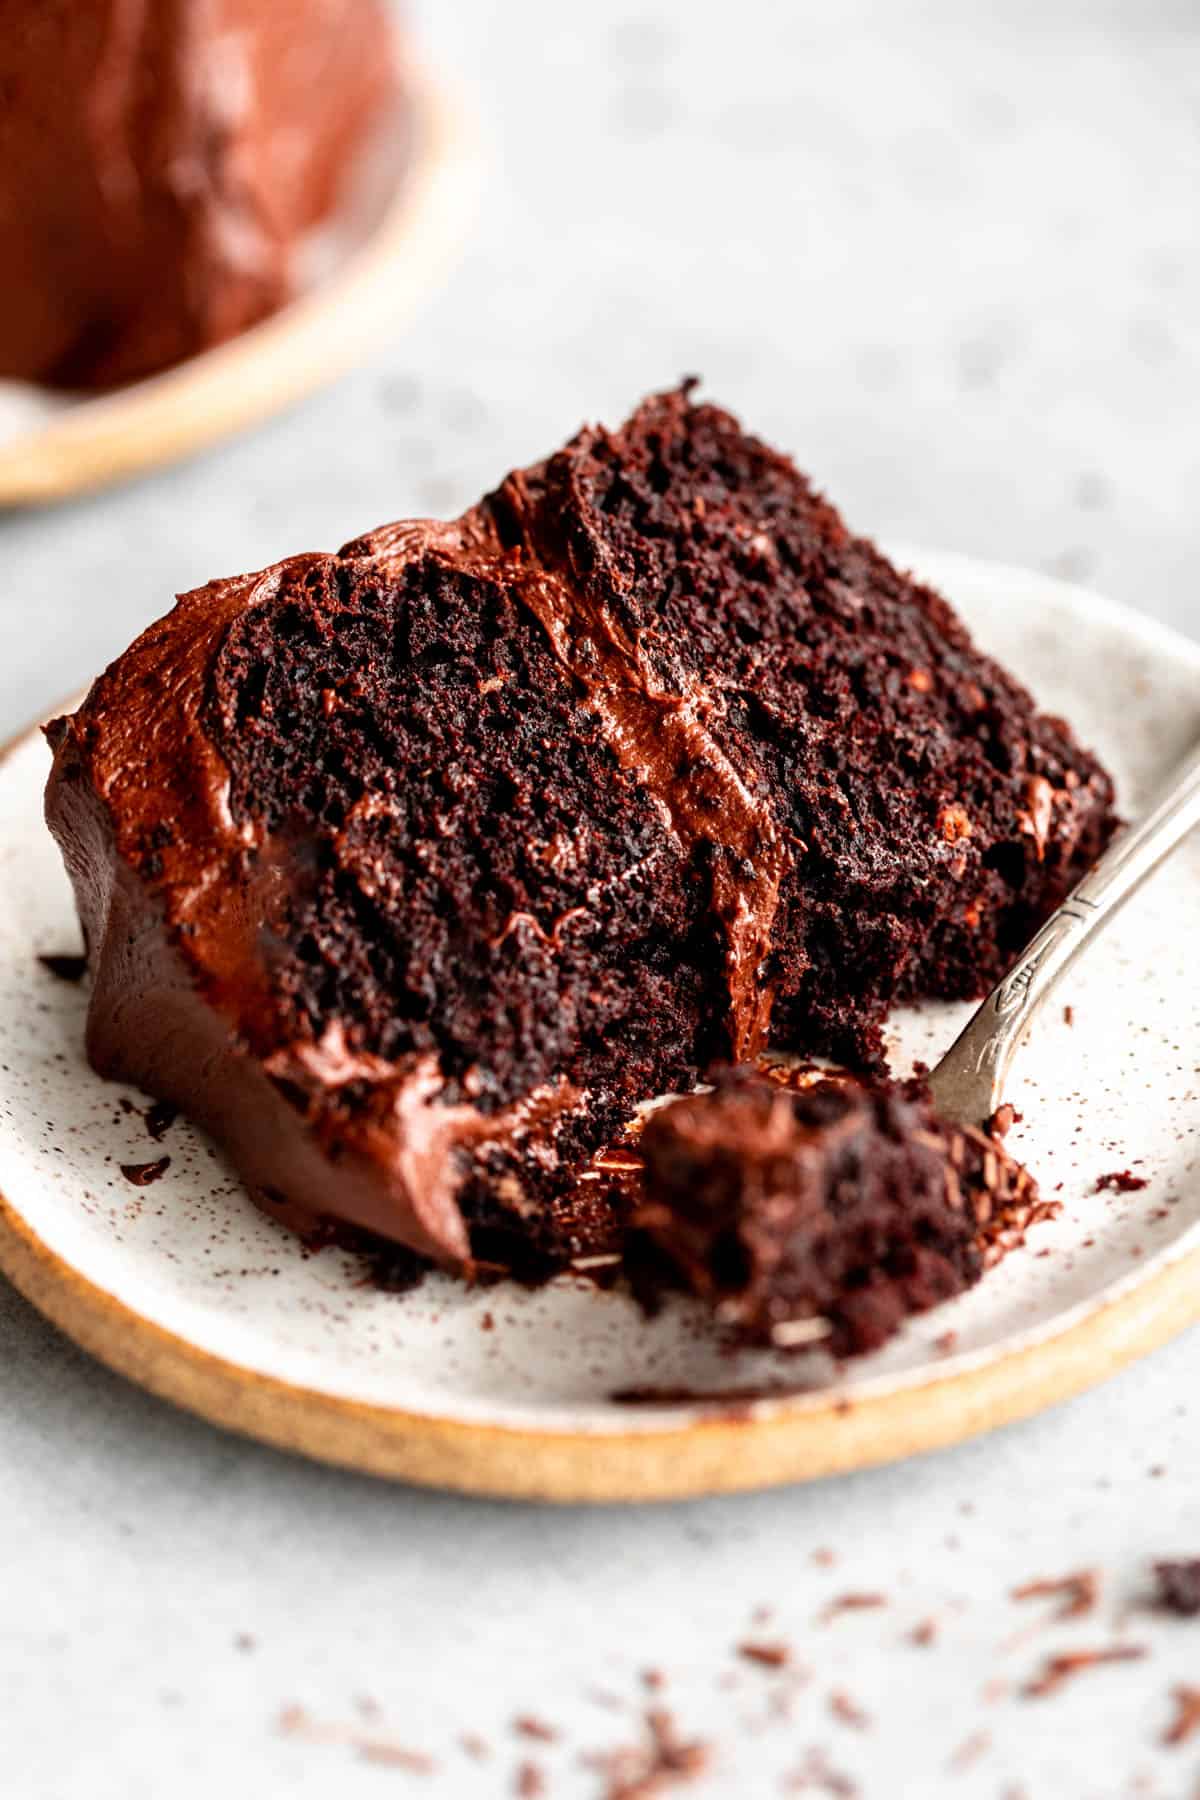
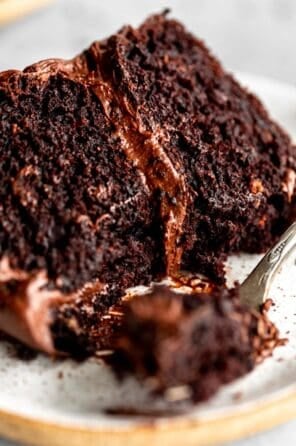
This one bowl gluten free chocolate cake is perfect for birthdays, celebrations, or just because! It’s moist, fluffy with the perfect tender crumb, and I promise you’ll have no idea it’s gluten free and dairy free friendly.
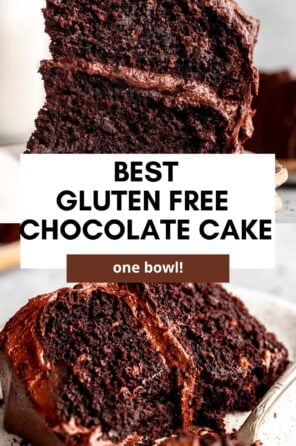
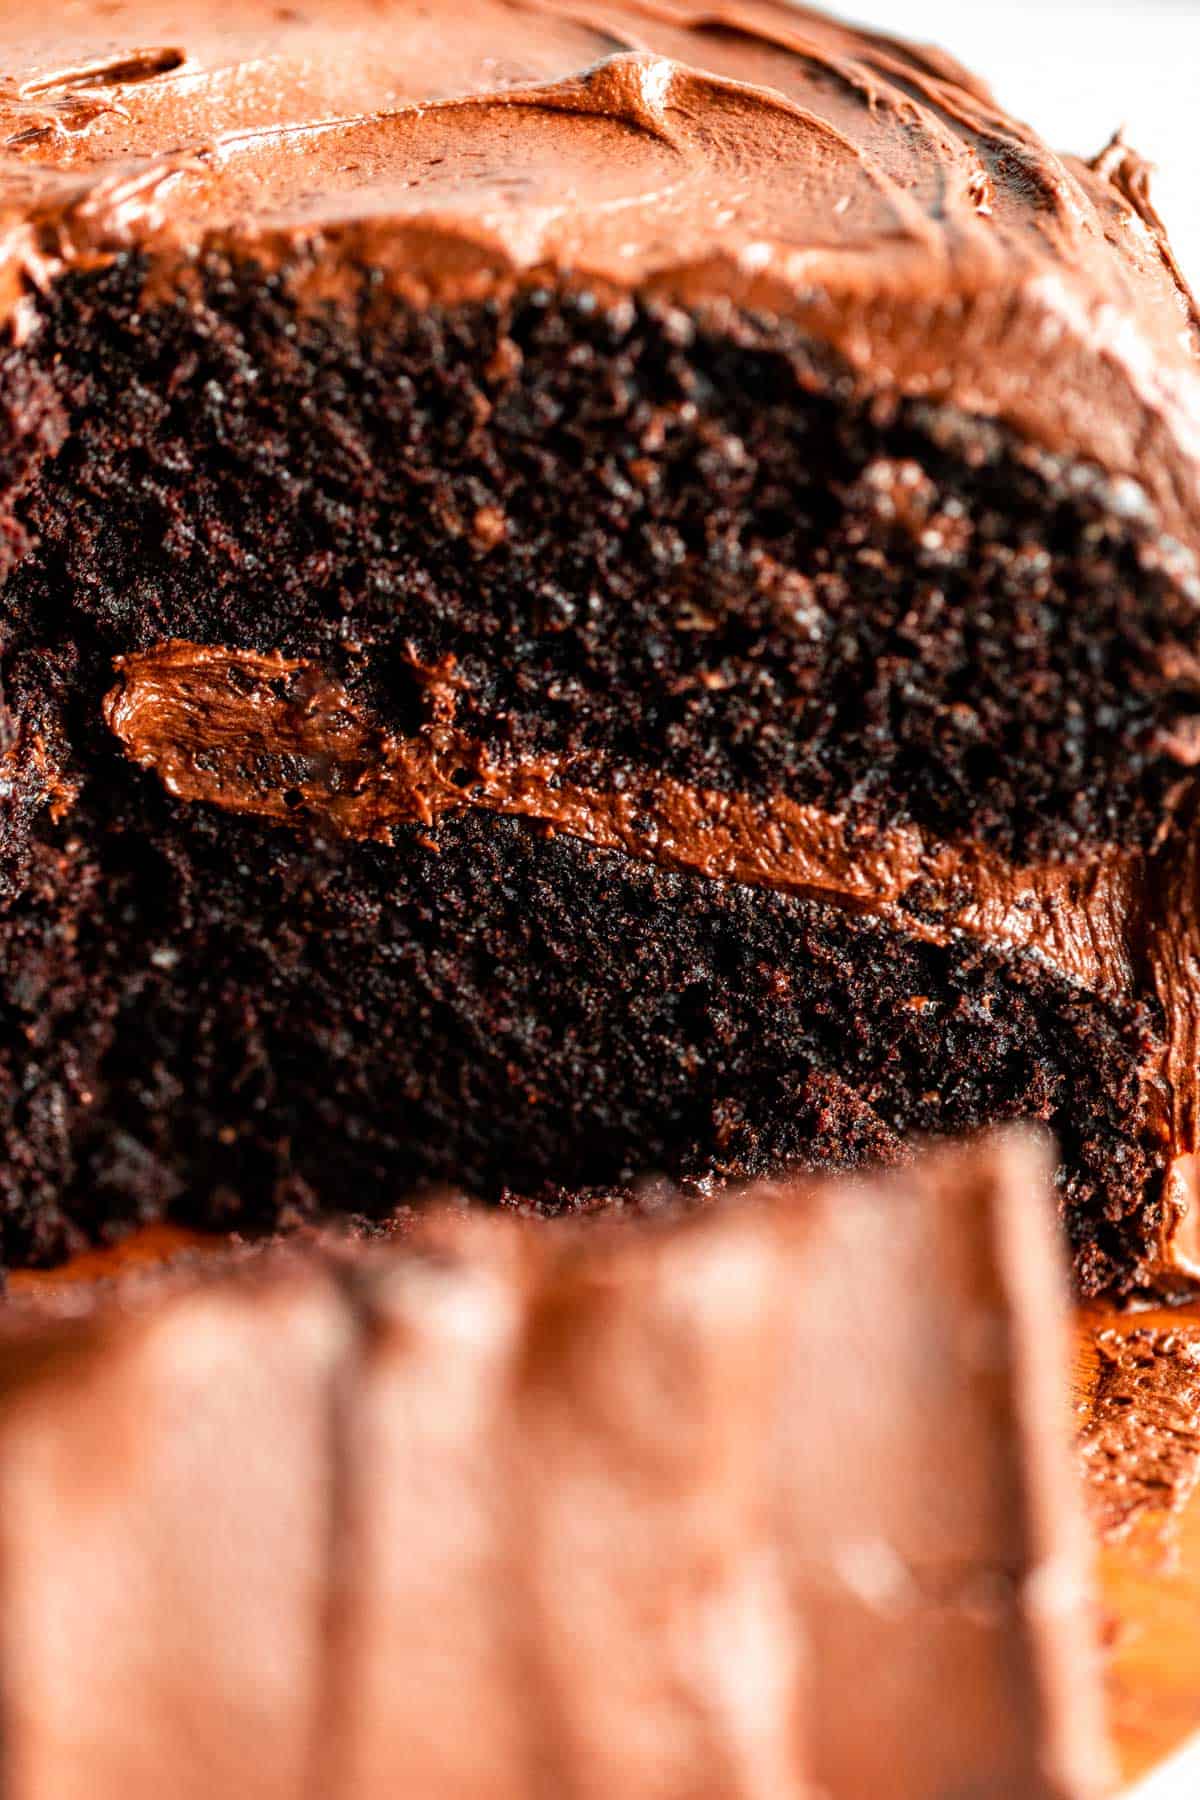
I don’t even know where to begin because I have no words to describe how much I love this homemade gluten free chocolate cake! It’s easy (like one bowl in 10 minutes easy), moist, fluffy, rich, spongey, cakey (that’s a given) and undetectably gluten free.
Seriously, if you gave someone a slice and then proceeded to tell them it was a gluten free chocolate cake (made completely from scratch!), I doubt they would believe you.
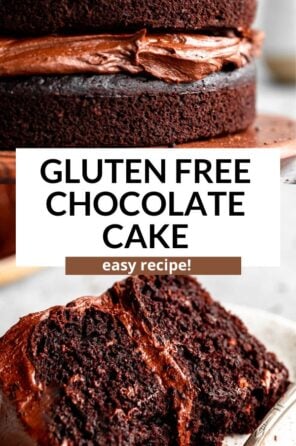
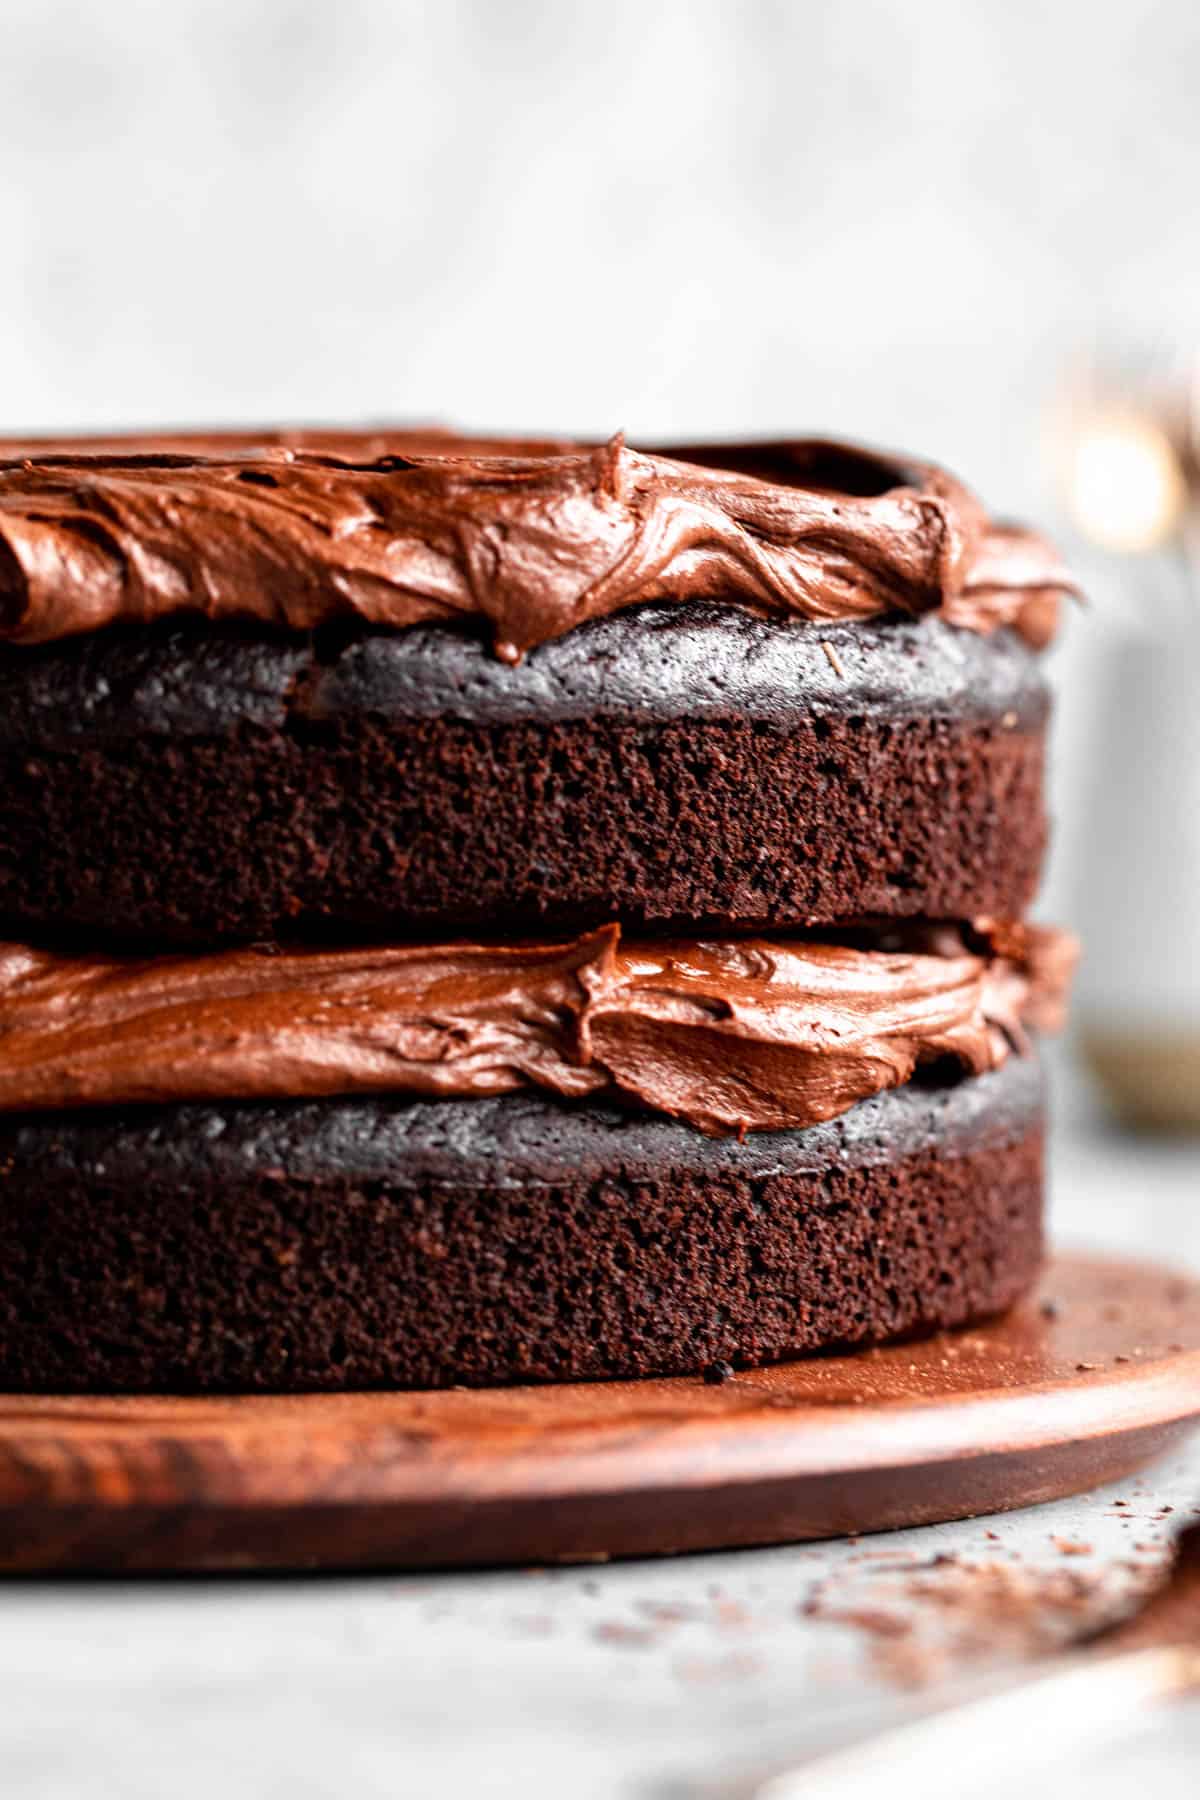
It’s topped with a silky smooth chocolate buttercream that melts in your mouth. It can be dairy filled or dairy free, but I made it dairy free by using vegan butter. The cake itself is naturally dairy free, so the buttercream is your choice!
You most definitely don’t need a special occasion to make this cake, but if you serve it to friends, I promise they’ll be impressed- it tastes just like the real deal. You’ll never go back to a boxed gluten free cake mix again! Not into chocolate? Don’t worry, try my gluten free vanilla cake, chocolate peppermint cake or gluten free strawberry cake instead!
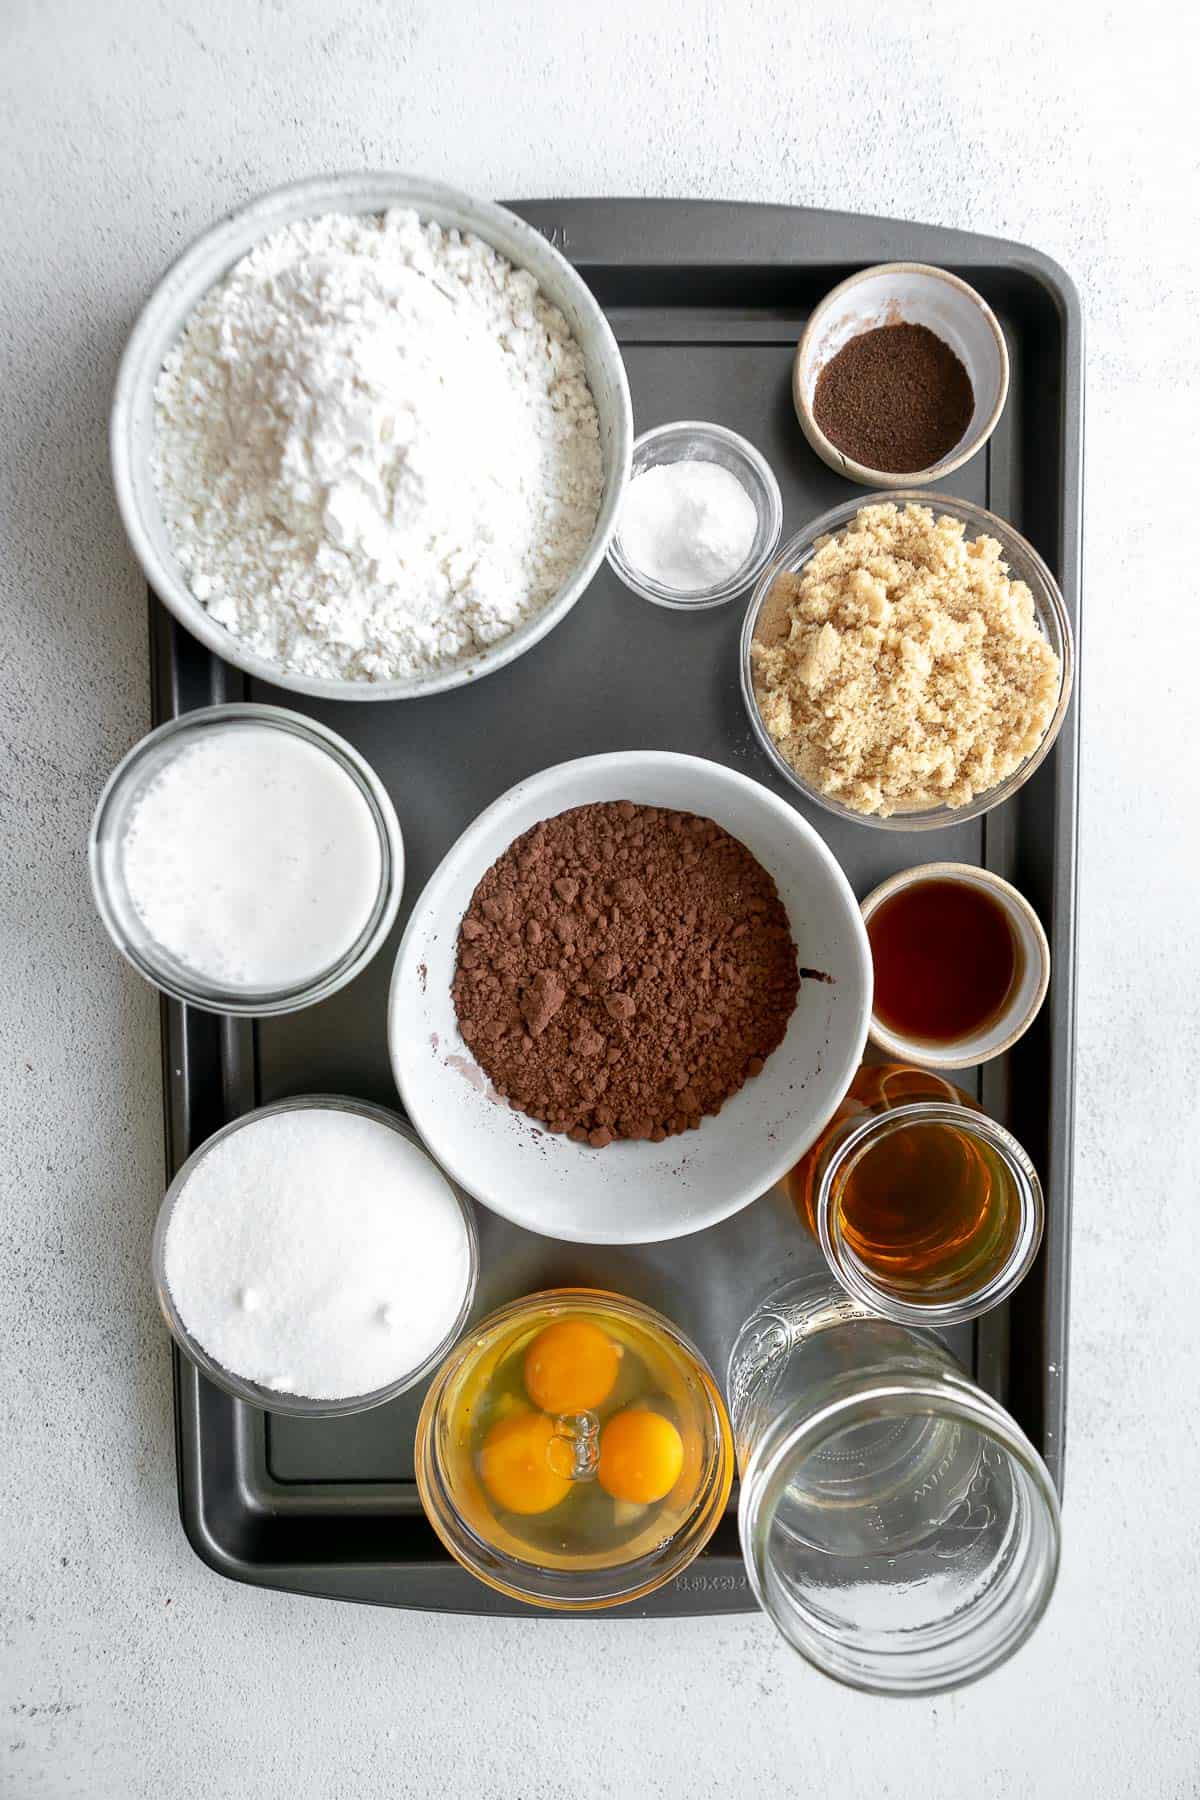
Key ingredients
FLOUR. Any good cake needs a good flour! For this recipe and most of my gluten free cake recipes, I used the Bob’s Red Mill 1:1 Baking Flour. I suggest that one to keep the recipe consistent, but if you use a different blend, just make sure it has xanthan gum.
COCOA. Cocoa is how we achieve a rich chocolate flavor! You will need one full cup for this recipe.
EGGS. Three large eggs will make this cake fluffy and hold all ingredients together so it doesn’t fall apart or crumble.
SUGAR. You will need a mix of white sugar and brown sugar to get the perfect sweetness but a rich flavor from the molasses in the brown sugar.
MILK. I used almond milk because that’s what I had on hand, but any milk, either dairy or non-dairy will work.
COFFEE. I love using coffee in chocolate recipes because it brings out such a rich flavor. If you don’t want to use coffee, you can use hot water instead.
OIL. Any plain oil will work here! I used refined avocado oil. Olive oil is also great and adds a rich flavor like in my gluten free chocolate loaf cake.
How to make gluten free chocolate cake
Prepare either one 9×13 cake pan or two round 8 inch cake pans. Spray the bottom(s) with oil then add parchment paper just to the bottom. I like to use these parchment rounds to make it easy. Set aside.
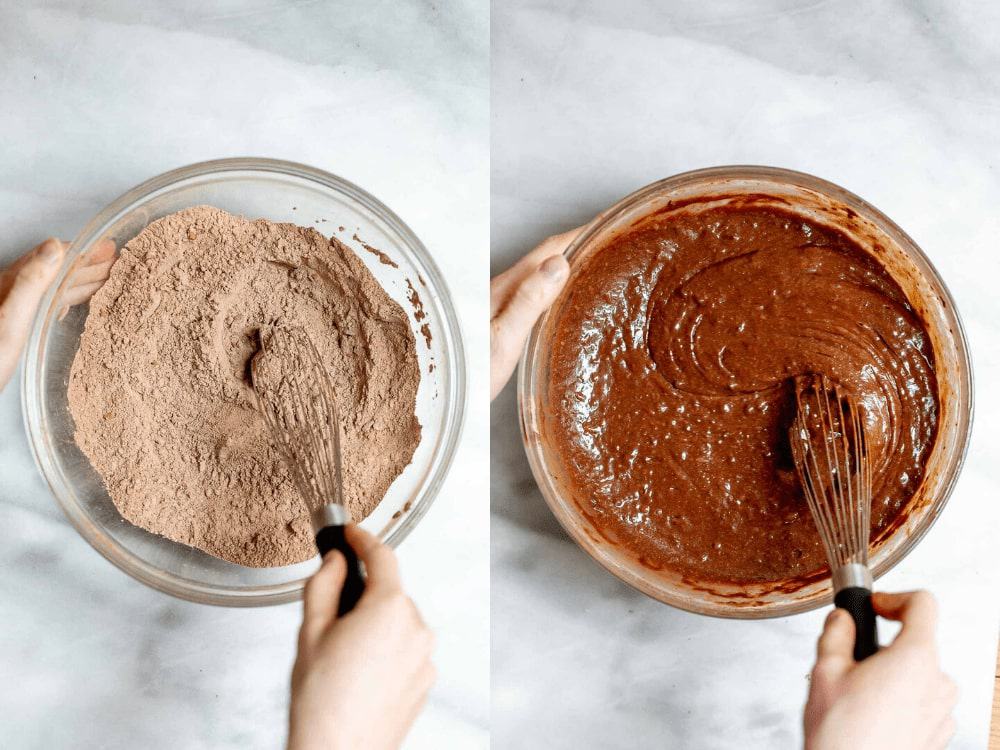
In a large mixing bowl, whisk together all wet ingredients aside from the coffee/boiling water. Whisk in the sifted dry ingredients.
Pour in the coffee or boiling water and whisk until combined. The batter will be fairly thin.
Add the batter to the prepared cake pan. If making a layer cake, try to measure each cake as equally as possible, or use a kitchen scale for best results.
Bake for 35-45 minutes for a sheet cake, 32-37 for layer cake, or until a toothpick comes out clean. All ovens are different so just keep an eye on it.
Let cool in the pan(s) for about 10-20 minutes, then carefully flip onto a cooling rack. They should slide right out, then peel off the bottom parchment paper and flip back so they’re upright.
Let cool completely before frosting. Once cool, add your buttercream and any sprinkles or other toppings!
WANT TO SAVE THIS RECIPE?
The best flour blend
I am very loyal to my favorite Bob’s Red Mill 1:1 Baking Flour. It has never failed me and manages to yield recipes that are moist, fluffy, not gummy and just really well balanced.
King Arthur also has a good gluten free blend, but I strongly recommend using the Bob’s Red Mill for best results since all gluten free flour blends are different.
Just be sure you use a blend that has xanthan gum! To successfully bake without gluten, you usually need xanthan gum and/or eggs to help bind all ingredients together. Works well in my mint chocolate cake!
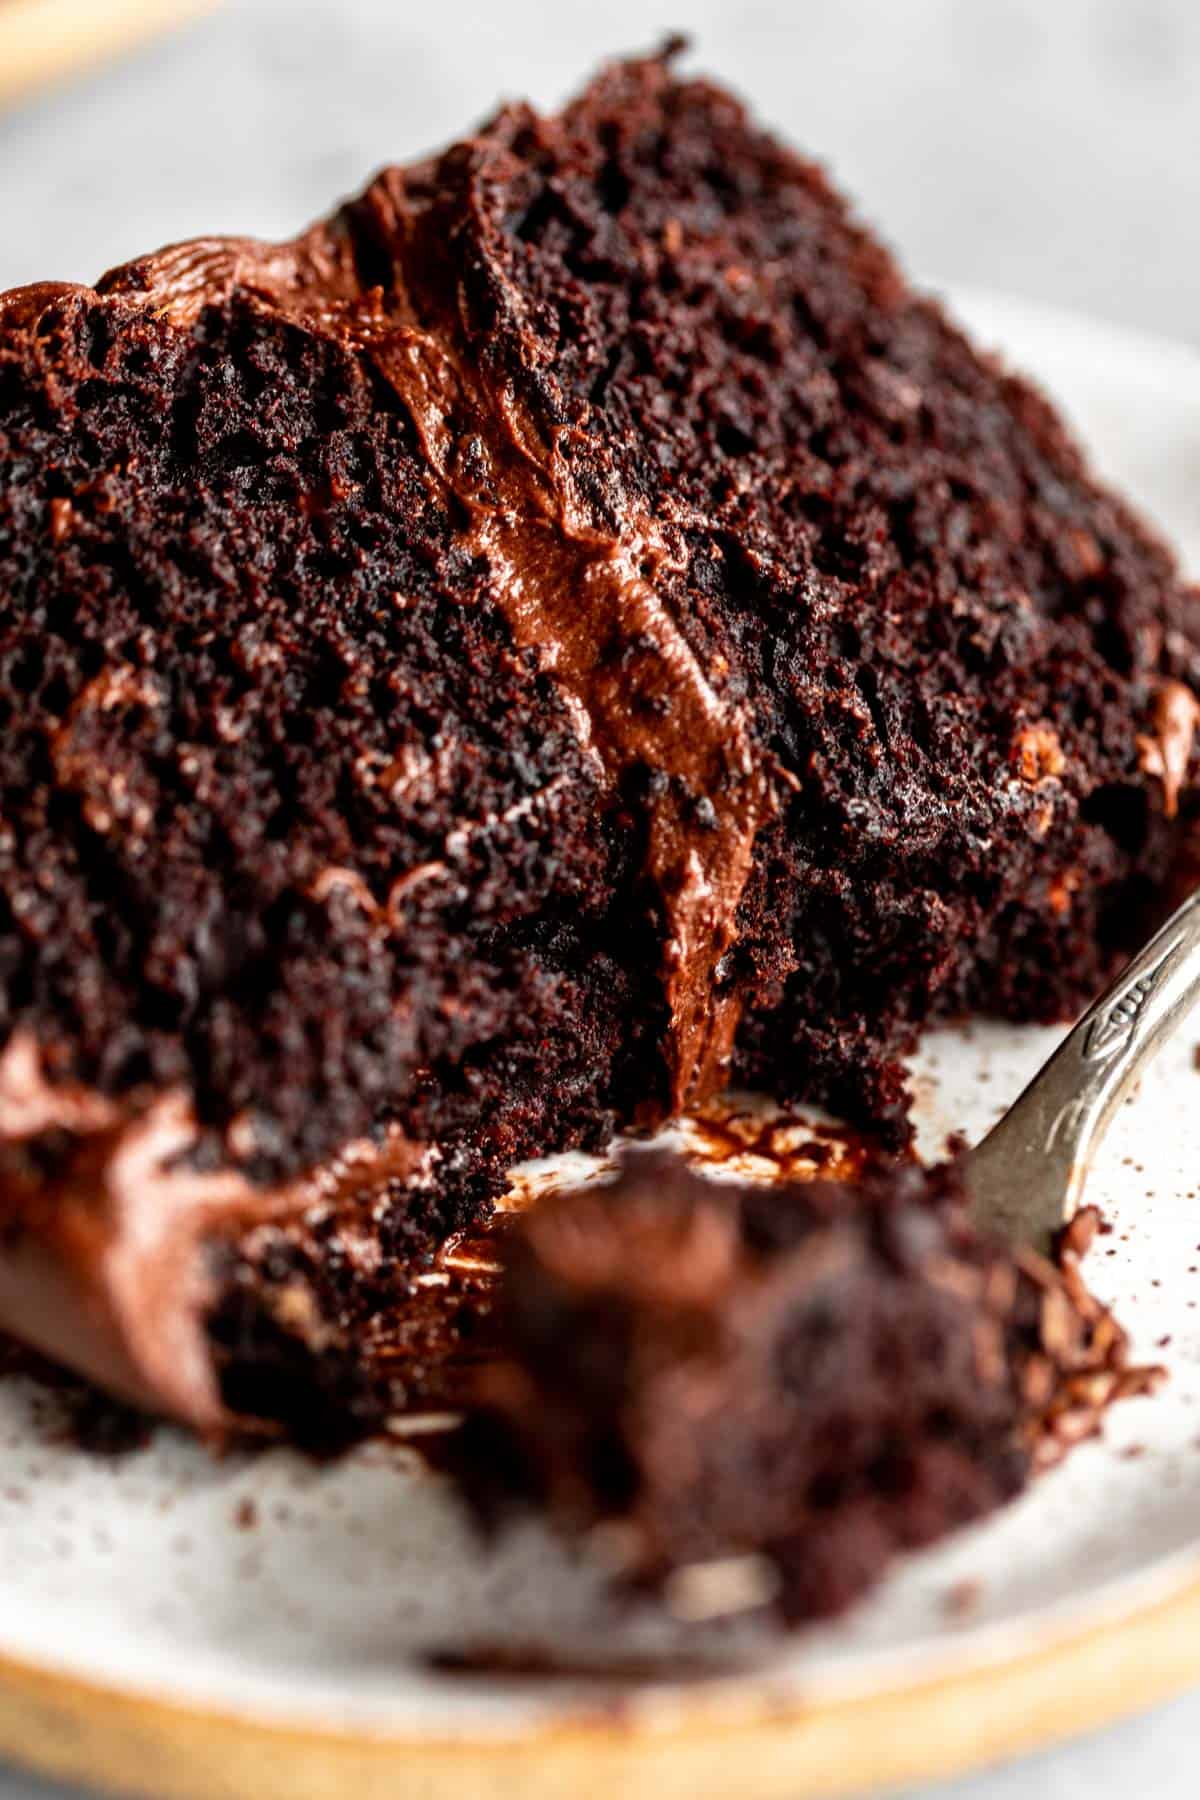
Getting the perfect texture
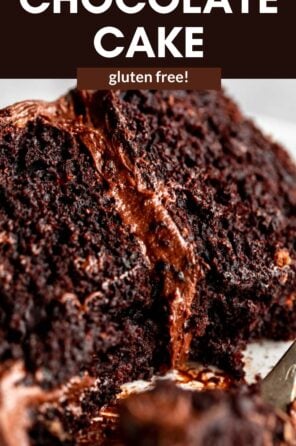
There are a few things that not only make this cake moist, but also give it the perfect spongey texture that isn’t too light but also not dense.
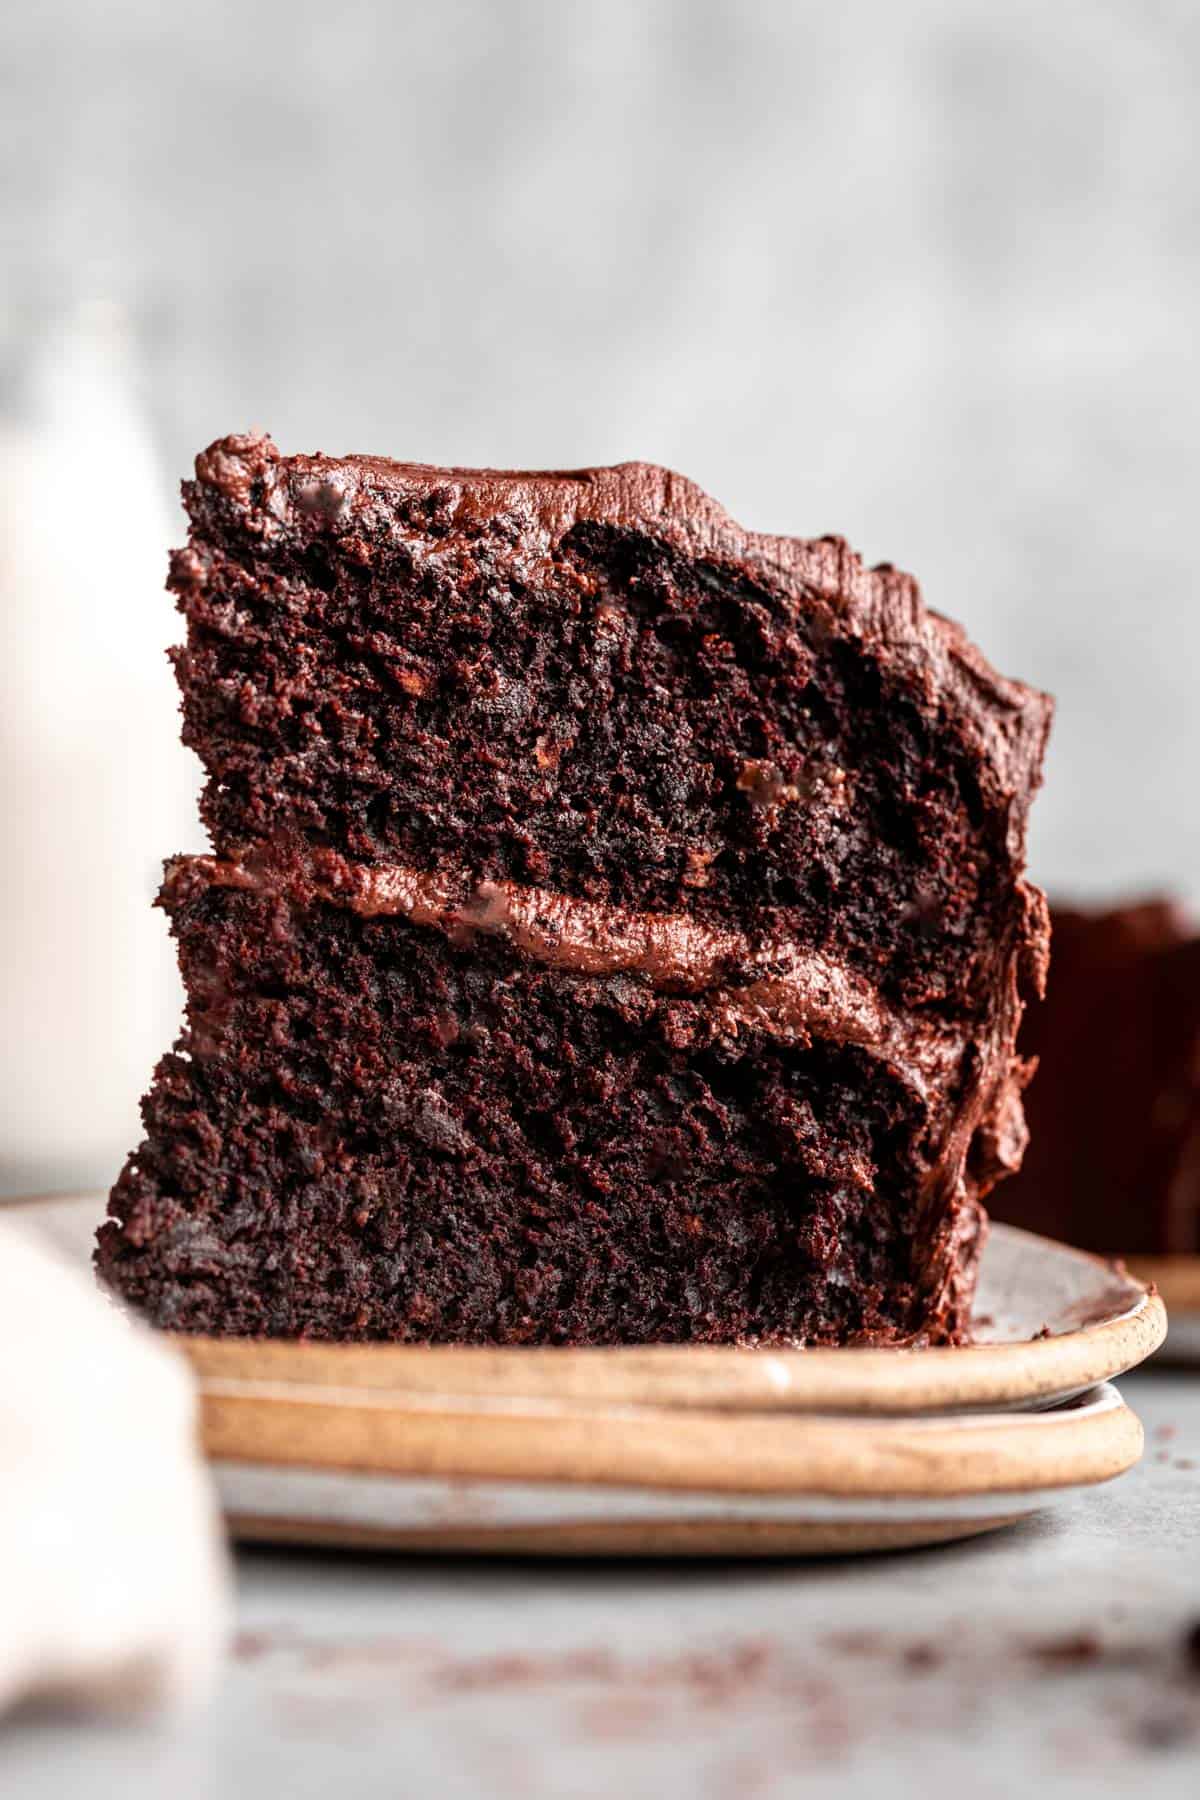
The first is the eggs! You need three whole eggs for this recipe, which helps the cake rise and contributes to the perfect cake texture. Unfortunately, I don’t recommend a vegan substitute for the eggs, but I have a vegan and gluten free chocolate cake recipe you can try instead!
The second is the mixing technique! Over-mixing cake can be just as big of a disaster as under-mixing, which is why you need to find a balance.
With an electric mixer, you run the risk of getting too much air into the batter, which can cause the cake to sink in the middle and collapse after it comes out of the oven.
With a wooden spoon, you don’t get enough air into the batter which can yield a dense cake. A whisk allows just the right amount of air into the batter for a moist, spongey cake.
The third is the other liquid ingredients such as the milk, oil and boiling water! I know boiling water seems like an odd thing to put into a cake, but it “activates” the cocoa powder, giving the perfect rich chocolate taste that isn’t dry. I promise, it works like a charm and I use the same method in my gluten free snack cake.
Storage and baking tips
This gluten free chocolate cake will store at room temperature for 3-4 days in an air tight container, or in the fridge for about 1 week. If kept in a container, I promise it will stay very moist! No dry cakes here. I will usually just store mine on the cake stand with a cake cover on top and it keeps it fresh!
Finally, be sure to place your cake in the center of the oven as it bakes. This ensures it bakes evenly and doesn’t rise too quickly or too slowly.
A cake that rises too quickly can lead to a cracked and very domed top, which we don’t want! Keep it in the center for an even bake. The eggs, baking powder and baking soda are what help this cake rise.
You can freeze the cake layers before frosting if you want to prep ahead of time. Just let cool completely, then wrap tightly in plastic wrap and freeze until you’re ready to decorate.
Is flourless cake the same as gluten free?
A flourless chocolate cake is one that is made without flour and is therefore usually gluten free by default. However, a gluten free cake is not necessarily flourless!
This cake is made with gluten free all purpose flour and is not flourless.
Try these next!
- Gluten Free Chocolate Cupcakes
- Funfetti Cupcakes
- Lemon Cupcakes
- Gluten Free Chocolate Crinkle Cookies
- Gluten Free Vanilla Cupcakes
- Protein Chocolate Cake
- Classic Gluten Free Chocolate Chip Cookies
If you want more recipes straight to your inbox, be sure to subscribe to my email list. As always, tag me on instagram if you make this recipe so I can see your creation! Don’t forget to leave a comment and rating if you enjoy this recipe!
Gluten Free Chocolate Cake
by: claire cary
Ingredients
Dry:
- 2 ⅔ cups Gluten Free All Purpose baking Flour sifted
- 1 cup cocoa powder sifted
- 1 ½ teaspoon baking powder
- 1 teaspoon baking soda
- ½ teaspoon salt
Wet:
- 1 cup milk dairy or non-dairy
- 1 cup white sugar
- ¾ cup light brown sugar
- 3 eggs
- 1 teaspoon vinegar white or apple cider
- 1 tablespoon vanilla extract
- ⅔ cup oil safflower, canola, refined avocado etc.
- 1 cup hot brewed coffee or boiling water
Buttercream:
- ¾ cup butter 1 1/2 sticks
- ½ cup sifted cocoa powder
- 3-5 cups sifted powdered sugar adjust to get your desired consistency
- 2-4 tbsp milk dairy or non-dairy
- 2 tsp vanilla extract
Instructions
- Preheat the oven to 350 degrees Fahrenheit.
- Prepare either 1 9×13 cake pan or 2 round 8 inch cake pans. Spray the bottom(s) with oil then add parchment paper just to the bottom. I like to use these parchment rounds to make it easy. Set aside.
- In a large mixing bowl, whisk together all wet ingredients aside from the coffee/boiling water.
- Whisk in the sifted dry ingredients along with the baking soda, powder and salt.
- Pour in the coffee or boiling water and whisk until combined. The batter will be fairly thin.
- Add the batter to the prepared cake pan. If making a layer cake, try to measure each cake as equally as possible, or use a kitchen scale for best results.
- Bake for 35-45 minutes for a sheet cake, 32-37 for layer cake, or until a toothpick comes out clean. All ovens are different so just keep an eye on it.
- Let cool in the pan(s) for about 10-20 minutes, then carefully flip onto a cooling rack. They should slide right out, then peel off the bottom parchment paper and flip back so they’re upright.
- Let cool completely before frosting.
- To make the buttercream, add softened/room temperature butter to a bowl of a stand mixer or a large bowl with a handheld mixer and beat until smooth and creamy.
- Beat in the sifted cocoa powder.
- Beat in the sifted powdered sugar, one cup at a time until your desired consistency is reached. Finally, beat in the milk and vanilla until well combined.
- Frost the cake and add sprinkles if desired. Enjoy!
Notes

Comments
-
Turned out amazing!!!! I panicked a little at the runny batter but boy oh boy it is amazing!

-
I just made this for a birthday and it was perfect: nice high rounded cake, excellent crumb, moist and tasty. This is on my ‘keepers’ list of recipes that work beautifully.
-
My friends can’t stop to compliment when I bake this chocolate cake. It’s delicious!
-
Looks amazing! I’m wanting to make it for my daughter’s birthday but she wants a cake that has m&m’s in the middle. Would it be strong enough to cut out a part & hold?
-
Yes, should work fine!
-
-
So very yummy no need to look for any other chocolate cake recipe. Can it be baked in a Bundt pan?
Next try will be French onion pasta.
Midge🇨🇦
-
Yes- you can use a bundt pan!
-
-
This was an excellent gluten-free chocolate cake! I used hot water this time and it had a mild chocolate flavor, so I think I will use coffee next time to boost the flavor. It stayed moist, even leaving out for several hours unfrosted. I filled it with a chocolate mousse. I felt a bit short on the frosting, so I think I will make extra next time for decorating.
-
This could be the best chocolate cake I have ever had! Not just good for Gluten-free but great chocolate cake!
-
Do you think I could use coconut sugar, maple syrup or honey instead of the sugars? A family member cannot have granulated sugar. Thank you!
-
I would use coconut sugar!
-
-
The best GF chocolate cake recipe I ever made.I used high quality chocolate…I made this twice…the first time with chocolate frosting…wow….so fudge..I made cupcakes for Mother’s Day with strawberry frosting….came out beautiful..this recipe will not disappoint.
-
I honestly thought I’d never have a good gluten-free dairy-free chocolate cake ever again – but this recipe exists. It was amazing. Thank you for a recipe I can make any time and getting us off box mix and bad cakes.
-
I made this cake tonight as we just found out my daughter has coeliac disease. No one even realised it was gluten free it tastes this good! Served with a raspberry sauce and dollop cream! Was amazing!
-
Amazing! Thanks, Lowra!
-
-
This cake came out so well! I made a birthday cake for my non-gluten free brother (but I selfishly wanted a cake too.. thus making him a gluten free cake) and everyone loved it! Thank you for the recipe 🙂
leave a comment and rating