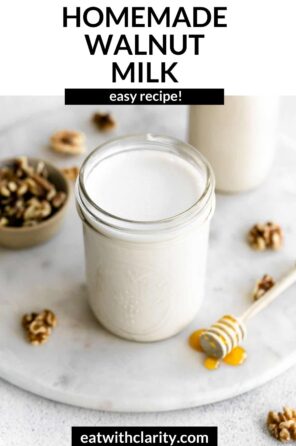
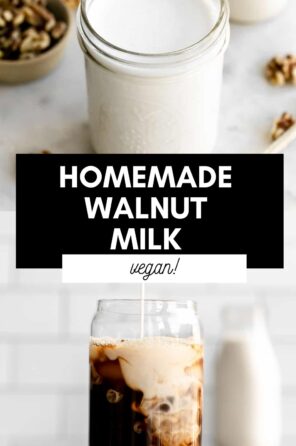
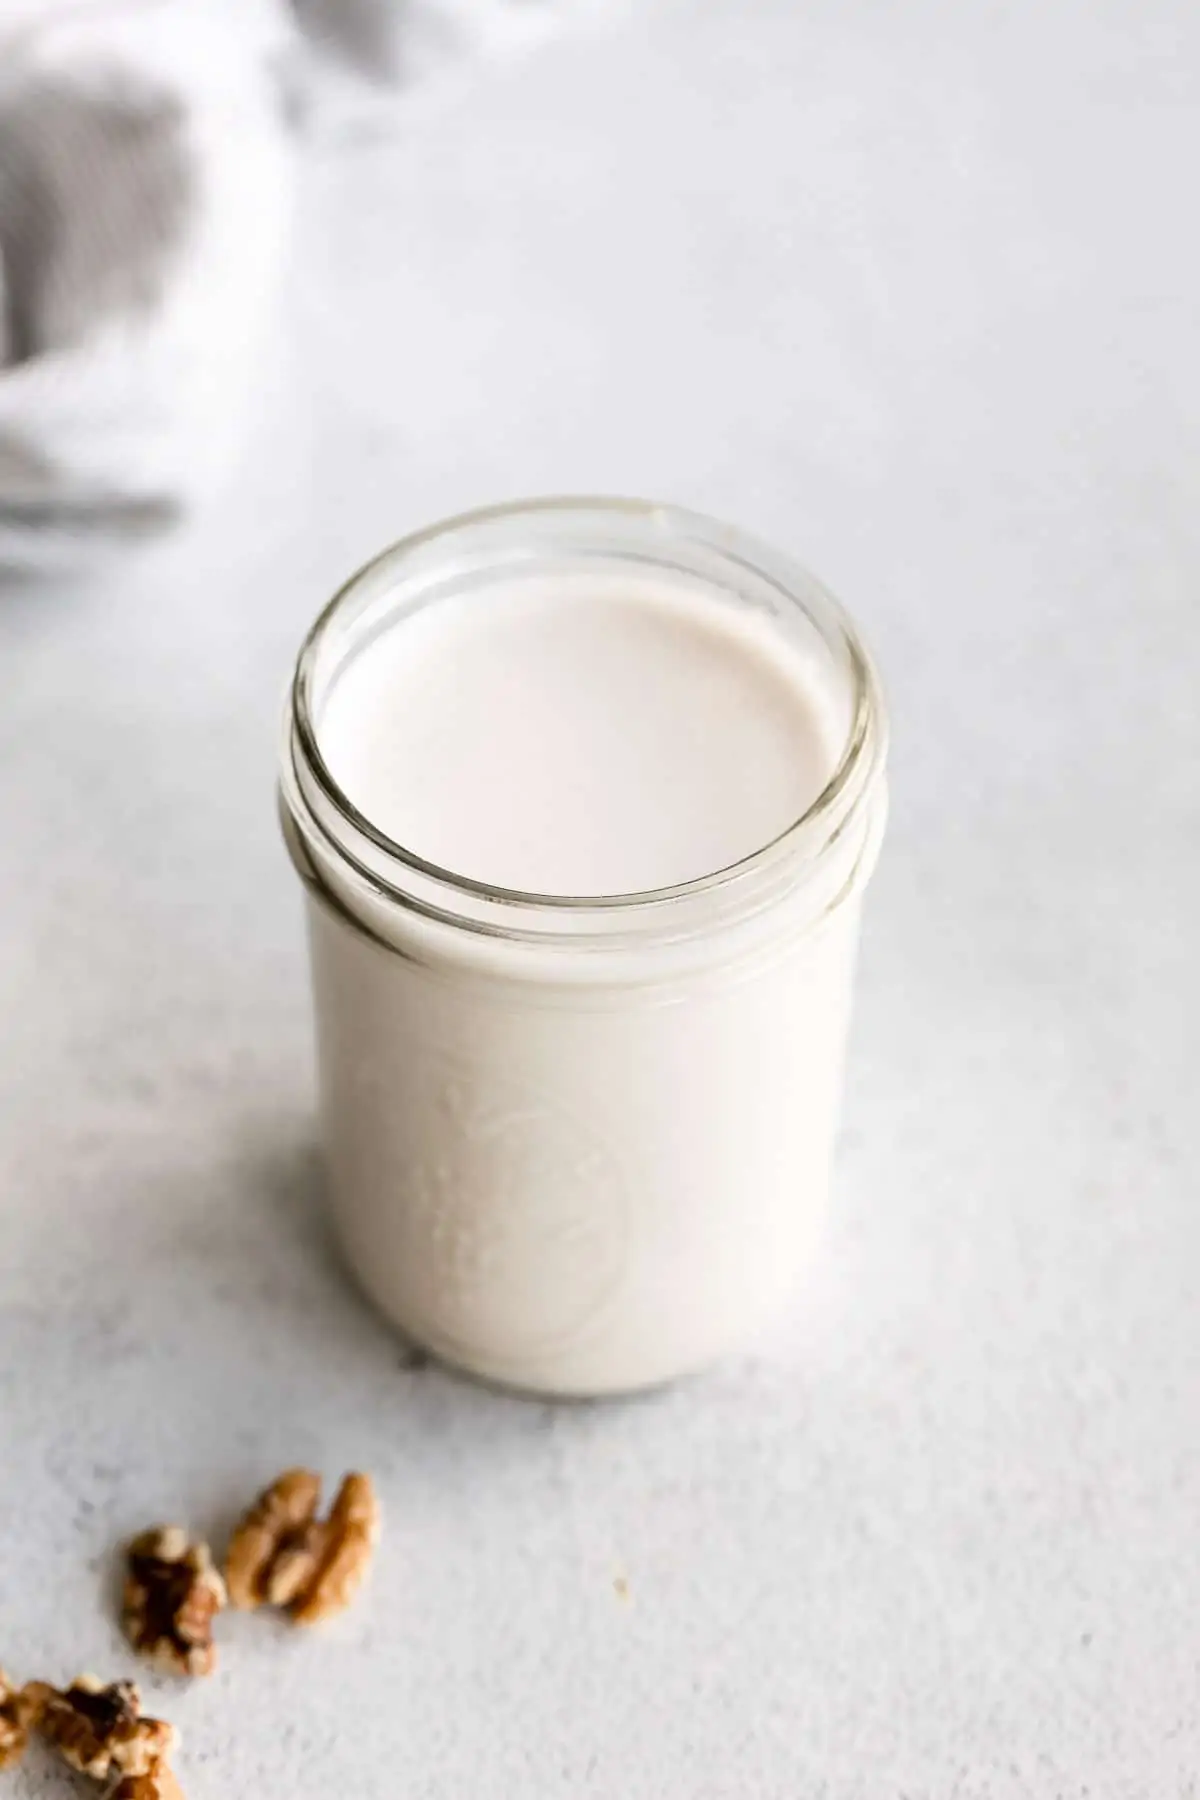
Homemade Walnut Milk
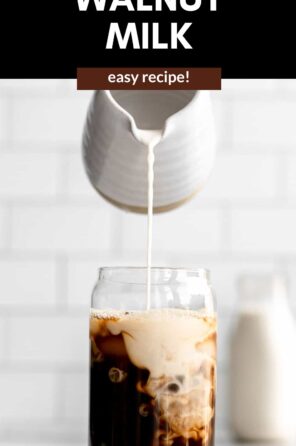
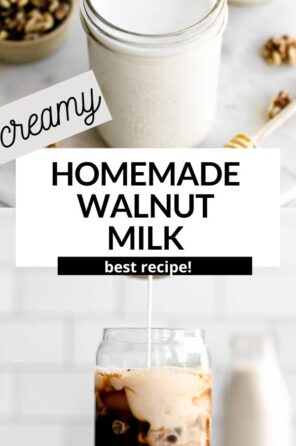
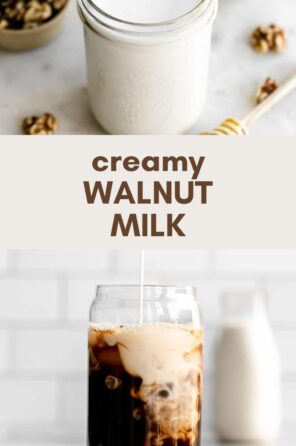
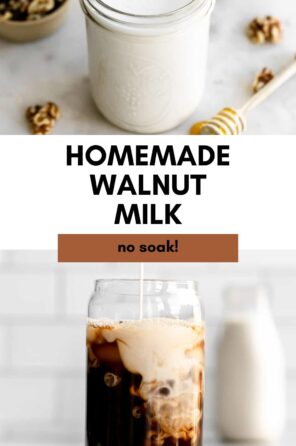
Making your own nut milk at home is incredibly easy! This creamy walnut milk takes about 15 minutes to prepare, requires no soaking and is perfect in coffee, smoothies, lattes, oatmeal and more.
I’ll admit, up until recently, I rarely ever made homemade nut milk. I’m pretty loyal to my favorite brand of store bought almond milk, and was always turned off by needing to soak the nuts overnight.
I know that makes me sound super lazy, but making homemade milk just felt like a process I didn’t want to participate in. Until I discovered walnut milk! It’s so easy to make, requires no soaking (I have another method instead) and you don’t need a nut milk bag to make it. Just you, some walnuts, water, a blender and a fine mesh strainer.
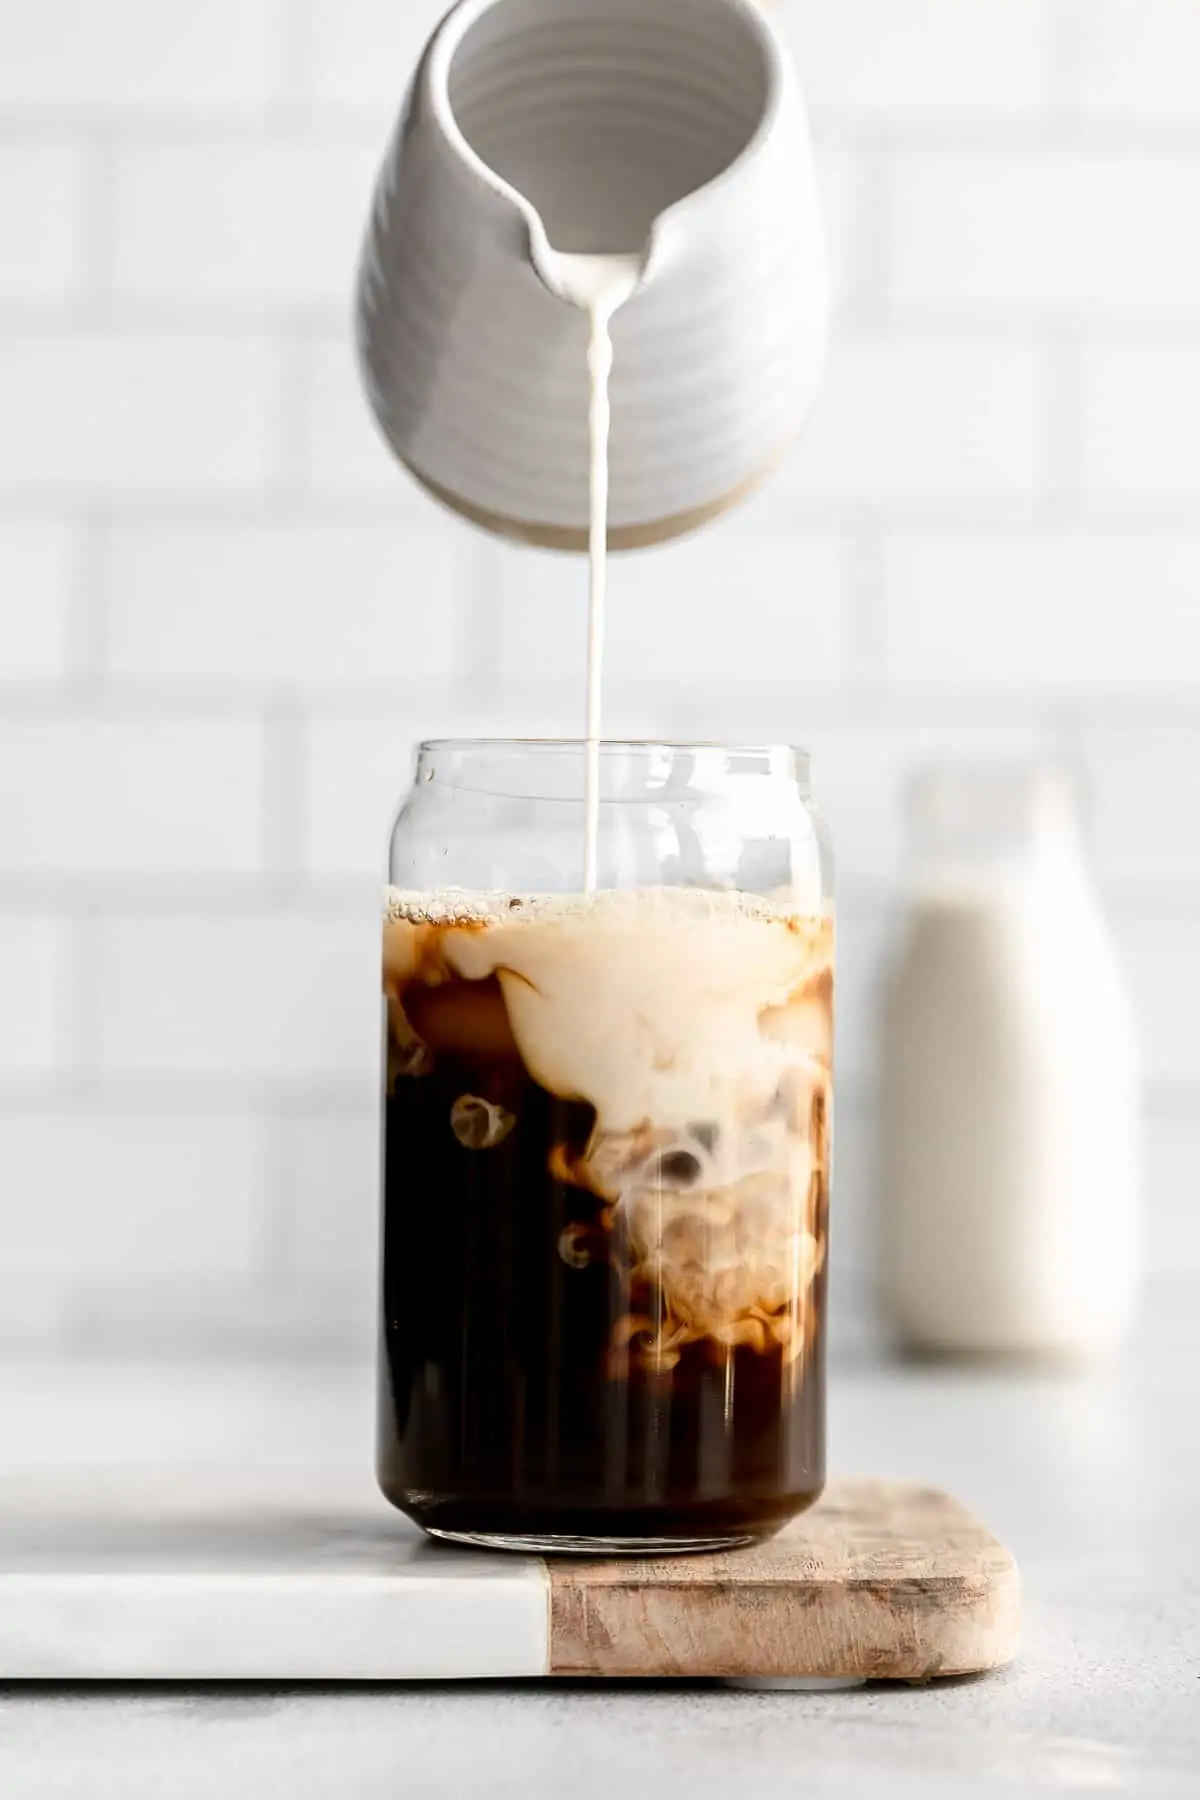
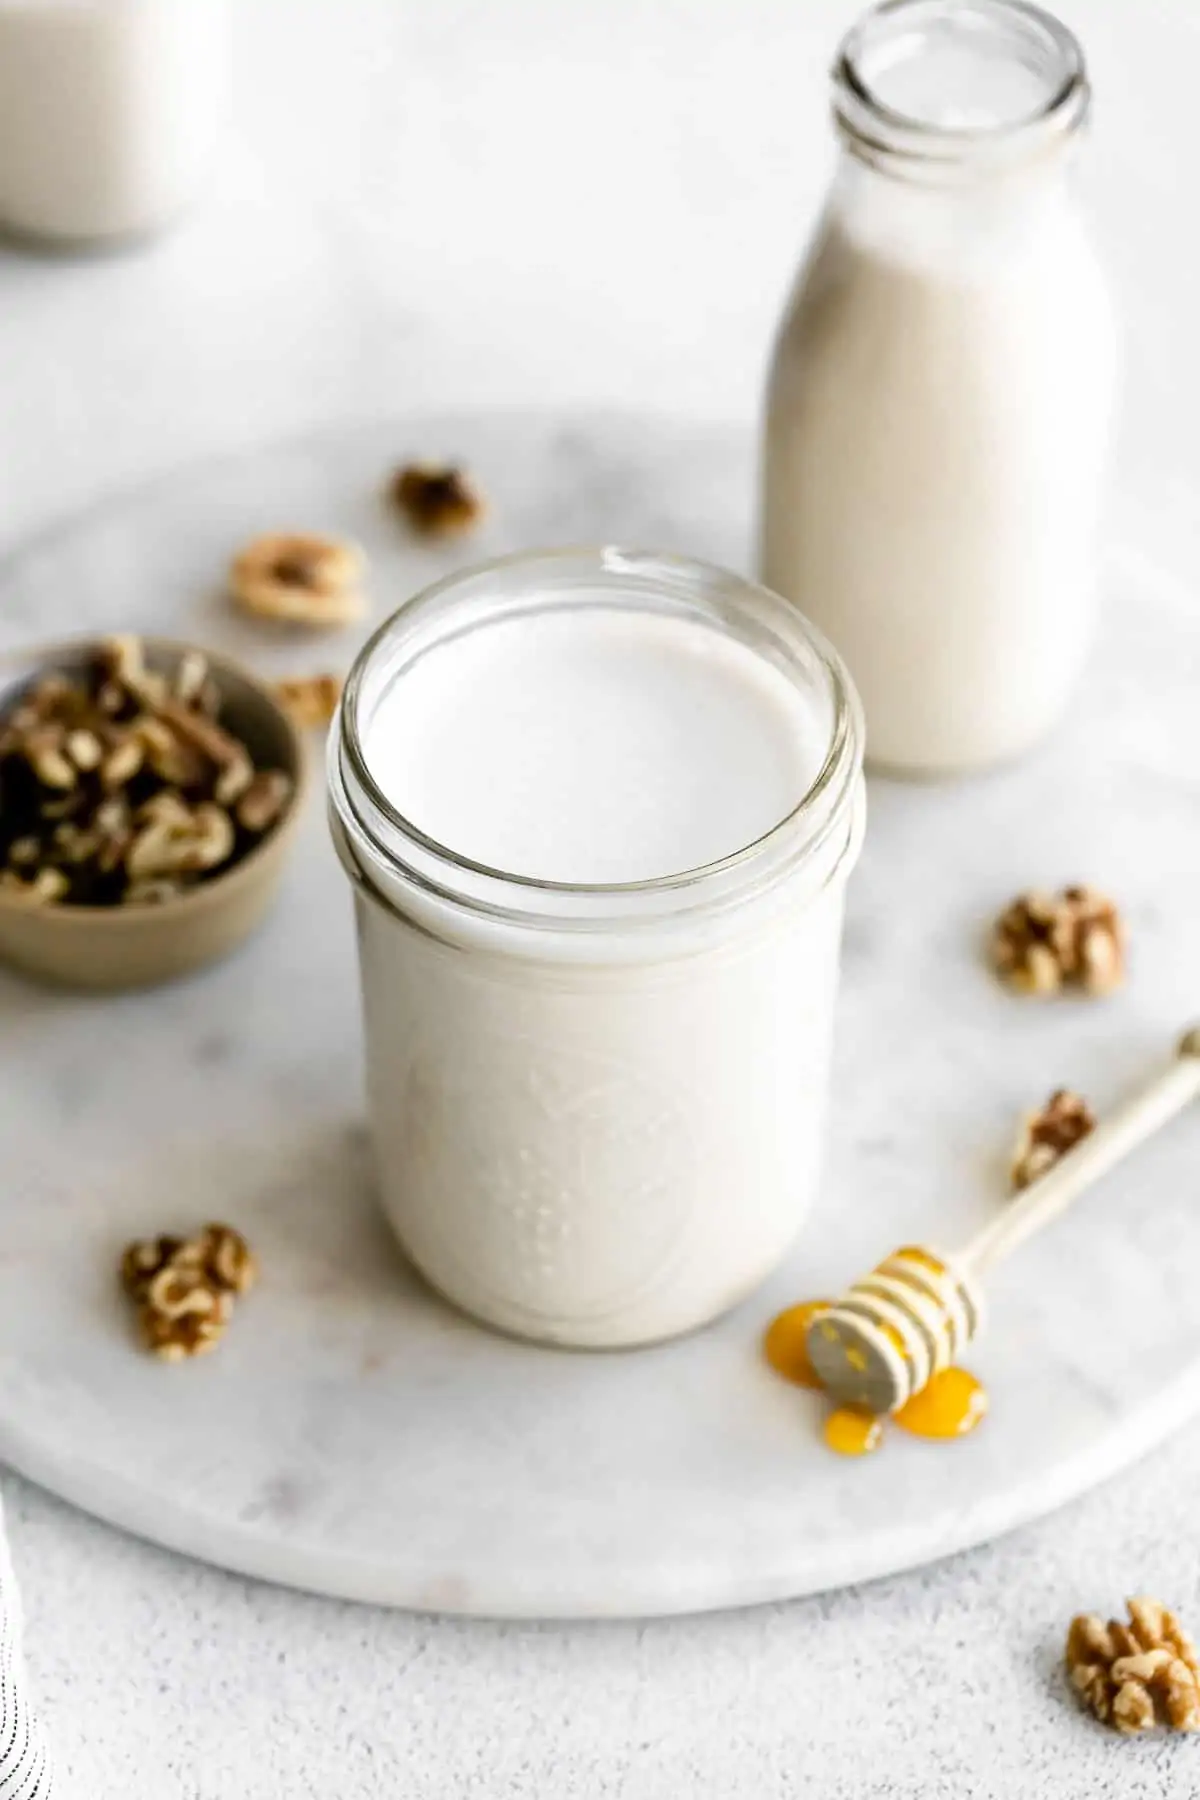
It’s silky smooth, creamy, with a delicious flavor that is so easy to customize. I love it in smoothies, coffee, oatmeal and more. It is similar to almond milk, but has a slightly more nutty flavor. It’s high in omega 3 fatty acids so is loaded with health benefits.
The only essential ingredients are walnuts and water, so there are no gums and emulsifiers that are found in the store bought versions. Enjoy a glass with my classic gluten free chocolate chip cookies or gluten free coconut cookies!
Notes before we get started!
- If you want to make this into chocolate milk, just blend in a few tablespoons of cacao or cocoa powder and proceed with the rest of the recipe as usual! You will definitely want to add a sweetener if making chocolate walnut milk.
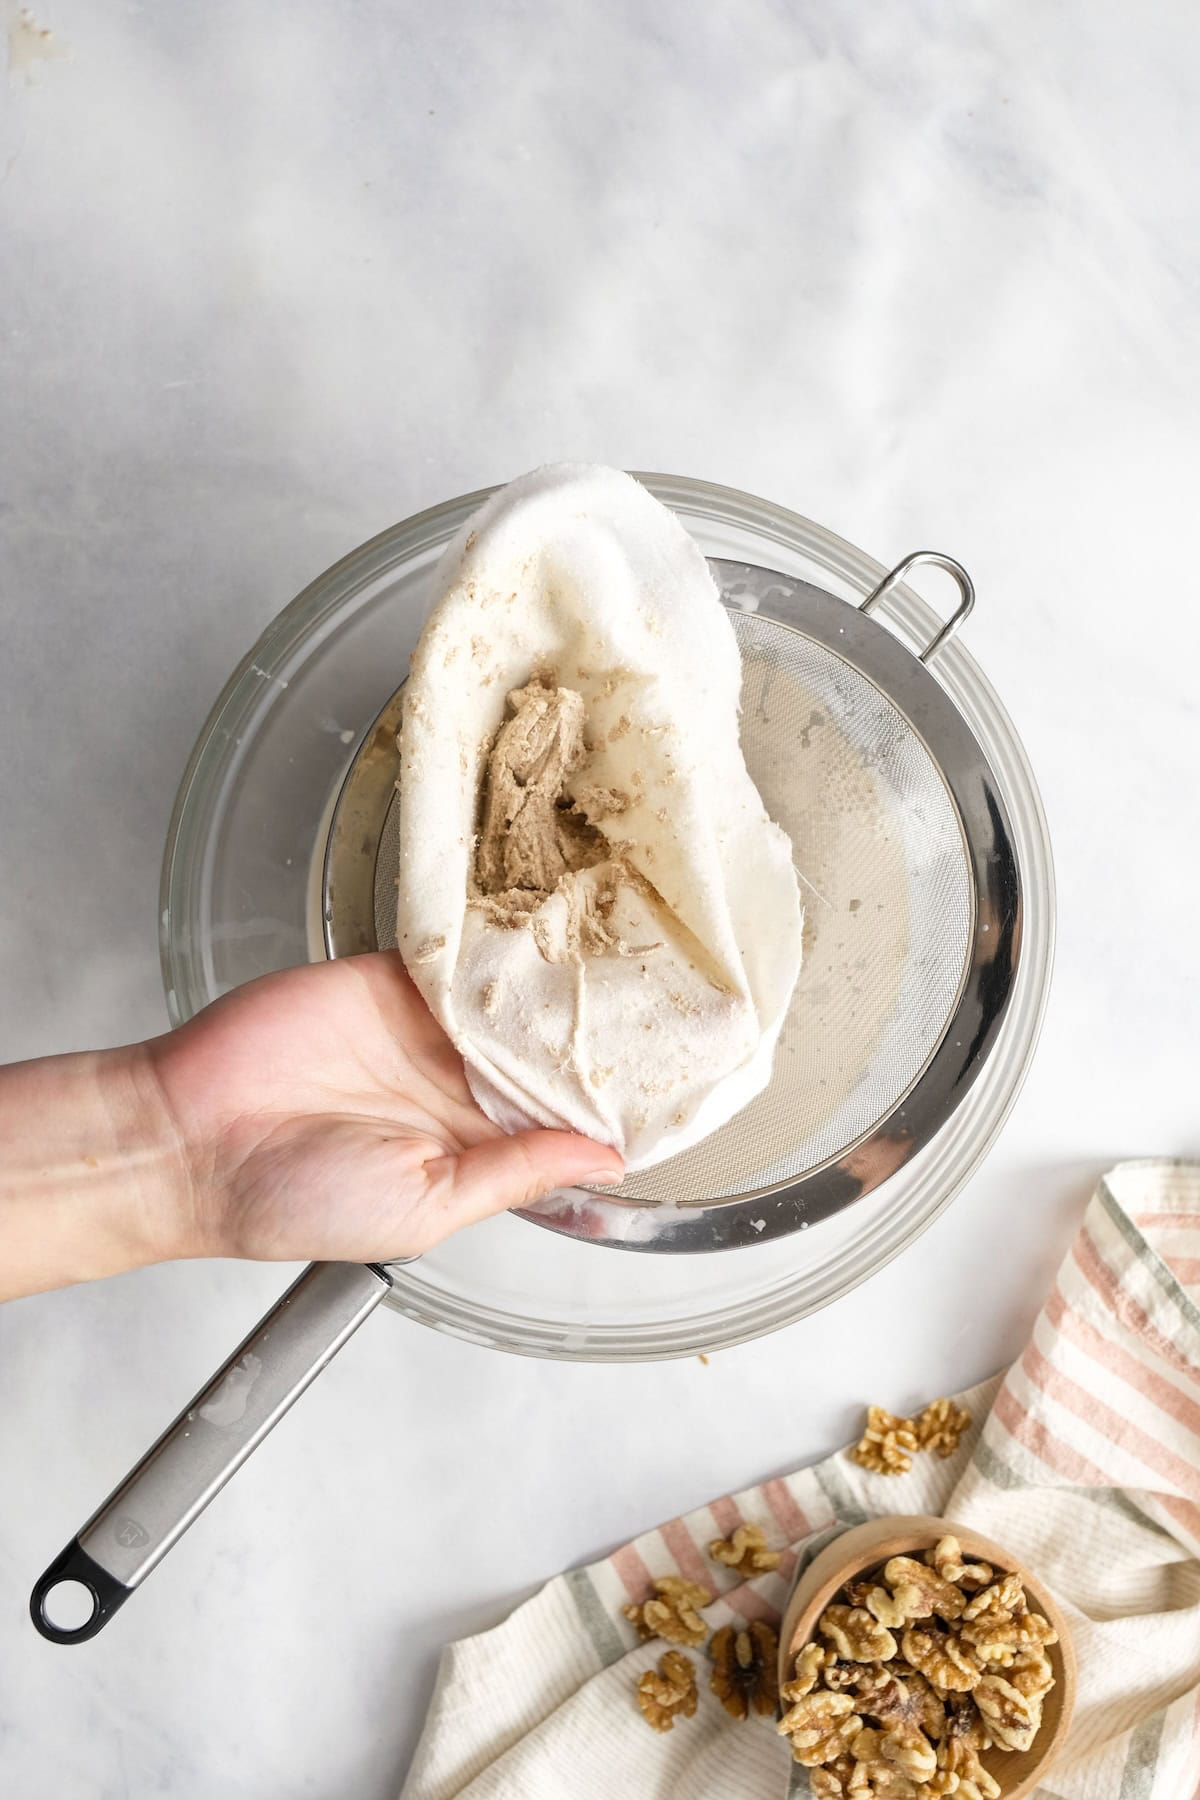
- If you aren’t using a nut milk bag or cheese cloth, just be sure to run it through a fine mesh strainer a few times to make sure it is as smooth as possible.
How to make walnut milk
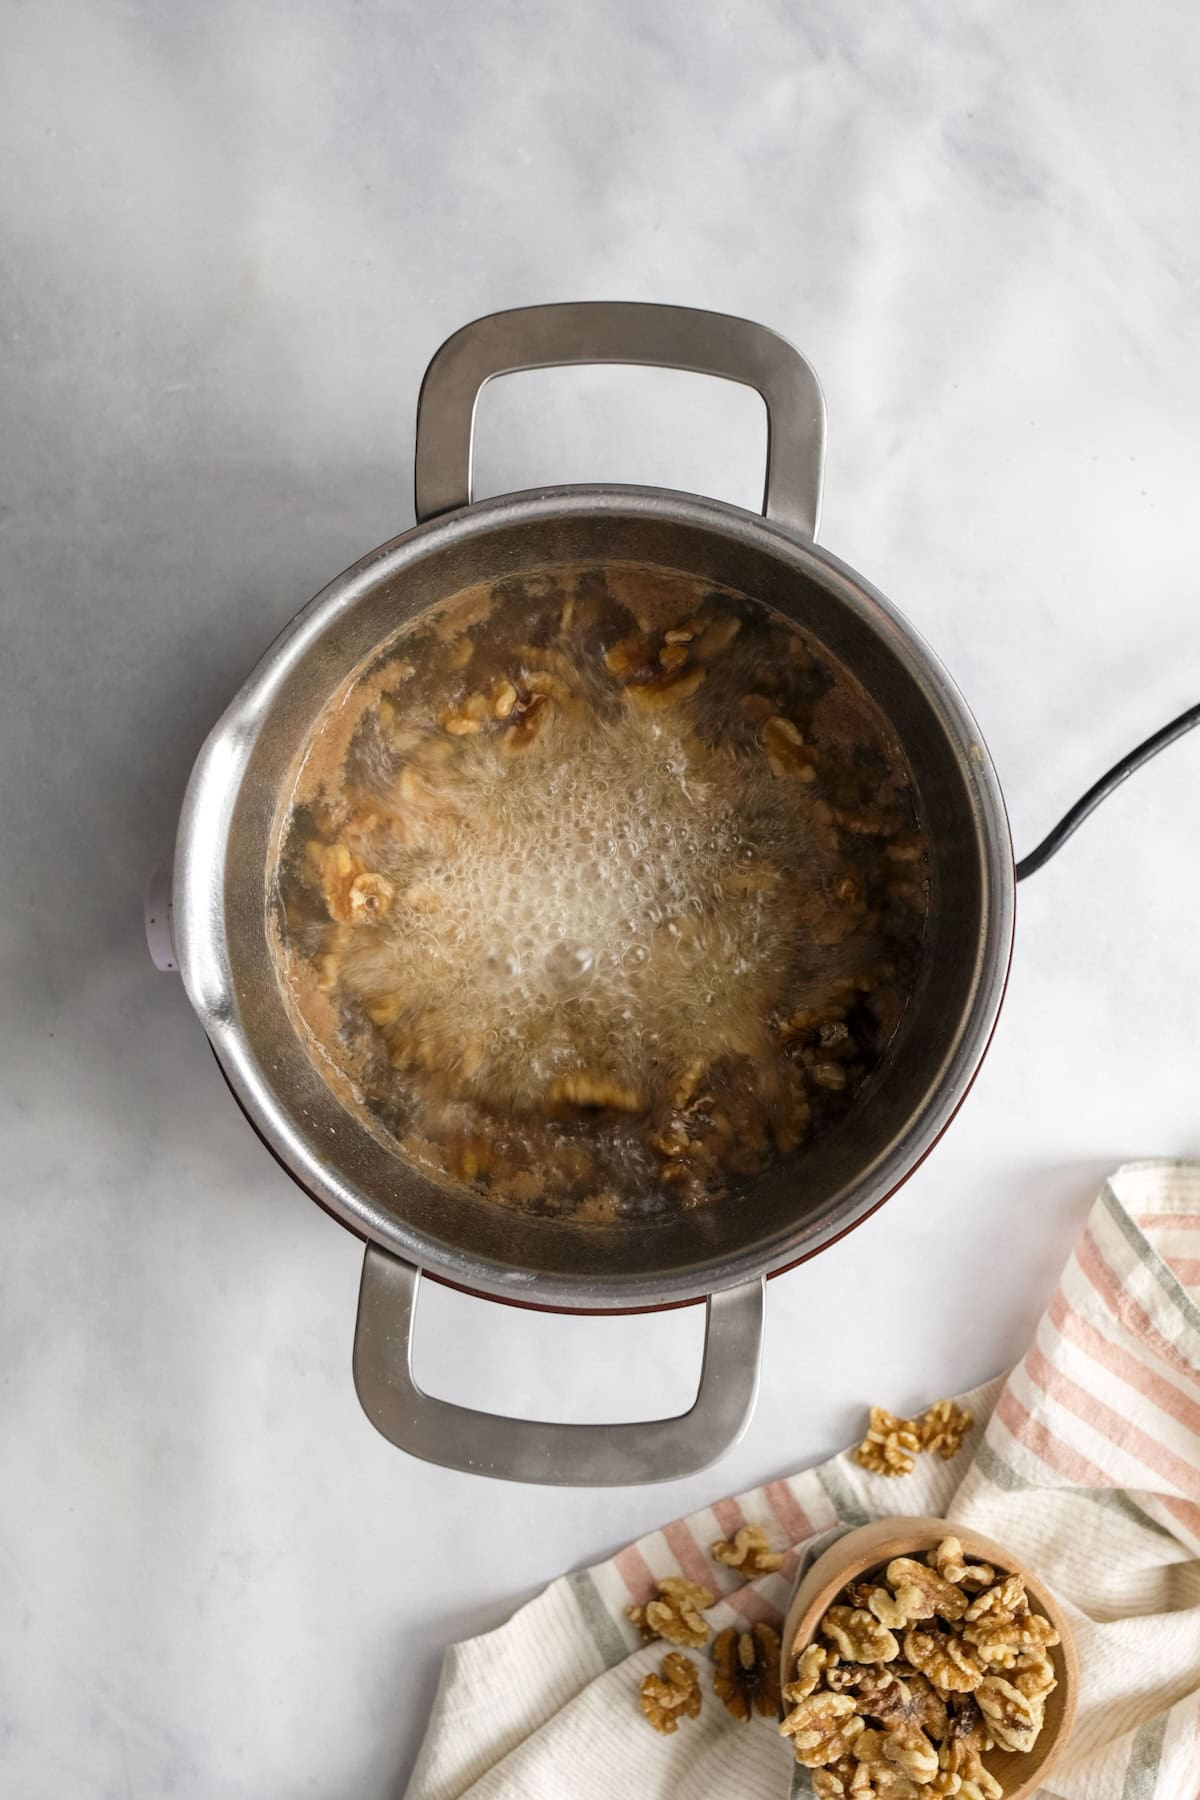
Add the walnuts to a small pot and cover with water. Bring to a boil, then let simmer for 5-10 minutes to allow the walnuts to soften.
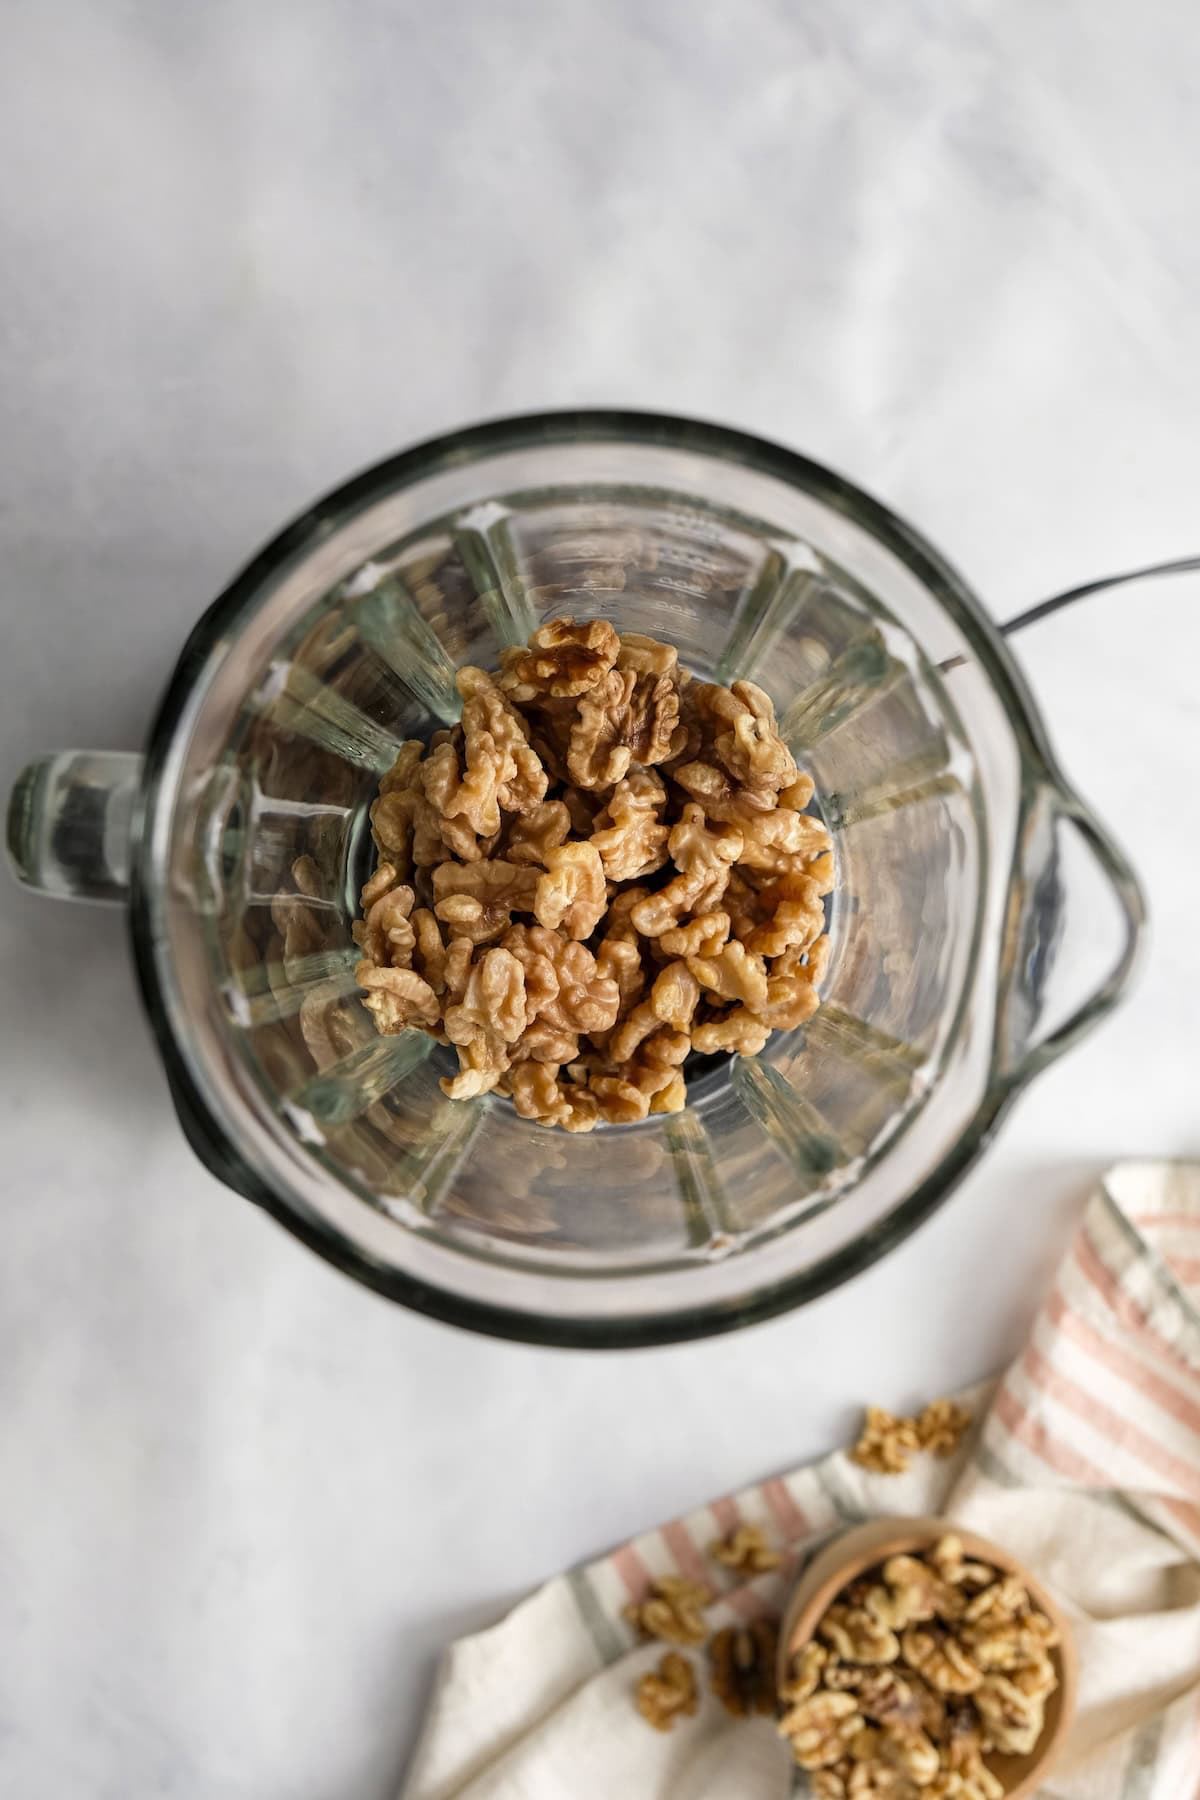
Strain and rinse well until the water runs clear. Add to a high speed blender with the water, salt and any optional ad-ins. Blend until completely smooth, about 1 full minute.
Use a nut milk bag to strain once or run through a fine mesh strainer 2-3 times until little pulp remains. Transfer to glass jars and store in the fridge. Use as a base for my gingerbread latte!
Do you need to soak nuts?
You can, but it’s actually not necessary! However, I don’t recommend just throwing the nuts in the blender without doing something to soften them.
So, if you forget or don’t have the patience to wait 8 hours while the walnuts soak (I certainly don’t), I suggest boiling them!
This will soften them really quickly (only about 15-20 minutes, as opposed to 8+ hours of soaking) so they blend well and you end up with a silky smooth and creamy walnut milk.
WANT TO SAVE THIS RECIPE?

The perfect ratio
I generally recommend a 1:3 ratio of nuts to water, so 3 cups of water for every 1 cup of nuts. This always achieves a smooth and creamy milk that doesn’t feel watered down but also isn’t too heavy like cream.
This ratio will give you about 1 liter of milk once all is said and done. In general, you can use 2-4 cups of water for every 1 cup of nuts, depending on how thick/creamy you like it. 3 is a good happy medium!
How to store
Homemade nut milk, including this walnut milk, keeps in the fridge for about 3 days. I like to keep it in glass jars, but you can reuse just about any tall container you have. It’s best served fresh and doesn’t have a long shelf life compared to store bought, so I don’t recommend making more than what you’ll be able to consume in a few days.
Frequently asked questions
Do I need a nut milk bag?
You don’t need to have a nut milk bag or cheese cloth to make this recipe! Most recipes for homemade dairy free milk will suggest straining through a nut milk bag, but with this recipe, it’s really not necessary. If you have one, you can definitely use it though!
Will there be a lot of pulp?
Walnuts don’t produce as much pulp as other types of nuts, so just running the milk through a fine mesh strainer 2-3 times is more than enough to make it creamy and smooth.
Can I use another nut like almonds?
Definitely! While this is a recipe for walnut milk, this recipe works for virtually any type of nut! Almond, cashew, macadamia, or even seeds like pumpkin. For nuts like almond, you will definitely want a nut milk bag or cheese cloth.
Enjoy it with these recipes!
Lastly, if you want more recipes straight to your inbox, be sure to subscribe to my email list. As always, tag me on instagram if you make this recipe so I can see your creation!

Walnut Milk
by: claire cary
Ingredients
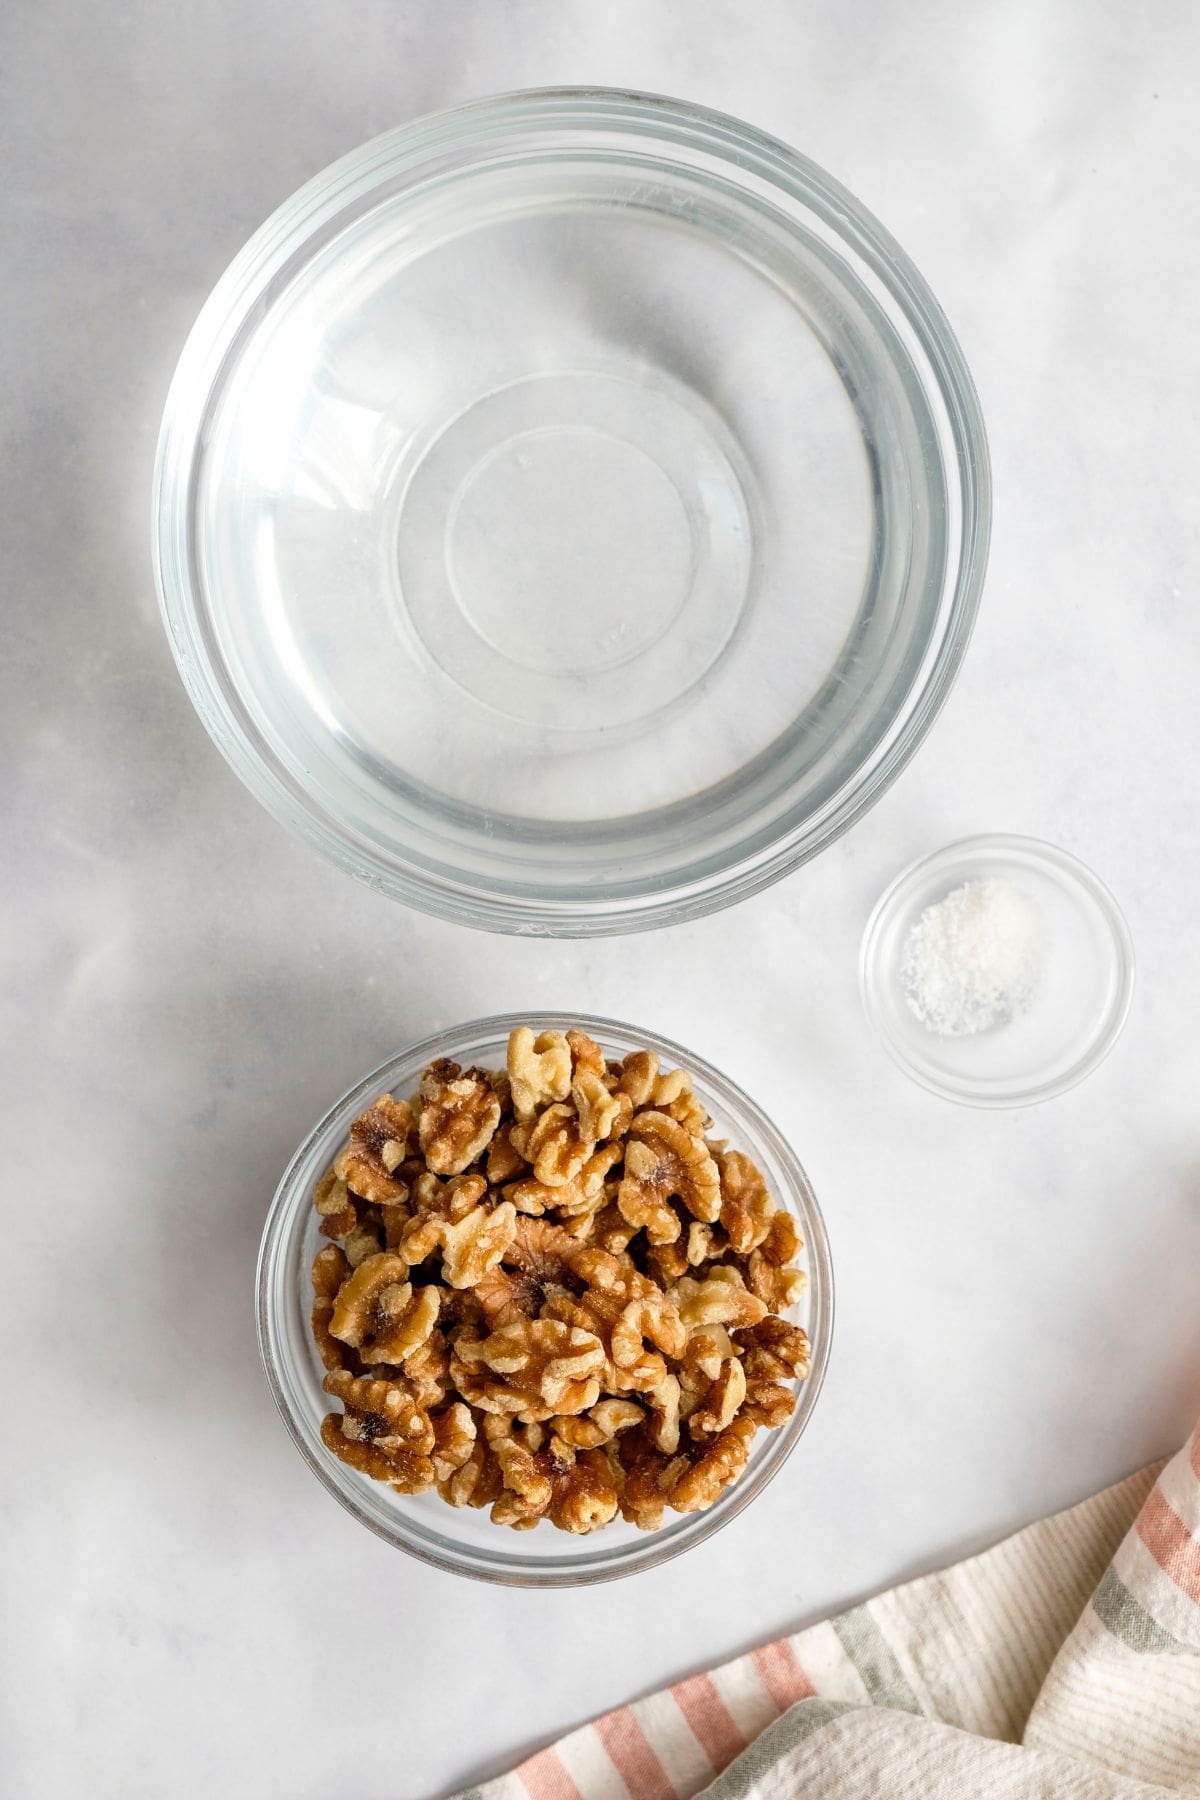
- 1 cup walnuts
- 3 cups water
- 1 pinch salt about 1/8 tsp
Optional Ad-Ins
- 1-2 teaspoons vanilla extract
- 1-2 tablespoons honey can also use dates or maple syrup
Instructions
- Add the walnuts to a small pot and cover with water.
- Bring to a boil, then let simmer for 5-10 minutes to allow the walnuts to soften.
- Strain and rinse well until the water runs clear.
- Add to a high speed blender with the water, salt and any optional ad-ins.
- Blend until completely smooth, about 1 full minute.
- Use a nut milk bag to strain once or run through a fine mesh strainer 2-3 times until little pulp remains.
- Transfer to glass jars and store in the fridge.
Notes

Comments
-
I love boiling the walnuts for the fastest possible way to use them. I tried soaking them, and the milk was delicious too, my favorite. Now I will try boiling them. I had started boiling before I saw your post; I wasn’t sure if I could do that. Thanks for addressing that!

-
I’m not a milk drinker this is good. Nice cup before bed…
-
Nice Quick Easy And Delicious 😋 😁❤👏🏾👏🏾👏🏾💯 Tyfs! My go to even when I have Almonds😁😄
-
Can I roast my walnuts first or is that not recommended? I have a ton to use up but they’ve been in the pantry for a while and a bit stale (not rancid though). I can’t wait to make this!
-
You can try that! It might make it more difficult to blend smoothly, so you may want to strain through a couple of times.
-
-
I’m wondering if you can freeze this milk?
PS I was short on walnuts, so I mixed in pecans to make a full cup, I’ll let you know how it is!-
Yes, should be fine!
-
-
Can you make yogurt out of walnut milk?
-
I have not tried that, but let me know if you do! I imagine you can make it as you would with any other plant-based milk.
-
-
What would toasting the walnuts first do? I know that in any other recipe toasting nuts before using them brings out more flavor. But for making nut milk, you need to soak, or in your case cook them in boiling water to soften them first. I wonder what would happen if you toasted them to bring the flavor out and then boiled them to rehydrate them?
-
You can try that! With roasting them, you run the risk of them being too oily, but flavor wise it could work well. Let me know if you try it out!
-
-
OMG! Sooooo Good! I used this Walnut Milk recipe exactly as written. No changes! My family uses this in Cereal, coffee, oatmeal & 🥤 Smoothies!!! So 😋 Yummy!
-
Love to hear that! So happy you’re enjoying it.
-
leave a comment and rating