Gluten Free Brownies


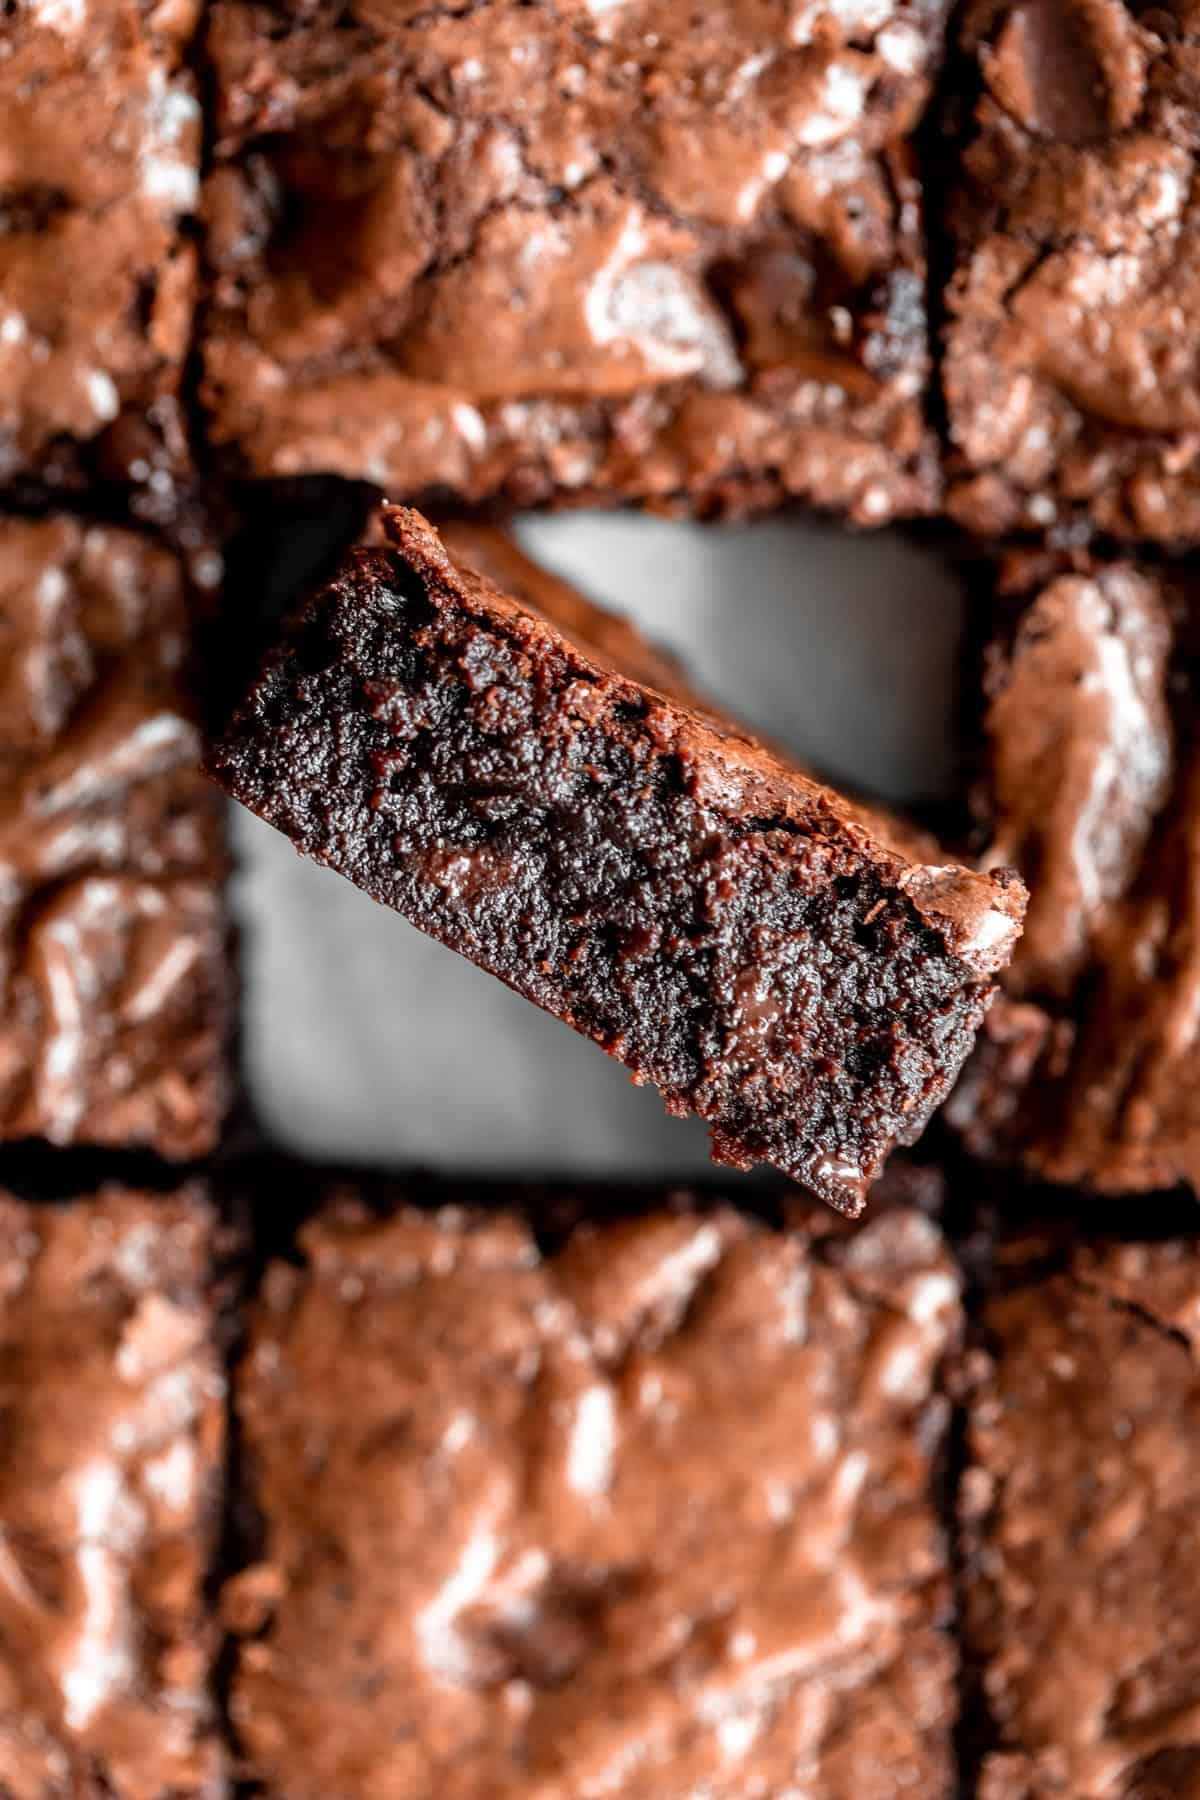
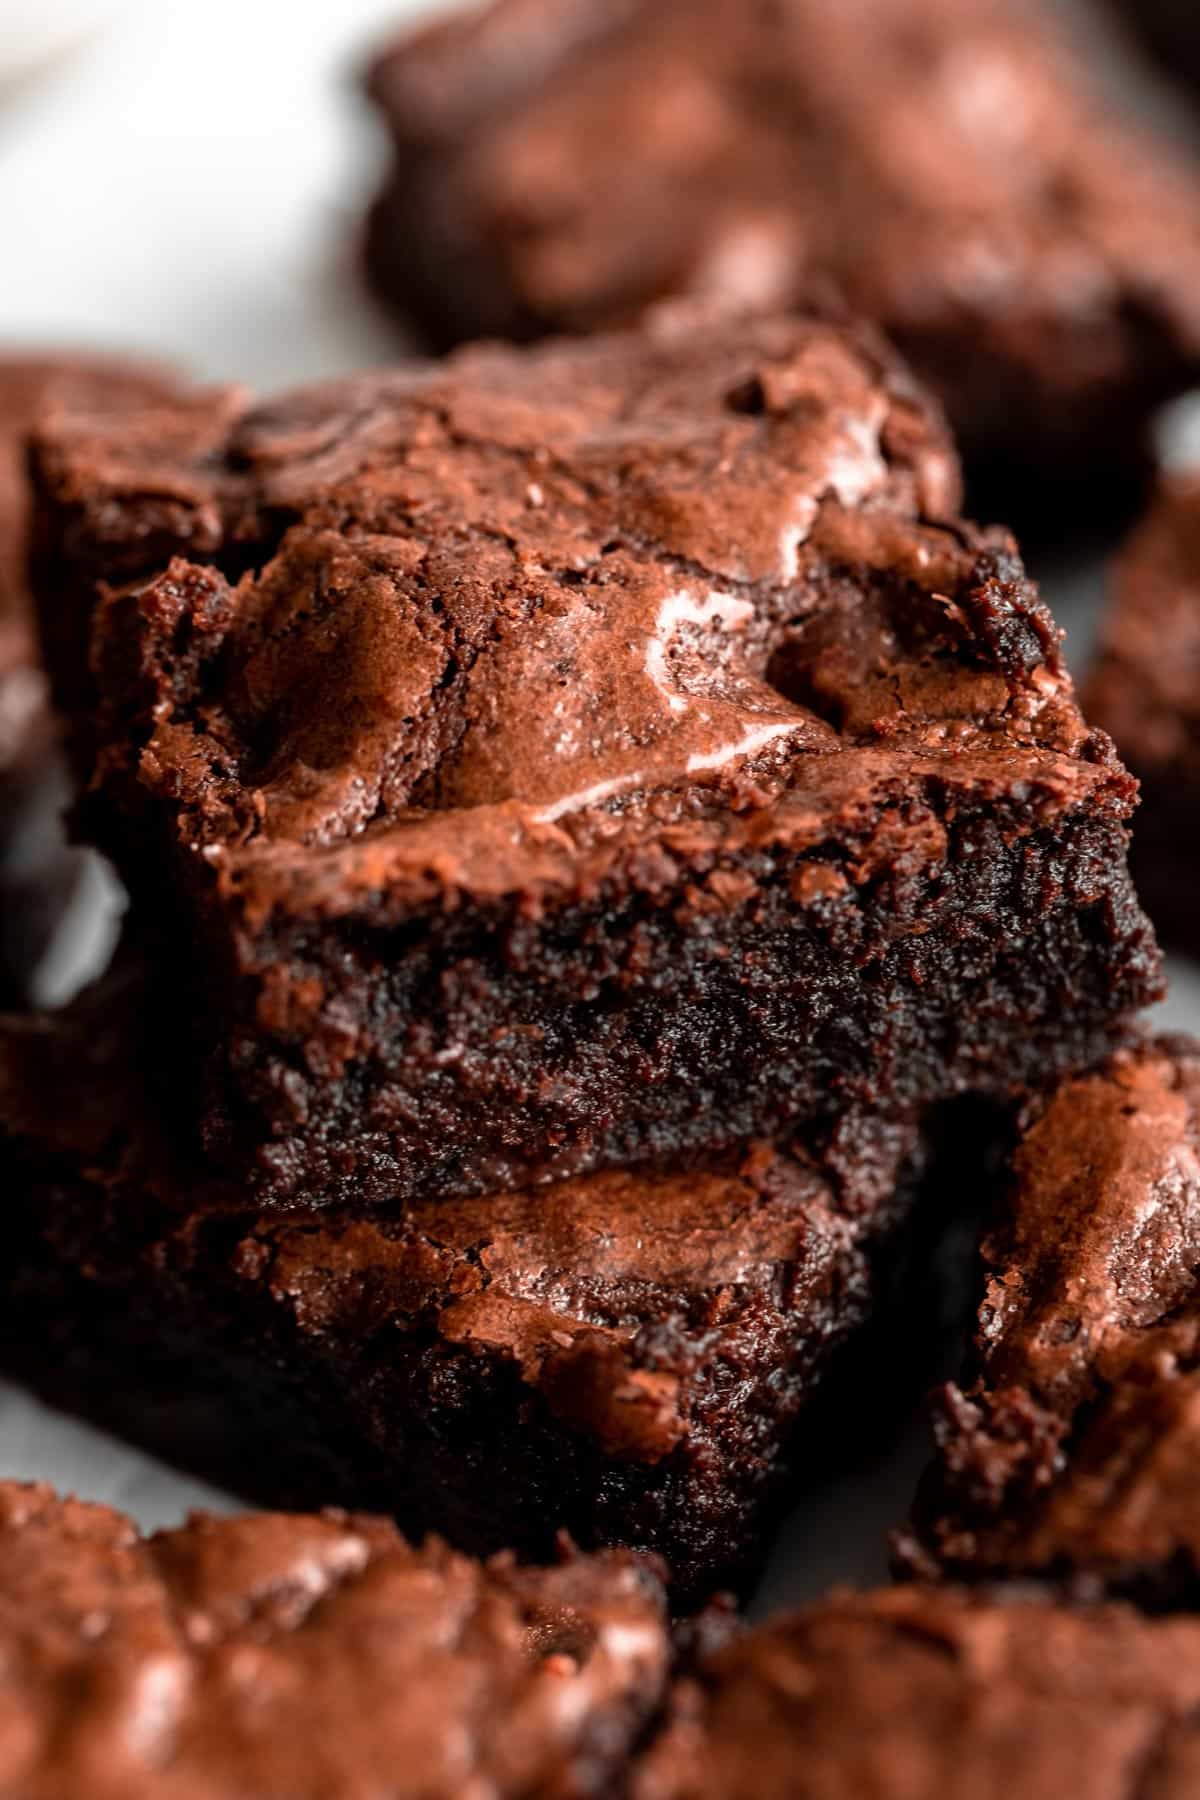
Need to satisfy your chocolate craving? These gluten free brownies are the perfect way to do it, and are made completely from scratch! They’re fudgy with crackly tops, easy to make, dairy free and made with simple ingredients you probably already have on hand.
I’m one of those weird people who much prefers vanilla to chocolate, but I can absolutely never say no to a good homemade brownie. Especially with a scoop of vanilla ice cream on top. It’s basically the best of the dessert world.
These gluten free brownies are fudgy, chewy, perfectly chocolatey, and so easy to make.
Plus, they’re made in just one bowl, require no fancy ingredients. Throw in some chocolate chips for some extra fudge, drizzle on top a chocolate glaze or frost them completely, or even add some chopped nuts.
No matter how you serve them, this is my fool proof that recipe that anyone and everyone will love. If you love this recipe, try my dairy free brownies with my vegan caramel sauce or my sugar cookie bars next!
Before we get started…
- This recipe works best if your eggs and milk are at room temperature.
- I used semi-sweet chocolate chips, which I recommend, but for a richer flavor, you can swap with dark.
- Be sure to let the brownies cool completely before slicing so they slice nice and clean!
How to make gluten free brownies
Add 1 cup worth of the chocolate chips to a microwave safe bowl and microwave at 30-45 second intervals, stirring between each until completely melted.
If you don’t have a microwave, you can add the chocolate chips to a small pot, then put that pot in a larger pot with about an inch of water and melt over low heat, stirring regularly to prevent burning. Or, if you have an actual double boiler, just use that!
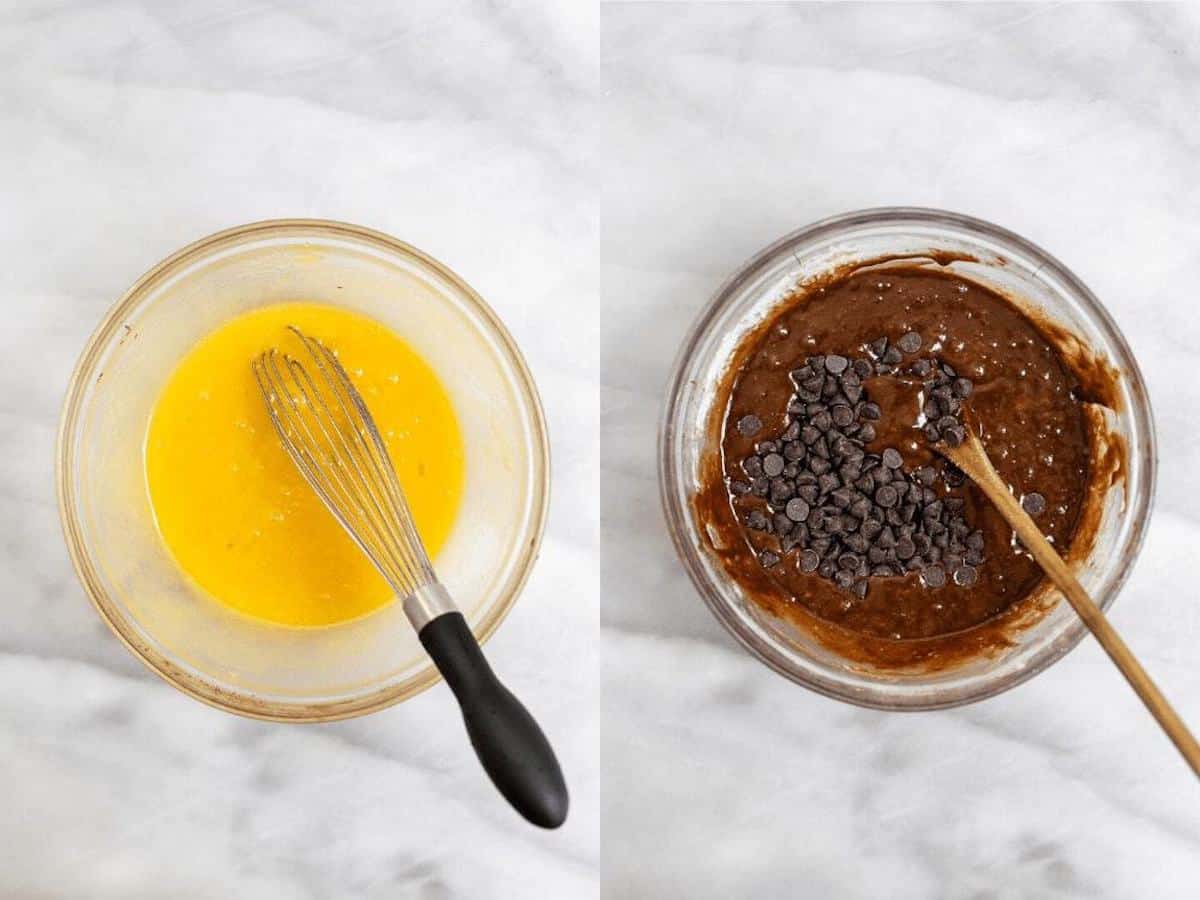
Meanwhile, whisk together the eggs, sugar, vanilla, milk and oil.
Add in the dry ingredients (flour, salt and baking powder) and the melted chocolate and mix until a batter forms. Fold in the remaining 2/3 cup of chocolate chips (can omit if you prefer).
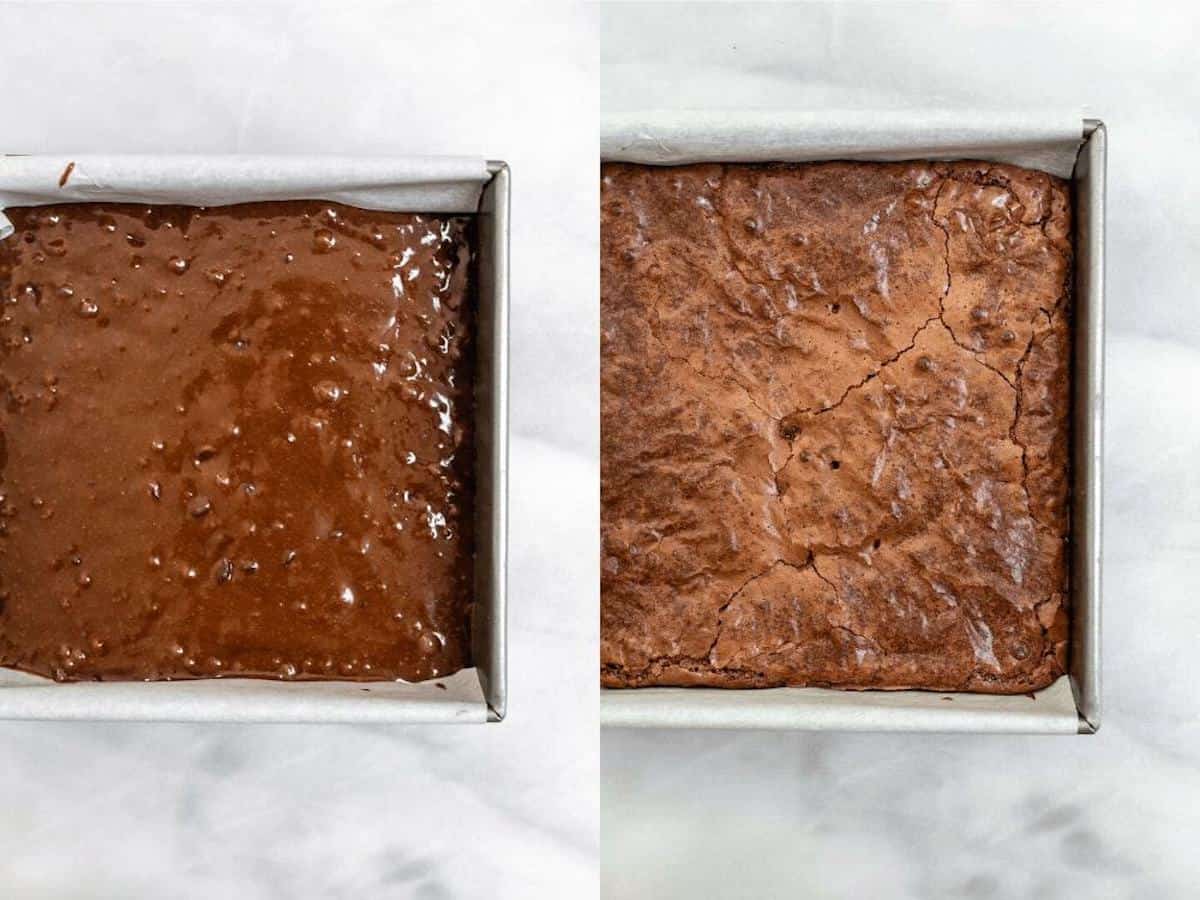
Transfer to an 8×8 baking dish lined with parchment paper and spread the batter evenly.
Bake for 30-38 minutes or until a toothpick comes out somewhat clean and the tops are nice and shiny/crinkly. I do about 33 minutes in my oven, but all ovens are different. Bake for longer for a less fudgy and more cake like center.
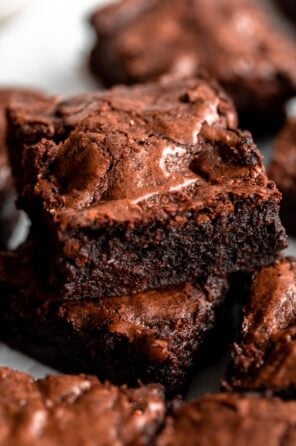
Let cool completely, then slice into 16 even squares. With an 8×8 pan, 16 squares will be slightly small brownies, feel free to cut into 9 for larger ones. Try my gluten free skillet brownie next!
Key ingredients & swaps
Eggs. Two eggs not only help bind all ingredients together, but they also react with the sugar to help create that crackly, shiny crust.
Sugar. For best results, I recommend sticking with regular white sugar. You can use coconut sugar in place of granulated sugar, but the tops won’t get quite as shiny/crackly. I do not recommend a liquid sweetener like honey or maple syrup here!
Oil. Some brownies call for butter, some call for oil, but with this recipe, I prefer the texture with oil. You can use any neutral flavored oil here.
Chocolate/cocoa. We’ll need both chocolate chips and cocoa powder to create a super rich and fudgy texture.
Flour. A little bit of gluten free all purpose baking flour will absorb some of the excess moisture here. I like Bob’s Red Mill GF baking flour, but any kind should work as long as it has xanthan gum.
WANT TO SAVE THIS RECIPE?
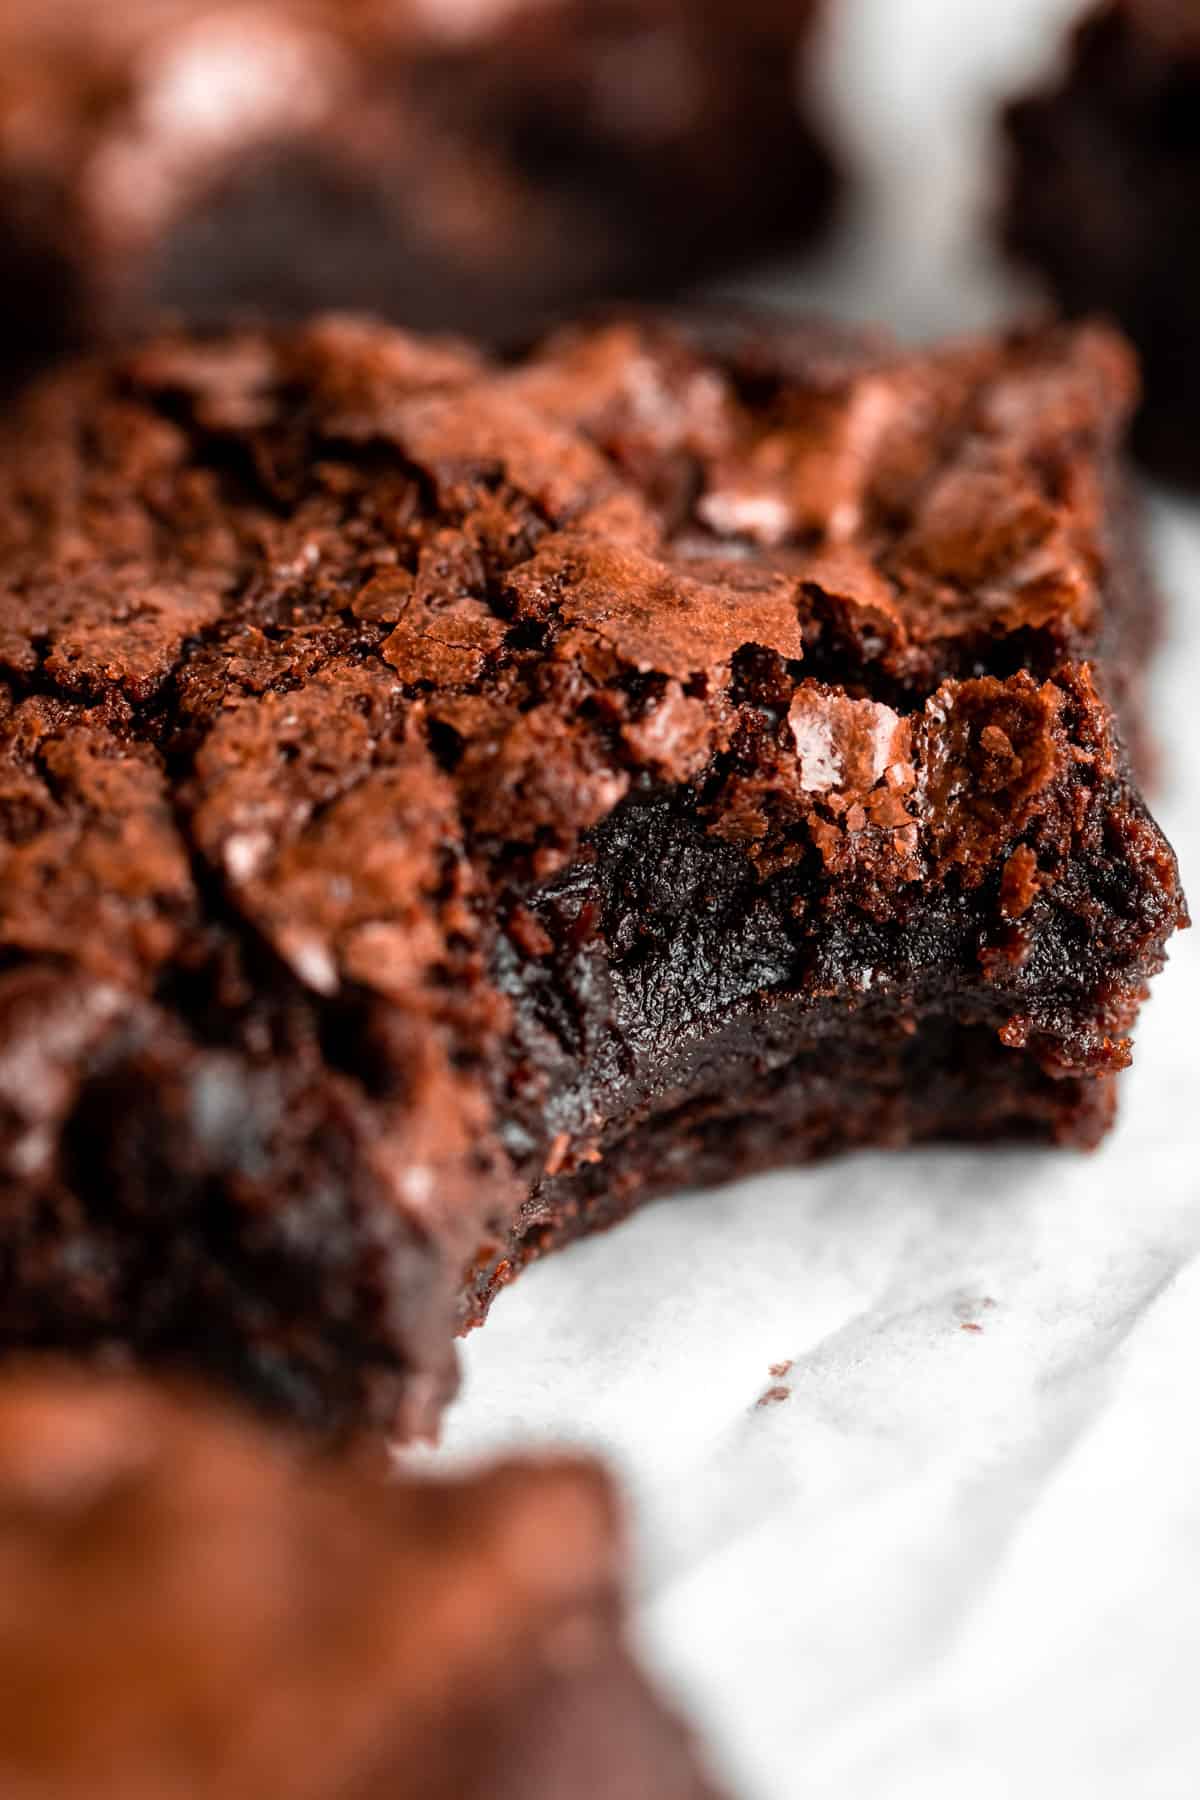
The key to fudgy brownies
You may have noticed that is an old recipe that I updated to make 1000x better. The original recipe tasted great, but it was definitely more cakey than fudgy.
Personally, I like both types of brownies, but after some feedback, I decided to upgrade these to be fudgier and get that gorgeous shiny crackly crust we all dream about. Just me?? Ok.
Anyway, I’ve tried and tested and have nailed down a few key tips to make fudgy brownies, you’ll never go back to a boxed gluten free brownie mix again!
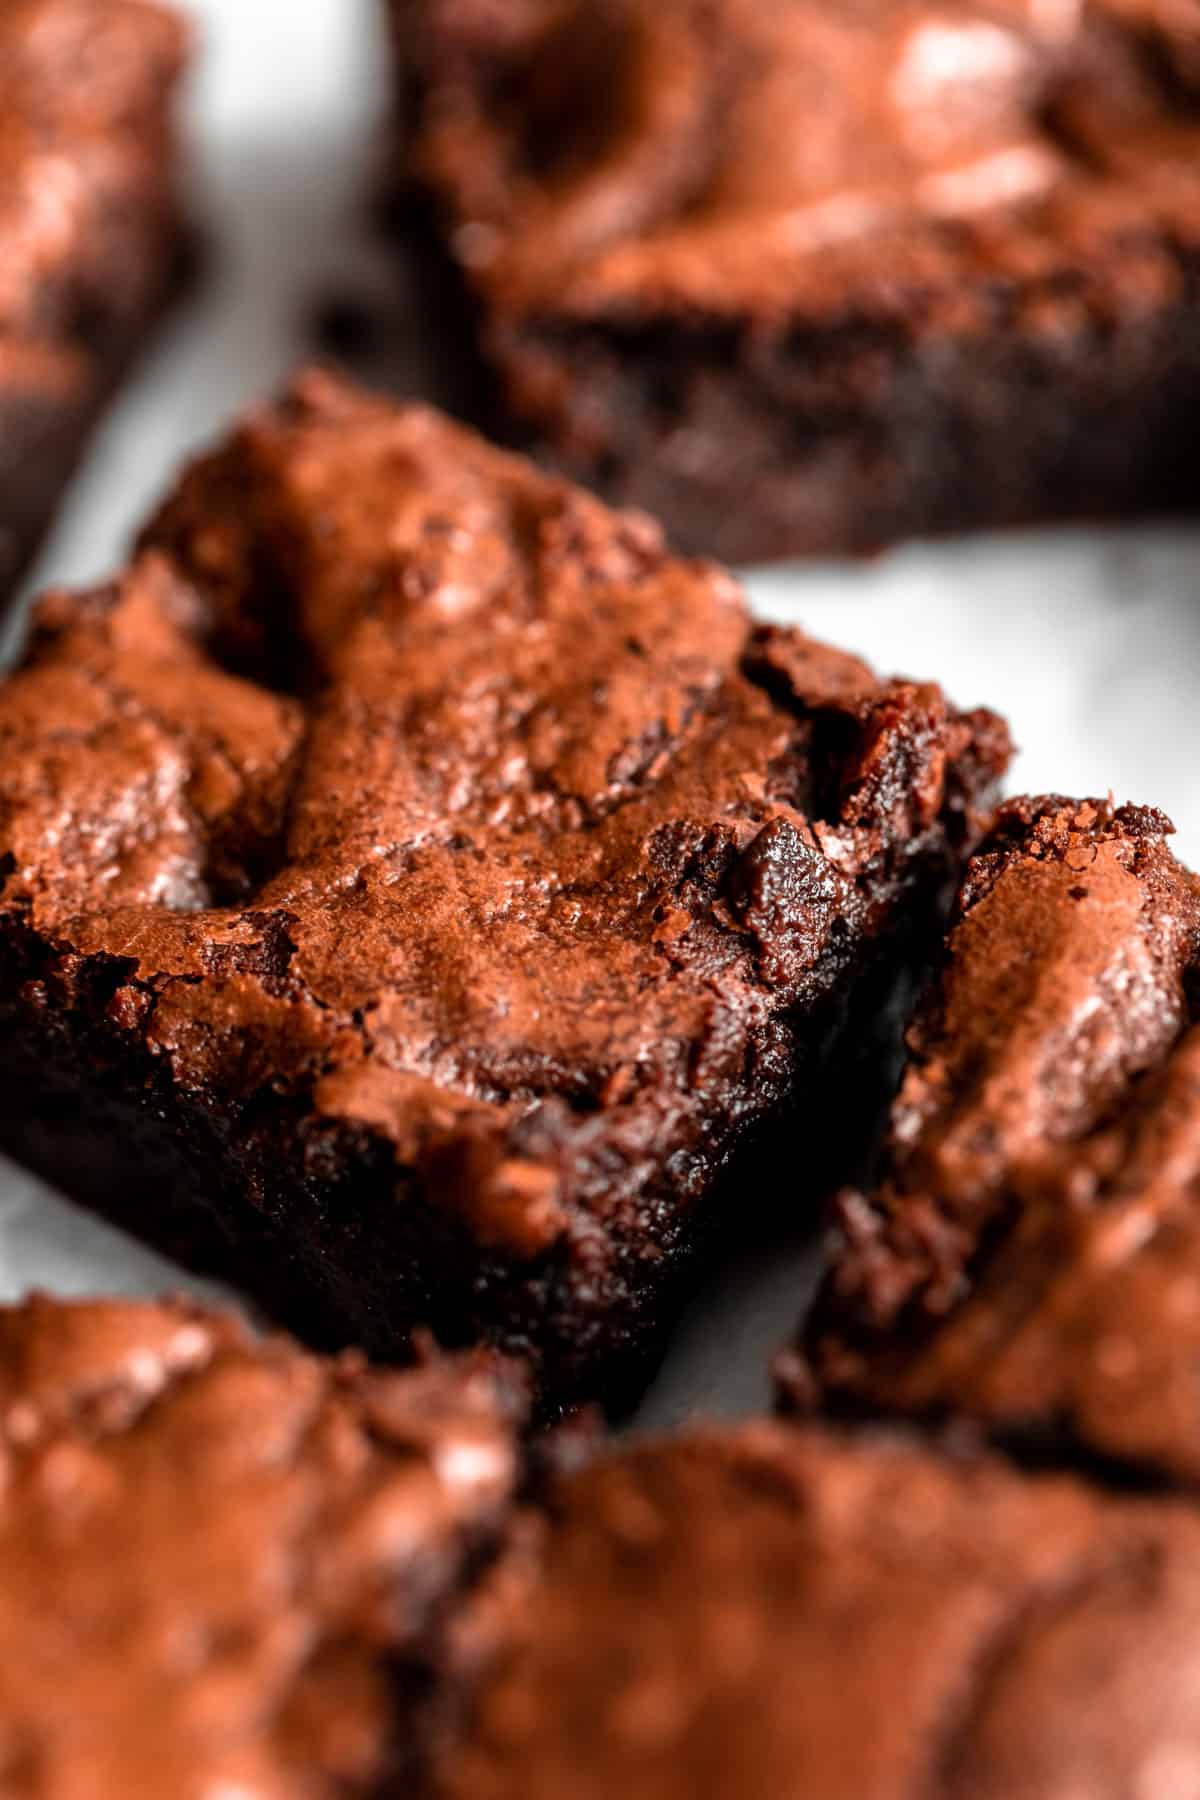
Use melted chocolate instead of (or in addition to) cocoa powder. Many brownie recipes call for cocoa powder, (even some of my recipes), but I find for these gluten free brownies, using melted chocolate yields the best texture AND is the key to getting a shiny/crackly top.
Shorten the bake time! A longer bake time means the brownies will dry out slightly and won’t be as fudgy. This can be good or bad depending on how you like them. For reference, I baked mine for 35 minutes and they were fudgy without being too gooey. Feel free to go up or down!
Keep the baking powder/soda to a minimum. This recipe uses just 1/4 tsp of baking powder since it already has two eggs which helps the batter rise.
Too much baking powder or soda will create too much air in the brownies which can cause them to be cakey or just collapse in the center after the cool. We don’t want either!
The best chocolate & flour
You can use any kind of chocolate chips you like, but try to use good quality and avoid bittersweet. I suggest semi-sweet and love the brand Guittard since they’re made in a gluten free facility and taste just like regular chocolate chips, but are gluten & dairy free.
This recipe requires just 2 tablespoons of cocoa powder, so you can use whatever you like. Either dutch processed or natural cocoa powder will work. It’s a small amount but just works to enhance the overall chocolate flavor and absorb a bit of moisture.
As far as flour goes, I used the GF Bob’s Red Mill 1:1 baking flour in the blue bag. You can try other gluten free baking flours like King Arthur, just make sure they have xanthan gum. You can also use regular all purpose flour instead if you are not gluten free!
How to store and freeze
Once prepared, these gluten free brownies will store for about 3-5 days. Allow them to cool completely before transferring to an air tight container. I store them at room temperature, but they’ll keep for longer in the fridge!
To freeze, allow to cool completely, then slice and place in a ziplock bag or wrap tightly in plastic wrap and place in a freezer safe container.
Reheat in the oven at 300 until warm through the center and enjoy!
Can I make them vegan or dairy free?
This recipe is naturally dairy free (just use dairy free chocolate chips), but I do not suggest making them vegan.
The eggs are key for binding all ingredients together as well as getting those crackly, shiny tops!You can try my vegan and gluten free brownies instead!
Try these desserts next!
- Chocolate Cupcakes
- Gluten Free Chocolate Chip Cookies
- S’mores Bars
- Flourless Brownies
- Almond Flour Brownies
If you want more recipes straight to your inbox, be sure to subscribe to my email list! As always, be sure to tag me on instagram so I can see your creation. Leave a comment and rating below if you try this recipe!
Gluten Free Brownies
by: claire cary
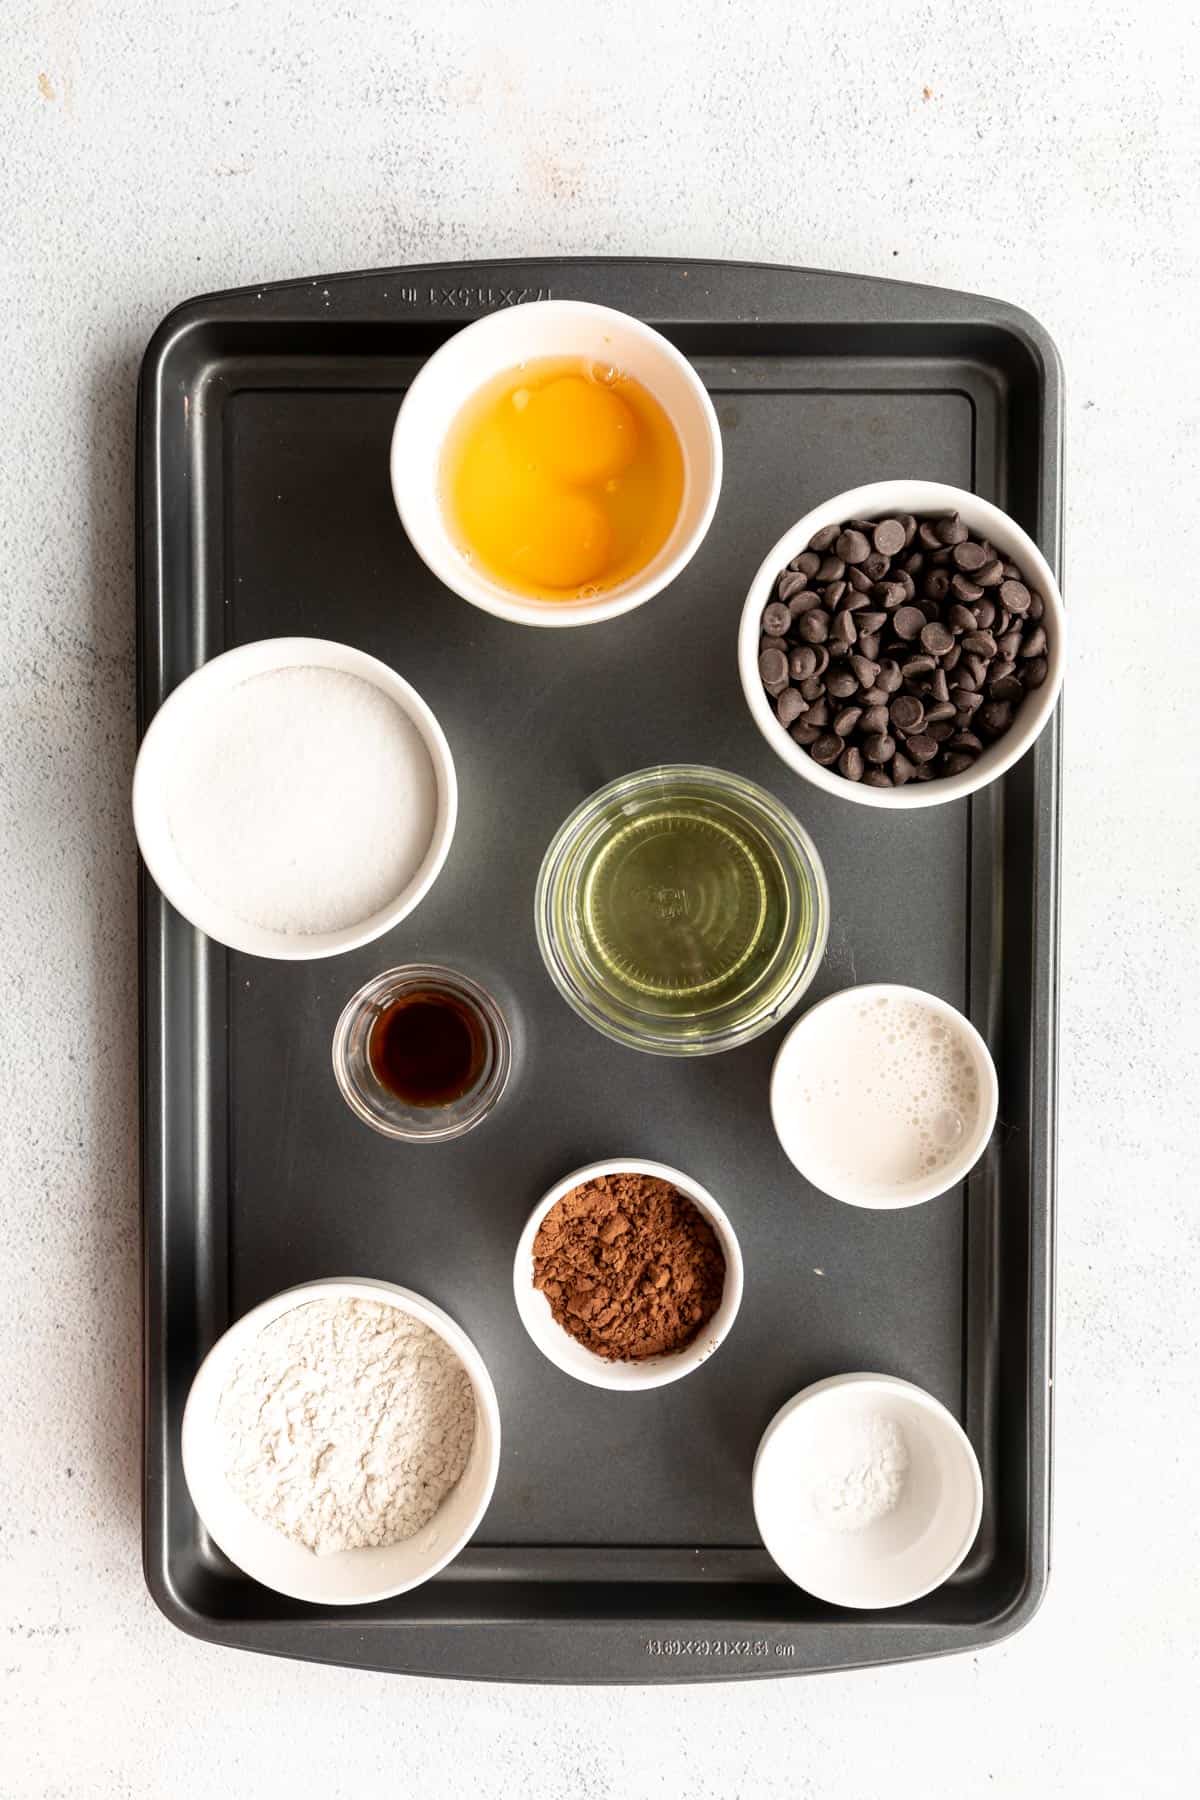
Ingredients
- 2 large eggs room temperature
- ¾ cup granulated sugar
- 1 ⅔ cup semi sweet chocolate chips divided
- ¾ cup oil I used avocado, any neutral oil like refined coconut works
- 2 teaspoons vanilla extract
- 2 tablespoons milk dairy or non-dairy, room temperature
- ½ cup + 2 tablespoons Gluten free all purpose baking flour I used Bob’s Red Mill
- 2 tablespoons cocoa powder
- ¼ teaspoon salt
- ¼ teaspoon baking powder
Instructions
- Preheat the oven to 350 degrees Fahrenheit.
- Add 1 cup worth of the chocolate chips to a microwave safe bowl and microwave at 30-45 second intervals, stirring between each until completely melted.
- Meanwhile, whisk together the eggs, sugar, vanilla, milk and oil. Whisk in the melted chocolate
- Add in the dry ingredients (flour, cocoa, salt and baking powder) and mix until a batter forms. Fold in the remaining 2/3 cup of chocolate chips.
- Transfer to an 8×8 baking dish lined with parchment paper and spread the batter evenly.
- Bake for 30-38 minutes or until a toothpick comes out somewhat clean and the tops are nice and shiny/crinkly. I do about 33 minutes in my oven, but all ovens are different. Bake for longer for a less fudgy center and vice versa.
- Let cool completely, then slice into 16 even squares. They slice much more neatly if you pop them in the fridge for about 20 minutes before slicing!
Notes

Comments
-
So yummy! Used king arthur’s gluten free measure for measure flour and turned out perfectly fudgy and not dense or crumbly! Thank you! Will make again!

-
The best gluten free brownie recipe, and I’ve tried a lot! Works well as a bottom layer for a brownie bottom cheesecake as well! My son has celiac and loves them!
-
Oh love that idea for a cheesecake!
-
-
Excellent brownies! I made them to use in brownie sundaes and no one could tell they were gluten free. Delicious!!
-
These came out AMAZING! I’ve been trying out different gfdf recipes for my 11 year old son who has food allergies (gluten, dairy, soy, food dyes). This one’s definitely being added to our favorites!
-
Thank you, Christina!
-
-
I’m only 12, but I’ve done a lot of brownie making, and from seeing all the comments, I’m 100 percent sure that these will be the best. My mom is gluten free, and has lots of dietary restrictions, including chocolate after 1;00 pm, meat, seafood, and lots of other things, so I was very excited to find this recipe. She will be able to enjoy these in the morning. Thank you so much for the recipe, Claire!
-
These brownies are the best I’ve ever made! I’ve made at least 100 brownies, but the are the yummiest so far! Thank you so much for this amazing recipe! Although, I used a round glass pan. Next time should I use a Metal square, or does it make a difference?
-
I like to use an aluminum pan, but glass is fine if that’s all you have!
-
-
The very best GF brownie I ever ate! We forwent salt inside the recipe and used course kosher salt on top with some of the chocolate chips. We live in a hot climate and kept ours in the refrigerator. So amazing!
-
Thank you, Robin!
-
-
If using coconut oil do I melt it? Thanks!
-
Yes! Melt, then measure out 3/4 cup.
-
-
Amazing! I think these are the best brownies I’ve made in my life. I used butter for the oil and reduced the sugar by 1/4 cup. Sometimes when baking, it seems edges can get dry while the middle is still under cooked. Not these! These brownies cooked very evenly so they were perfectly fudgey all the way through.
-
Perfect, so glad you loved these!
-
-
Love this recipe! Do these freeze well?
-
They should! Just wrap in plastic wrap and stick in a freezer safe bag or container, then reheat at 300 until warm through the center.
-
-
I have made this but would you please clarify your ingredient amounts from the 1x to 2x recipe. You go from using / to : and it makes the conversion confusing
-
I’m not entirely sure what you mean. When you click 2x it will automatically double all ingredients.
-
-
Trying this for my gluten free daycare children… the true test…. kids… They’re excited to have brownies….we’ve been searching for easy, gluten free recipes, without the extra additives….
-
These brownies are delicious! I judge a great brownie by the shiny coating on top, the dense chewiness, and that intense chocolate flavor; this recipe has all three. I am trying to cut down on my sugar intake, so I replaced 1/2 the granulated sugar with coconut sugar. I couldn’t tell a difference and still had the shiny top. Next time I will check my brownies before the minimum time recommended in the recipe, my oven cooked these faster than I expected. Not sue if it had to do with the gluten free flour, I am a very experienced baker but new to gluten free. They were a bit more fluffy than I like, so, before chilling them in the fridge, but after they cooled completely. I put them back in the pan, still wrapped in parchment, and flattened them a bit with the bottom of a flat bottom measuring cup (stainless steel). Viola! Dense brownies!! Chilled in the fridge over night….AMAZING!
-
Perfect, so glad you got them to work for you! Thanks, Karyn!
-
-
I don’t see if nuts could be added. We are nut loving people and I think I will try adding some.
-
Definitely should work!
-
-
This recipe is moist and delicious! Everyone enjoyed it including people who aren’t gluten free wanted me to make them again! Definitely an amazing recipe! Thank you for sharing!🥰
-
Thank you, Tiffany!
-
leave a comment and rating