Gluten Free Red Velvet Crinkle Cookies


These gluten free red velvet crinkle cookies are the ultimate Christmas recipe. With a fudgy and slightly chocolatey flavor, this easy recipe is sure to be a hit.
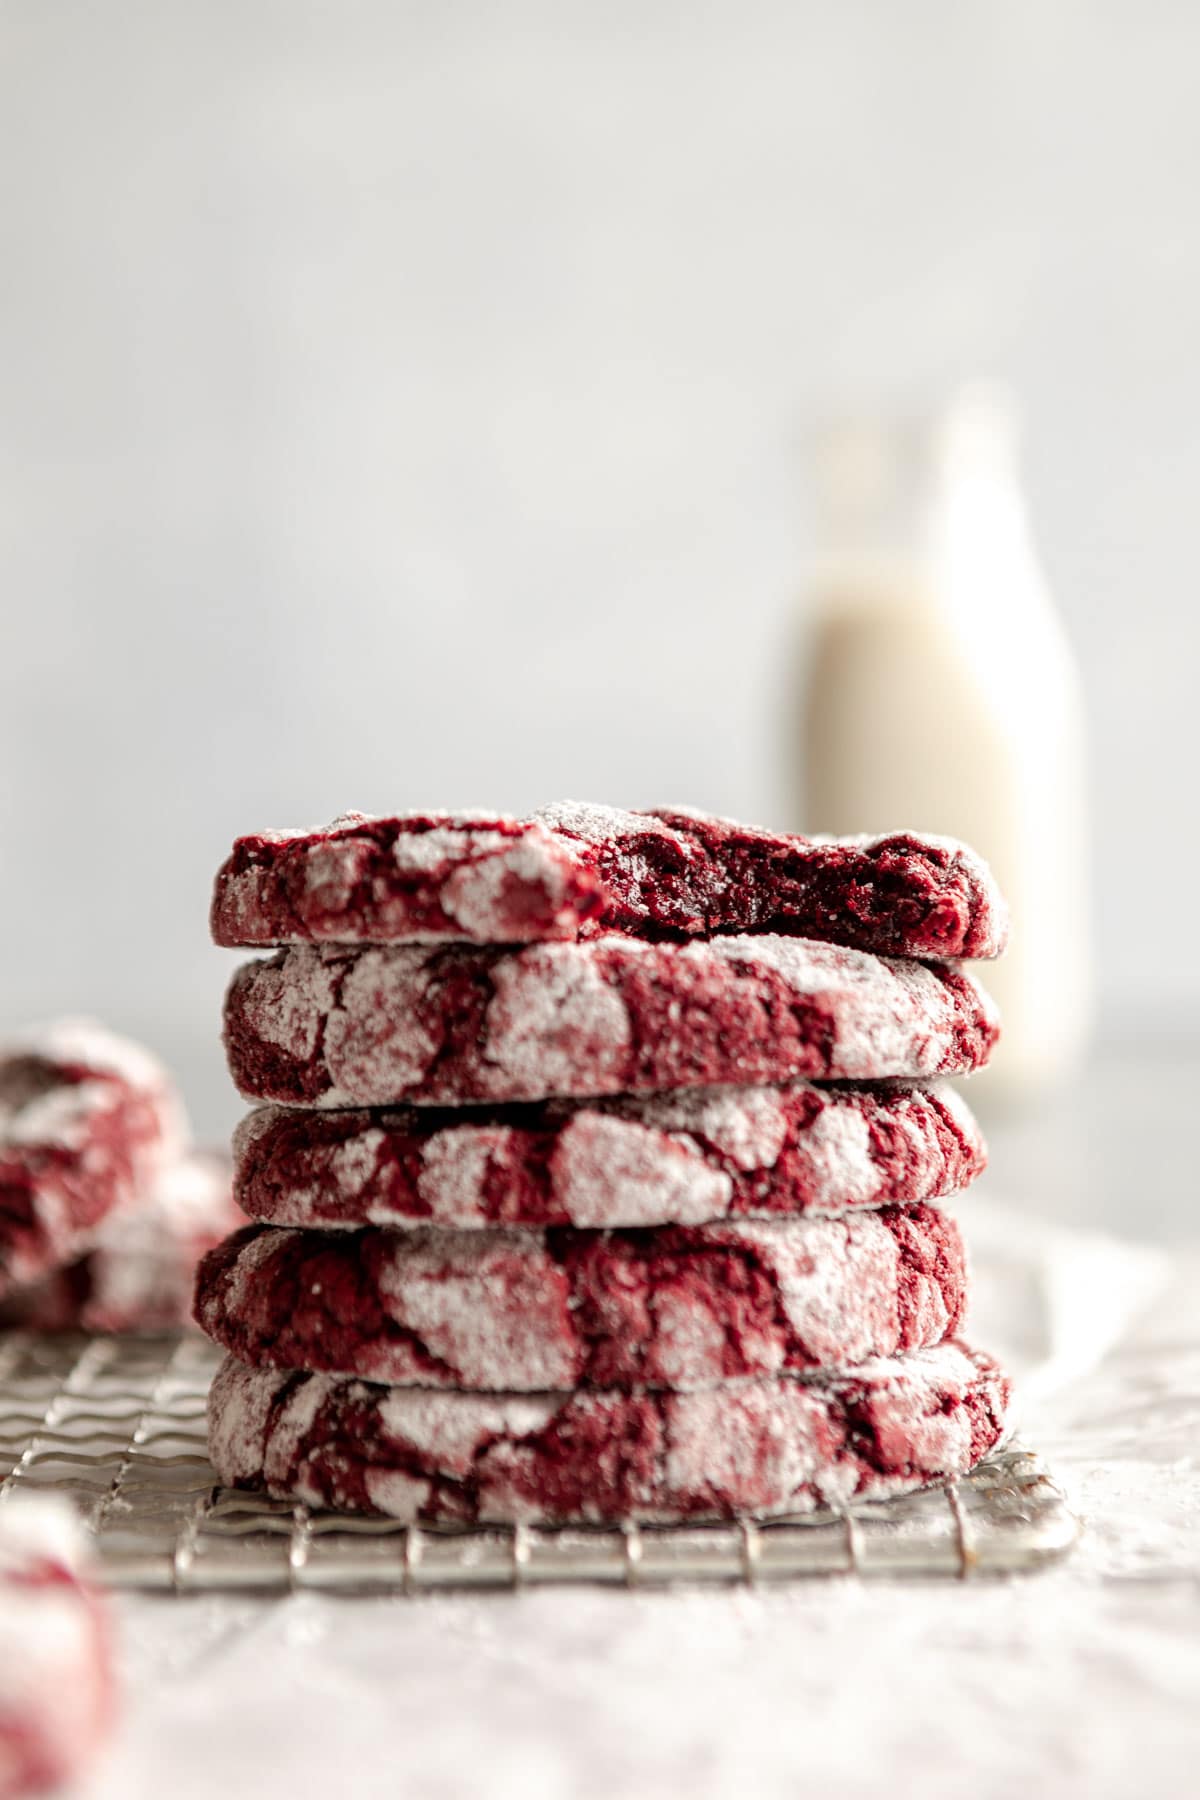
Happy cookie season! Ok, it’s always cookie season in my book but these gluten free red velvet crinkle cookies are truly the ultimate Holiday cookie.
They’re kind of like a chocolate crinkle cookie, but with less cocoa powder and some red food coloring for that rich red color.
They have a fudgy and gooey texture and get coated in powdered sugar for that beautiful crinkle look. If you love this recipe, try my gluten free red velvet cake or red velvet brownies next!
Why you’ll love this recipe
- Dairy free friendly
- RIch & fudgy
- Easy to make
- Perfect for holidays

Key ingredients
BUTTER. Butter will add moisture and flavor to these red velvet cookies. I used regular butter, but you can easily swap for dairy free butter, such as Earth Balancen with no problem.
SUGAR. A mix of light brown sugar and white sugar will give these cookies a rich flavor and sweetness. I do not recommend any sugar swaps here.
EGGS. Two eggs are necessary for binding all ingredients together. I do not recommend any swaps here since the cookies will fall apart and the texture will be dense.
FLOUR. I used gluten free all purpose baking flour from Bob’s Red Mill. You can use a different blend, but I recommend one with xanthan gum in the mix.
COCOA. Red velvet has some chocolate, but not as much as a traditional chocolate cookie.
BAKING POWDER. Baking powder will help encourage that crinkle cookie look and give a nice texture.

How to make gluten free red velvet crinkle cookies
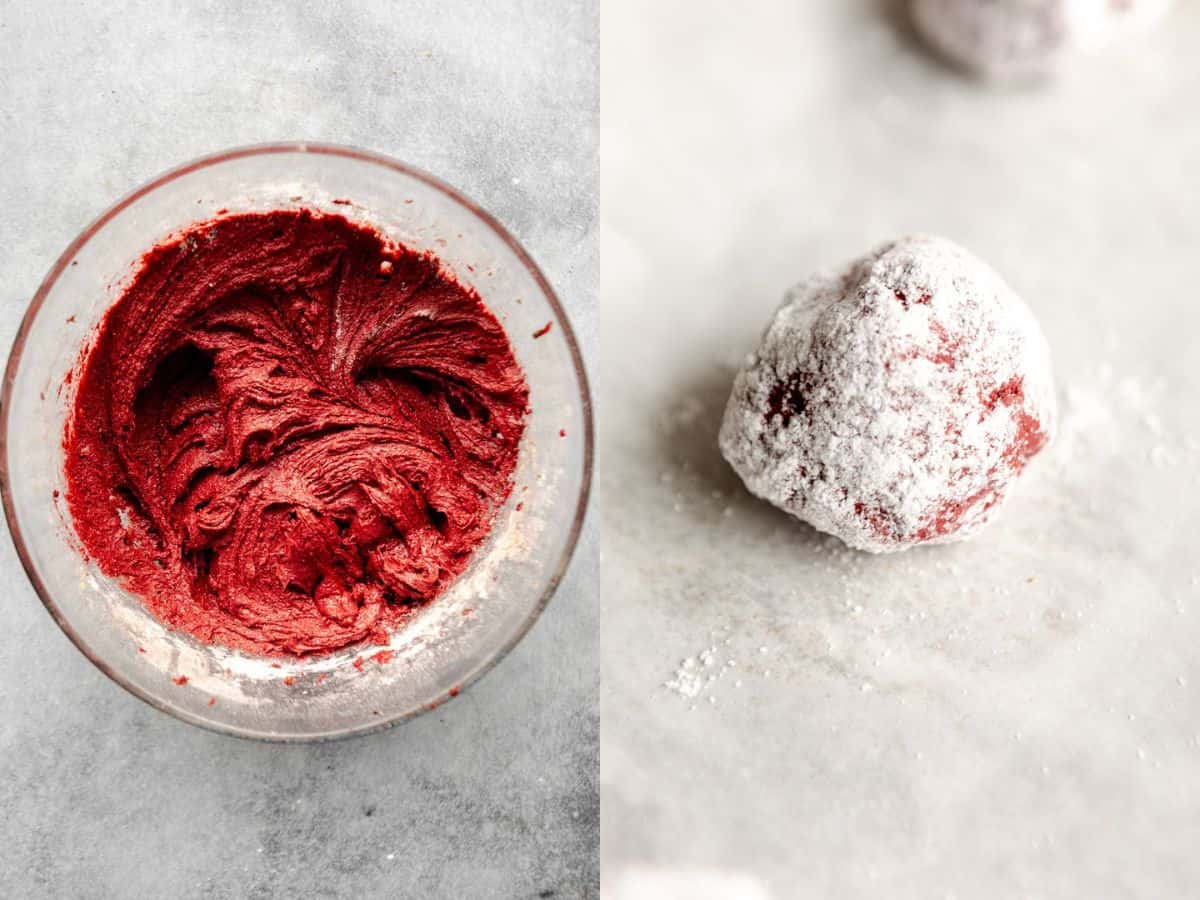
In a medium mixing bowl or bowl of a stand mixer, add the butter, white sugar and brown sugar. Cream together with an electric mixer for about 1 minute.
Add in the eggs, vanilla and food coloring and beat until combined.
WANT TO SAVE THIS RECIPE?
Add in the dry ingredients. Be sure to spoon and level the flour, don’t scoop right from the bag. Mix until combined.
Place in the fridge to set for 30 minutes. During the final 15 or so minutes, preheat the oven to 350 Fahrenheit.
In a small bowl, combine the powdered sugar and white sugar. Scoop the dough using 1.5 tablespoon scoop and roll in the sugar mixture.
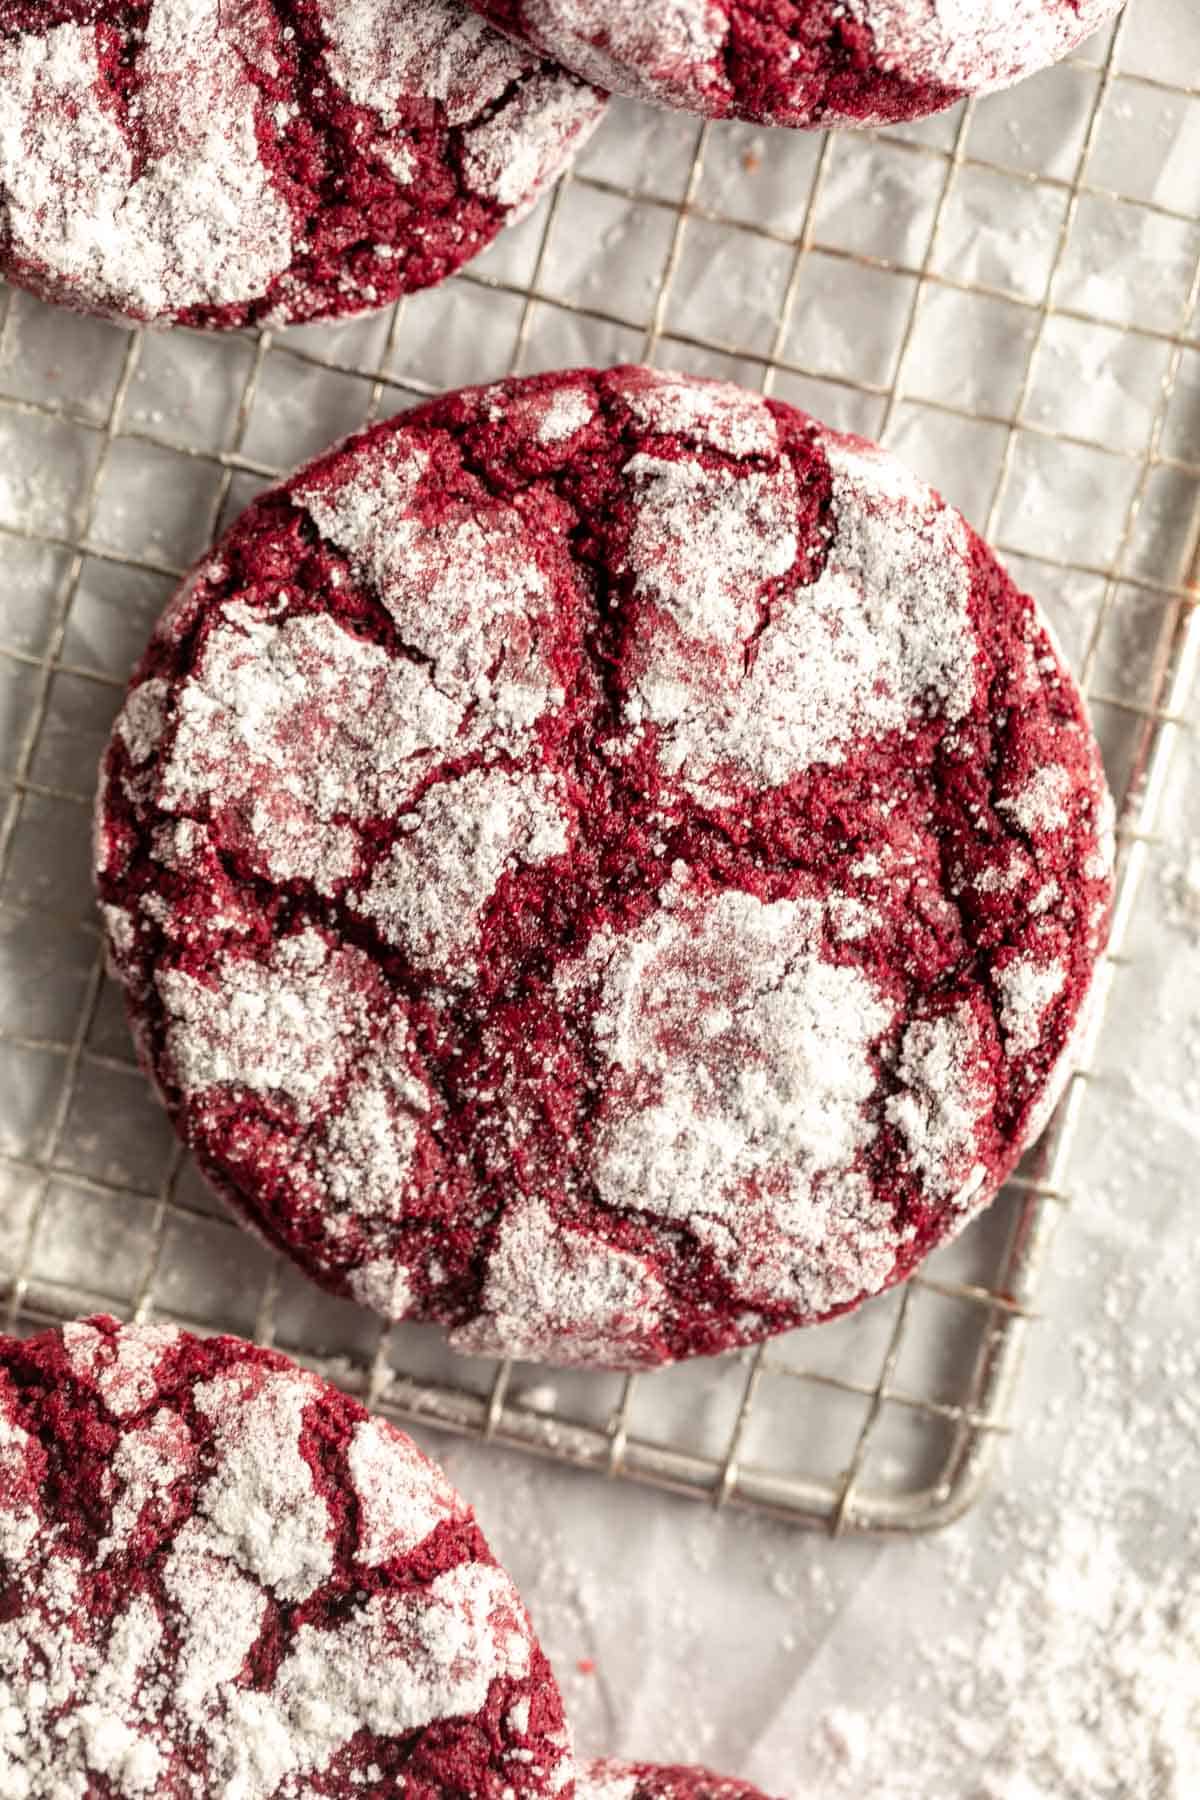
Add to a baking sheet lined with parchment paper, keeping enough space in between each for spreading. Bake for 9-12 minutes. The center should look a little soft, too doughy, but they will continue to harden as they cool.
Remove from the oven and let cool on the baking sheet for 15 minutes, then transfer to a wire rack to finish cooling.
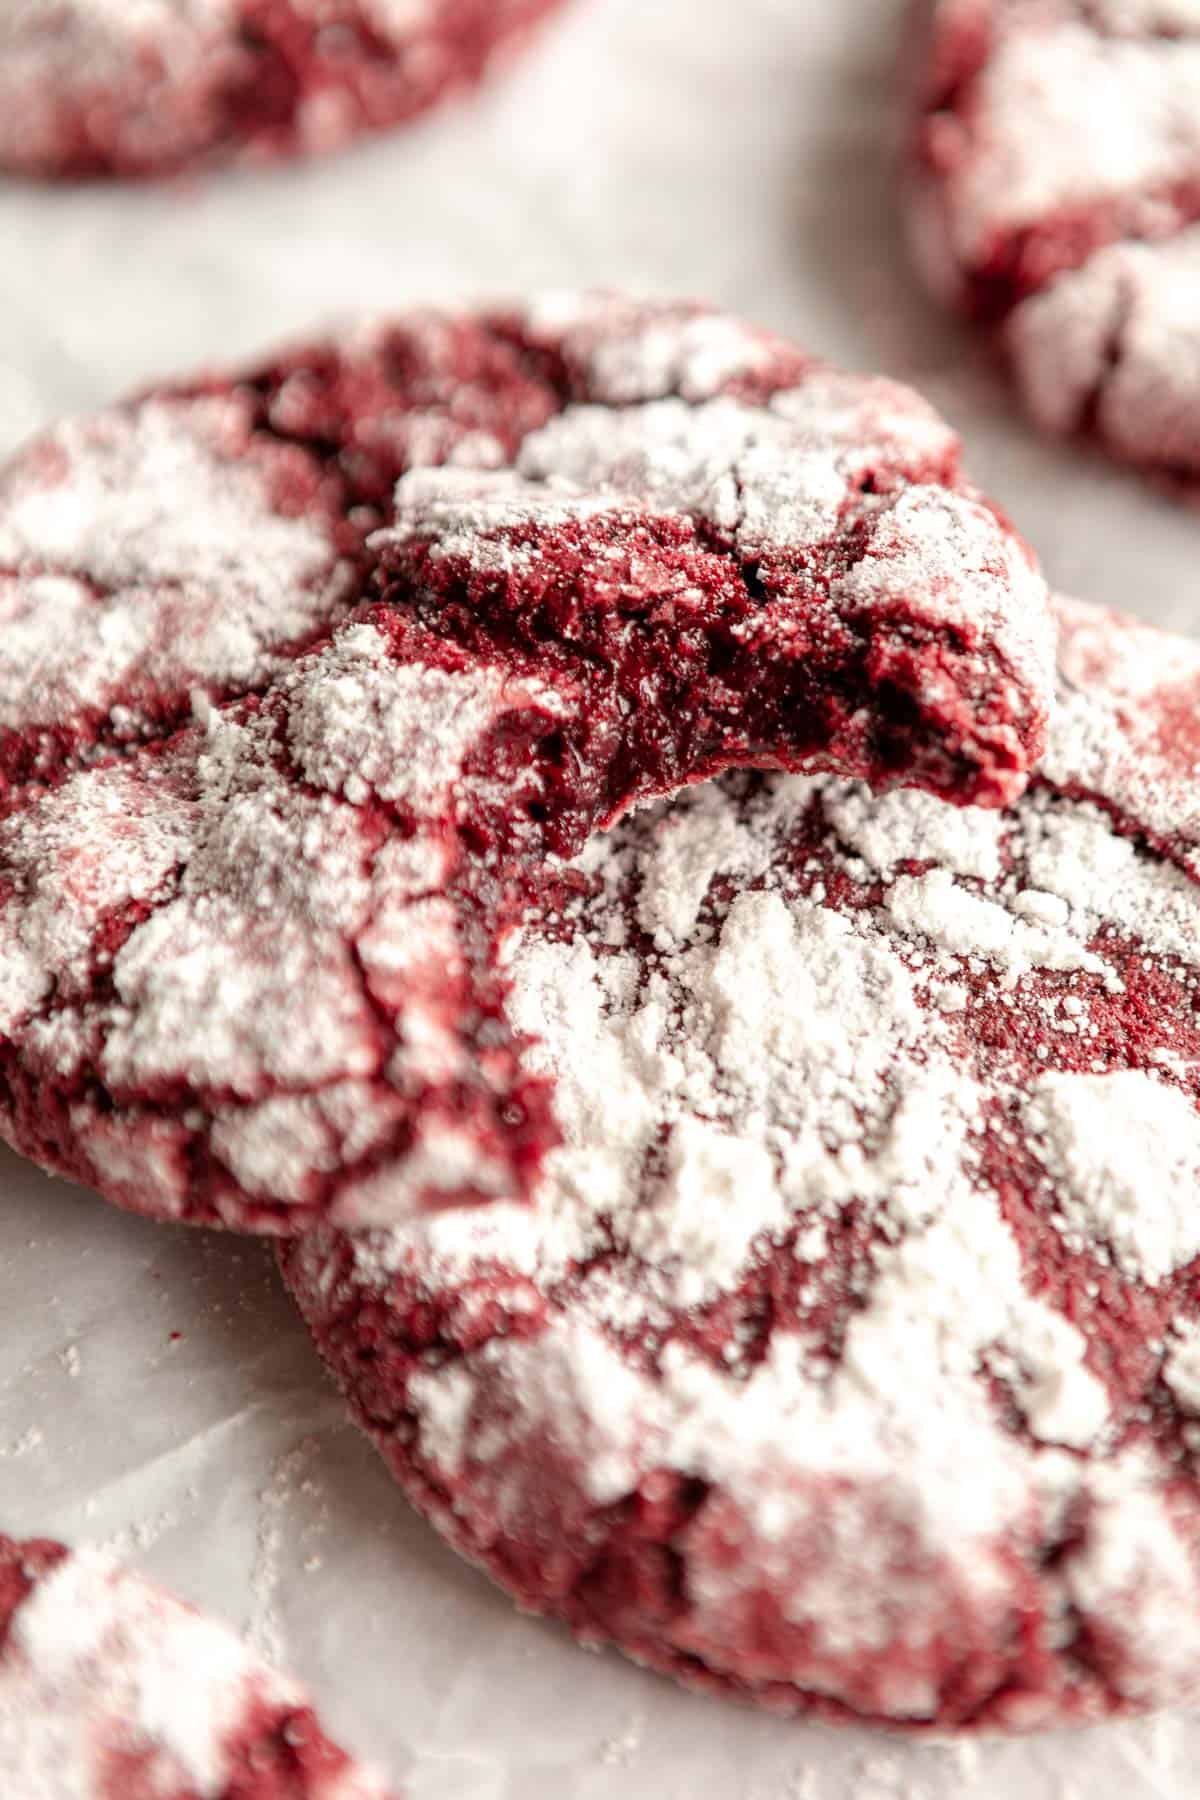
What makes cookies crinkle?
The key element that makes this a cookie crinkle is the coating of powdered sugar and granulated sugar that the cookie dough ball gets before going into the oven.
As it bakes and spreads, cracks develop and are exposed underneath the sugar layer, giving that crinkled look.
The baking powder will also encourage crinkling because the cookie will rise and spread and reveal the cookie dough underneath the powdered sugar mixture.
How to store
Once prepared, these gluten free red velvet crinkle cookies will keep for about 3 days at room temperature.
You can freeze the cookies either before or after baking. If you want to freeze before baking, still follow the instructions to chill the dough for 30 minutes, then roll in sugar and freeze in a freezer safe bag. Bake at 325 Fahrenheit (not 350!) for a few extra minutes to account for the frozen dough.
To freeze after baking, just allow the cookies to cool completely, then transfer to a freezer safe bag or container and freeze for up to 1 months. Reheat in the oven at 300 until warm through the center.
More gluten free cookies you’ll love!
- Lemon Poppy Seed Cookies
- Almond Flour Chocolate Chip Cookies
- Chocolate Chip Snickerdoodles
- Gluten Free Crumbl Cookies
If you want more recipes straight to your inbox, be sure to subscribe to my email list. If you make this recipe, be sure to tag me on instagram and leave a comment below!

Gluten Free Red Velvet Crinkle Cookies
by: claire cary
Ingredients
Wet
- ½ cup butter room temperature
- ¾ cup light brown sugar
- ½ cup white sugar
- 2 eggs
- 2 teaspons vanilla extract
- ½ teaspoon red gel food coloring
Dry
- 2 cups gluten free all purpose flour
- 5 tablespoons cocoa powder
- 1 ½ teaspoons baking powder
- ¼ teaspoon salt
For rolling
- ¼ cup white sugar
- ¼ cup powdered sugar
Instructions
- In a medium mixing bowl or bowl of a stand mixer, add the butter, white sugar and brown sugar.
- Cream together with an electric mixer for about 1 minute.
- Add in the eggs, vanilla and food coloring.
- Beat until combined.
- Add in the dry ingredients. Be sure to spoon and level the flour, don’t scoop right from the bag.
- Mix until combined.
- Place in the fridge to set for 30 minutes.
- During the final 15 or so minutes, preheat the oven to 350 Fahrenheit.
- In a small bowl, combine the powdered sugar and white sugar.
- Scoop the dough using 1.5 tablespoon scoop and roll in the sugar mixture.
- Add to a baking sheet lined with parchment paper, keeping enough space in between each for spreading.
- Bake for 9-12 minutes. The center should look a little soft, too doughy, but they will continue to harden as they cool.
- Remove from the oven and let cool on the baking sheet for 15 minutes, then transfer to a wire rack to finish cooling.
Notes

Comments
leave a comment and rating