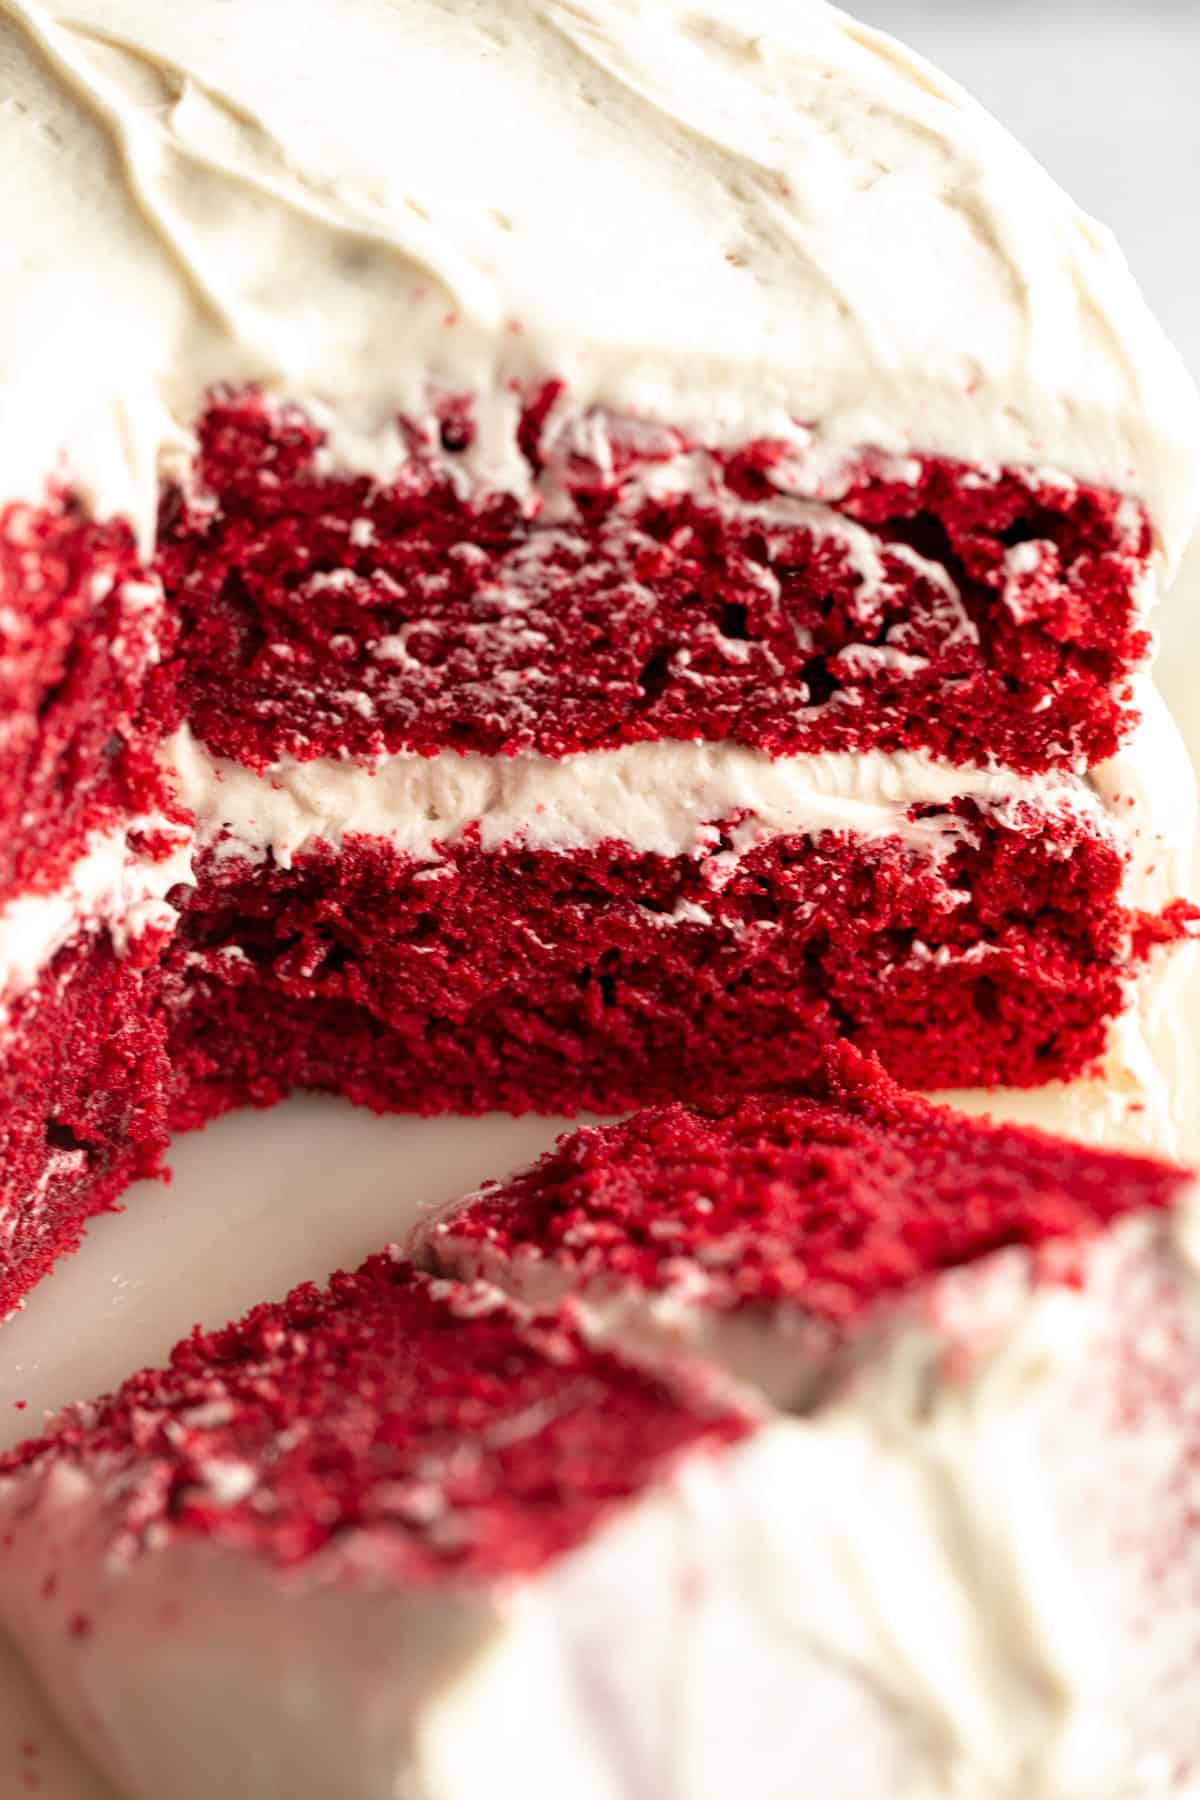
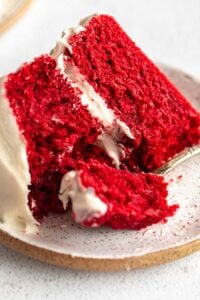
Gluten Free Red Velvet Cake
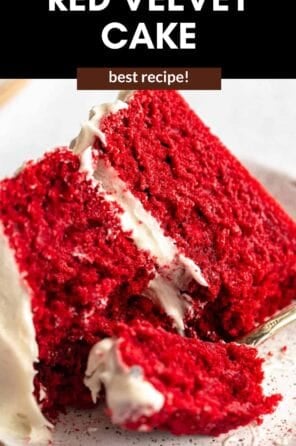

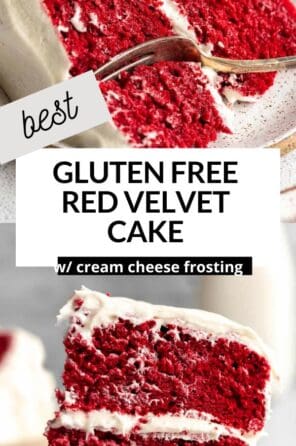
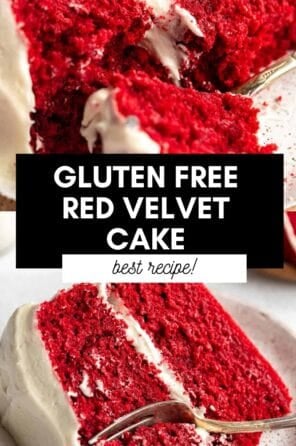
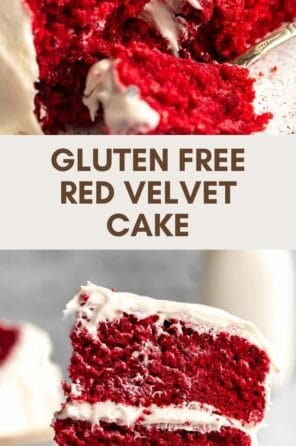
This gluten free red velvet cake is moist, fluffy with the perfect hints of chocolate and vanilla and made totally from scratch! With a simple cream cheese frosting, this is a cake you’ll keep coming back to!
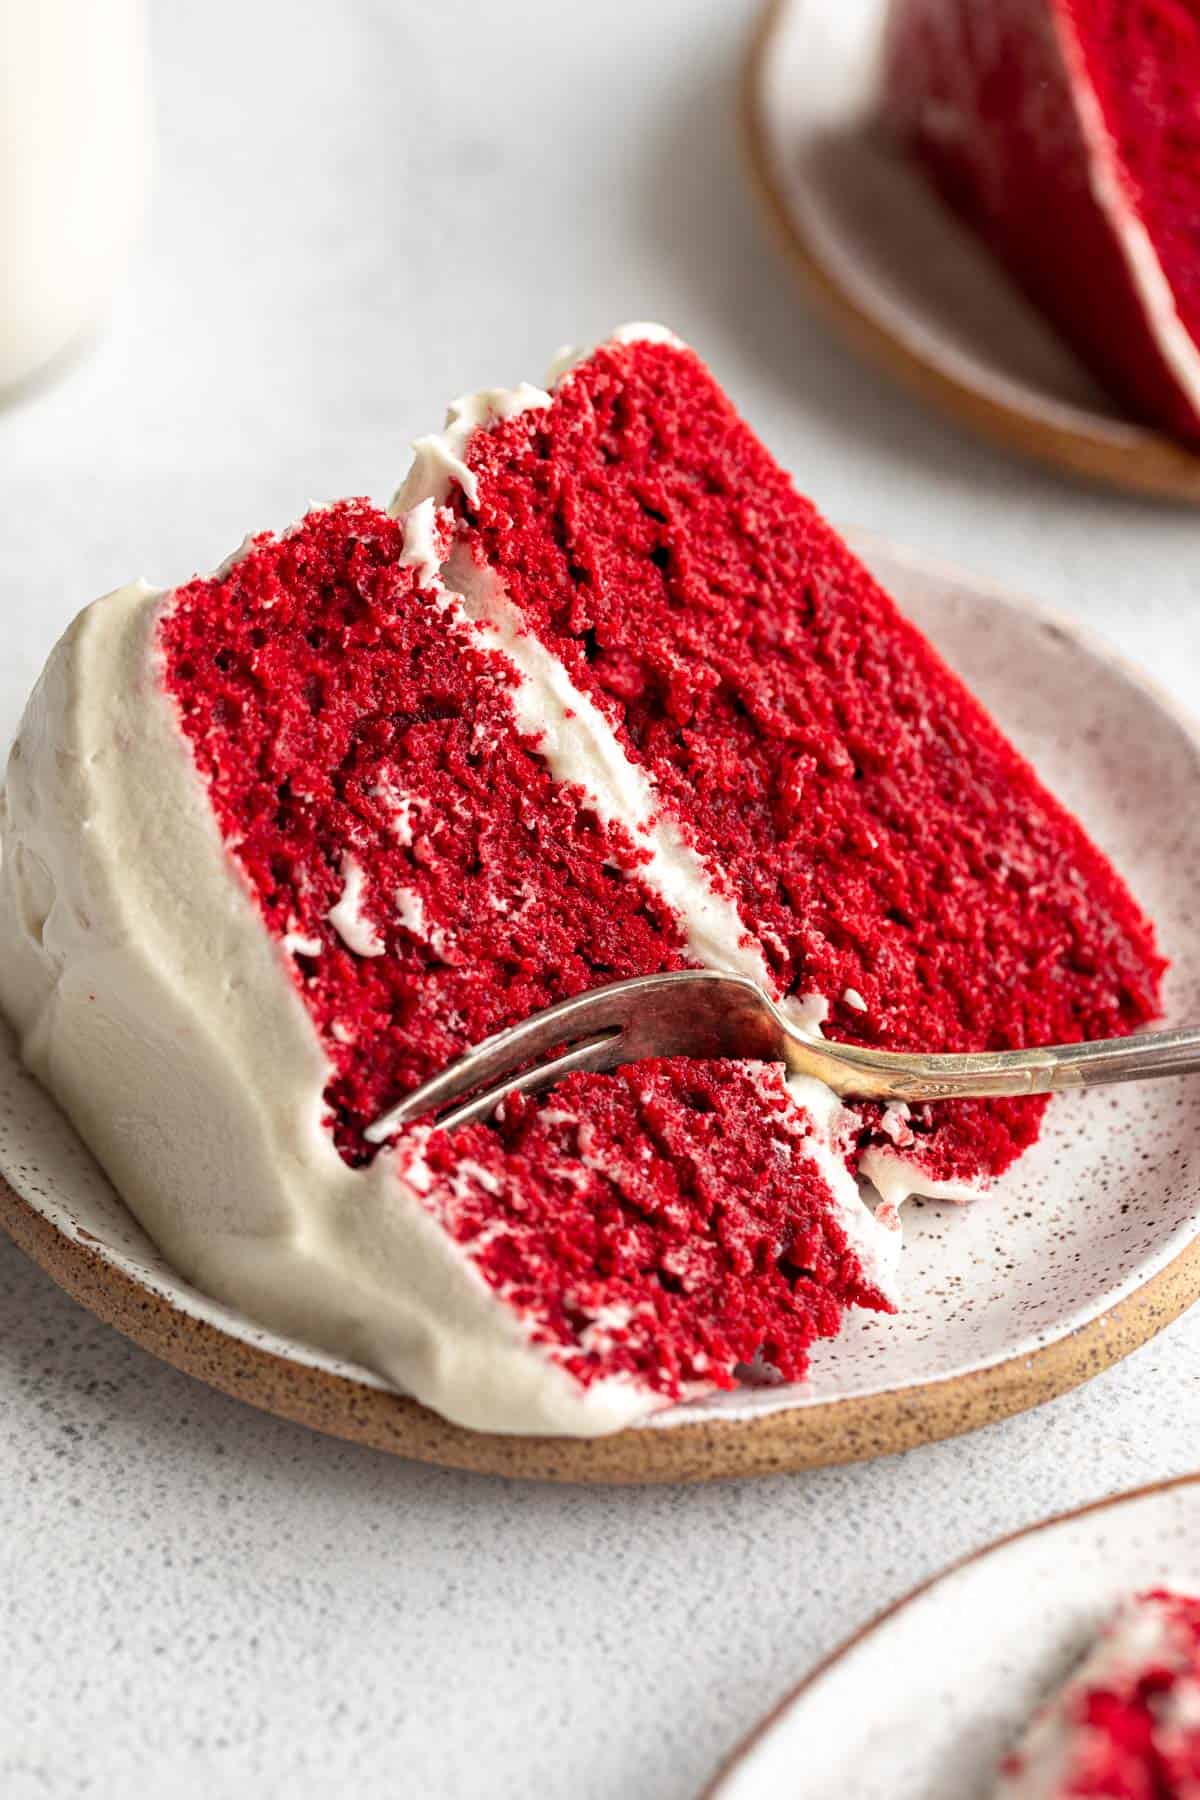
I am so excited for ya’ll to make this cake. Red velvet has always been one of my favorite kind of cakes. You have hints of both vanilla and chocolate, but it’s not a true rich chocolate cake since there is so little cocoa powder.
Just enough to make you taste the chocolate, but it is subtle and blends beautifully with the vanilla, tang from buttermilk, and richness from the butter. The color comes from red food coloring, but you can also use beet juice or powder, though that won’t yield quite the same rich red color. You can also leave it out completely, the taste won’t be affected!
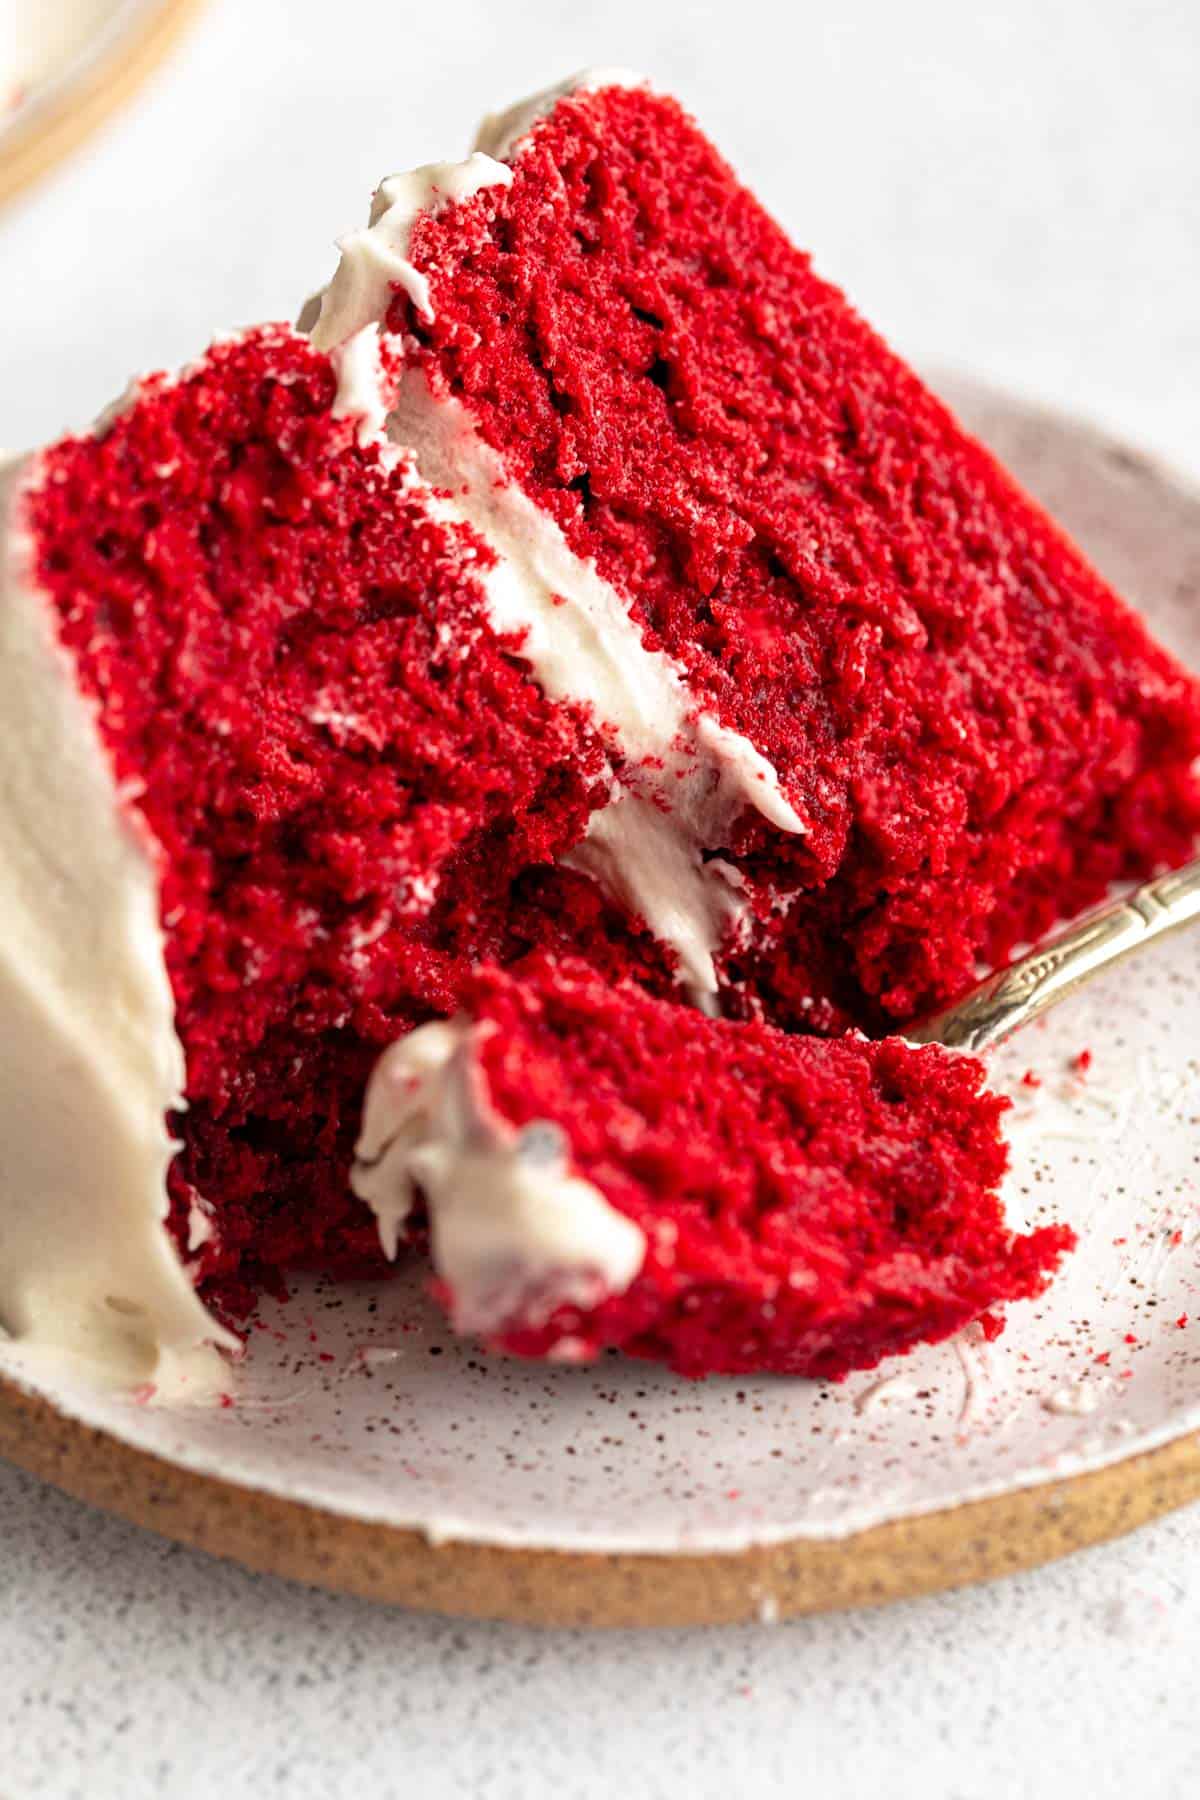
Plus, this gluten free red velvet cake is easy to make, moist, fluffy and you would truly never know it’s gluten free! It is not vegan, but I do have vegan red velvet cupcakes you can make instead! If you love this recipe, try my orange cake, gluten free carrot cake or gluten free red velvet marble cake next!
How to make gluten free red velvet cake
Sift together all dry ingredients into a large bowl and whisk together. Be sure to spoon and level the flour, do not pack it in or scoop from the bag. Set aside.
In a large mixing bowl or bowl of a stand mixer, beat together the room temperature butter, oil and sugar until well combined. Beat in all remaining wet ingredients except for the food coloring.
Combine the dry ingredients with the wet and whisk together until smooth. Add in the food coloring and whisk until well combined.
Note: You don’t have to add food coloring to red velvet cake. It obviously won’t be red without it, but the flavor will still be the same! You can try beet extract for a natural color as well.

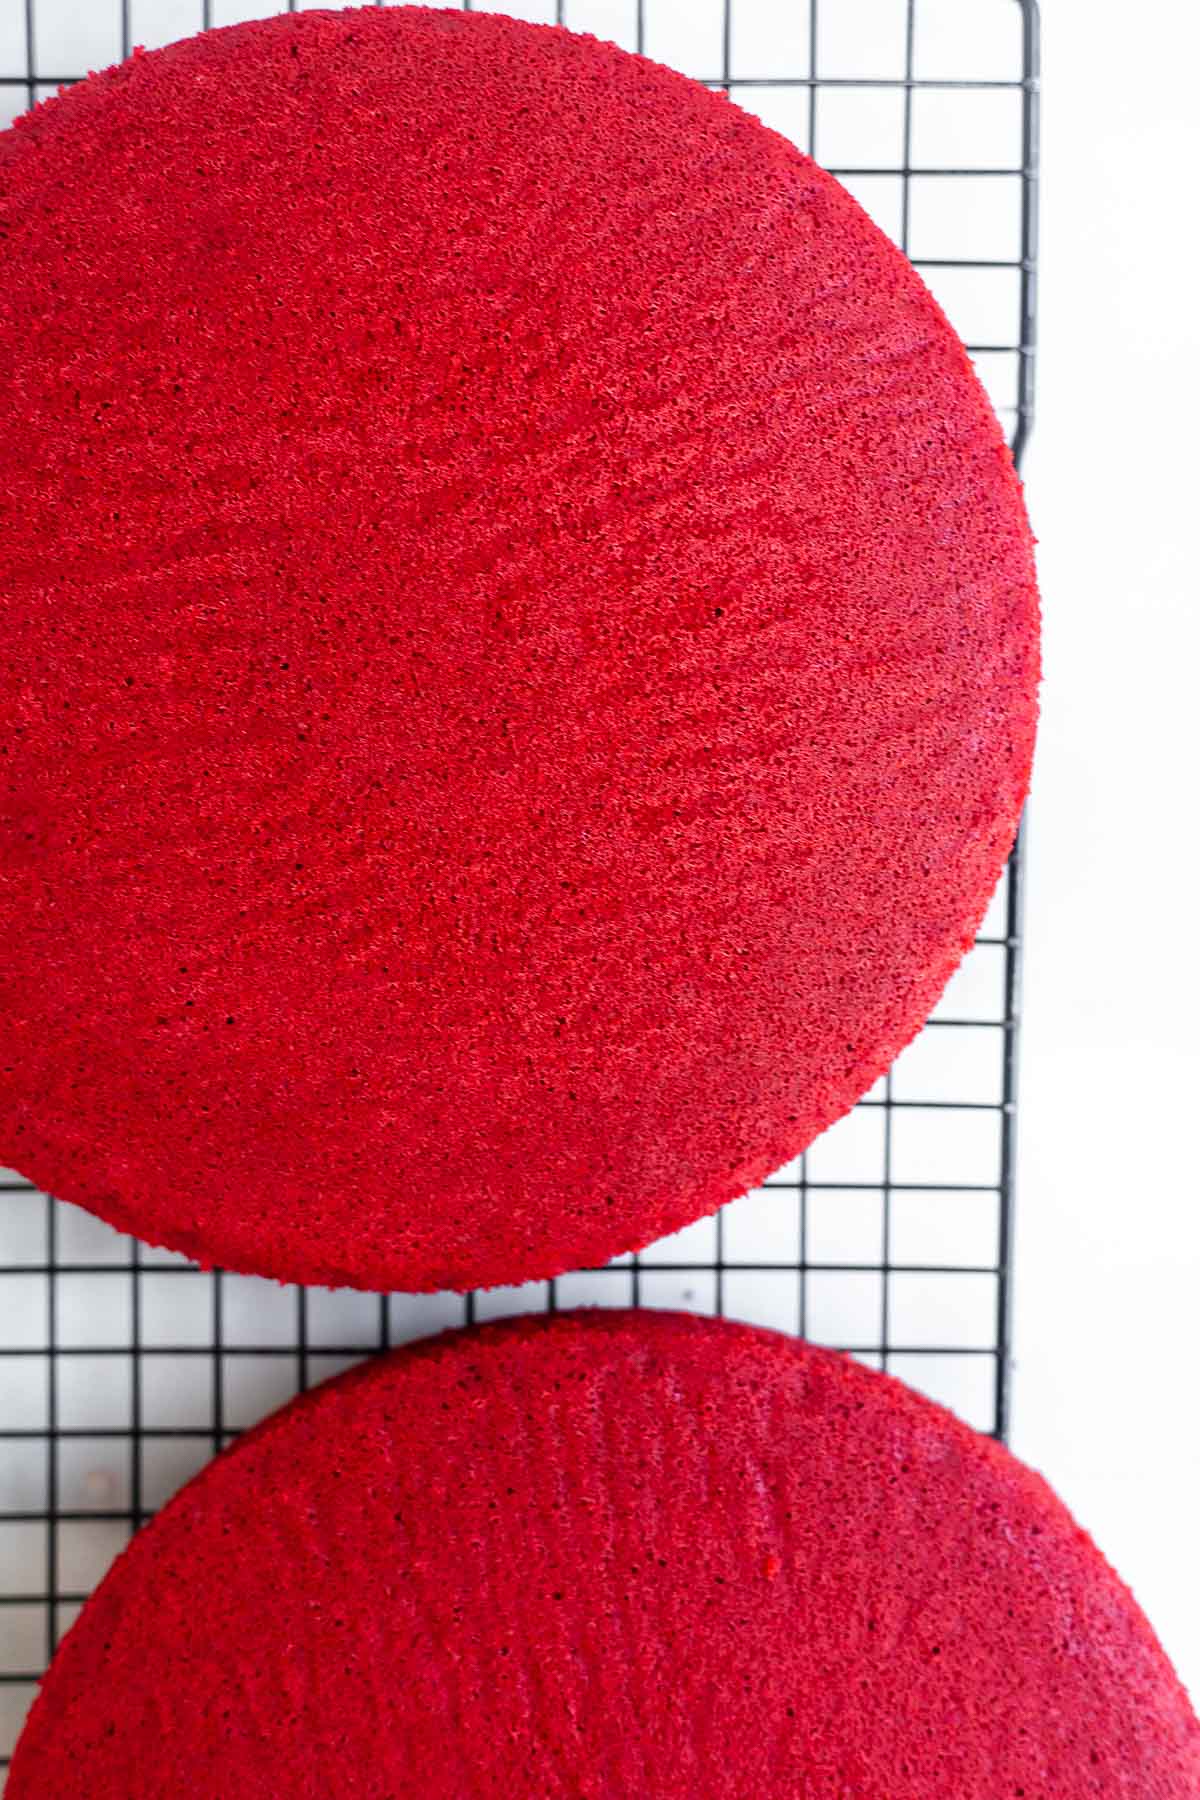
Transfer to the prepared pans and bake in the center of the oven for 32-40 minutes or until a toothpick comes out clean.
Remove from the oven, let cool for about 10 minutes, then flip onto a cooling rack and let cool completely.
To make the buttercream, beat together the butter and cream cheese until well combined. Beat in the vanilla and powdered sugar about 2 cups at a time until smooth and creamy. Wait until the cake has cooled completely before frosting.
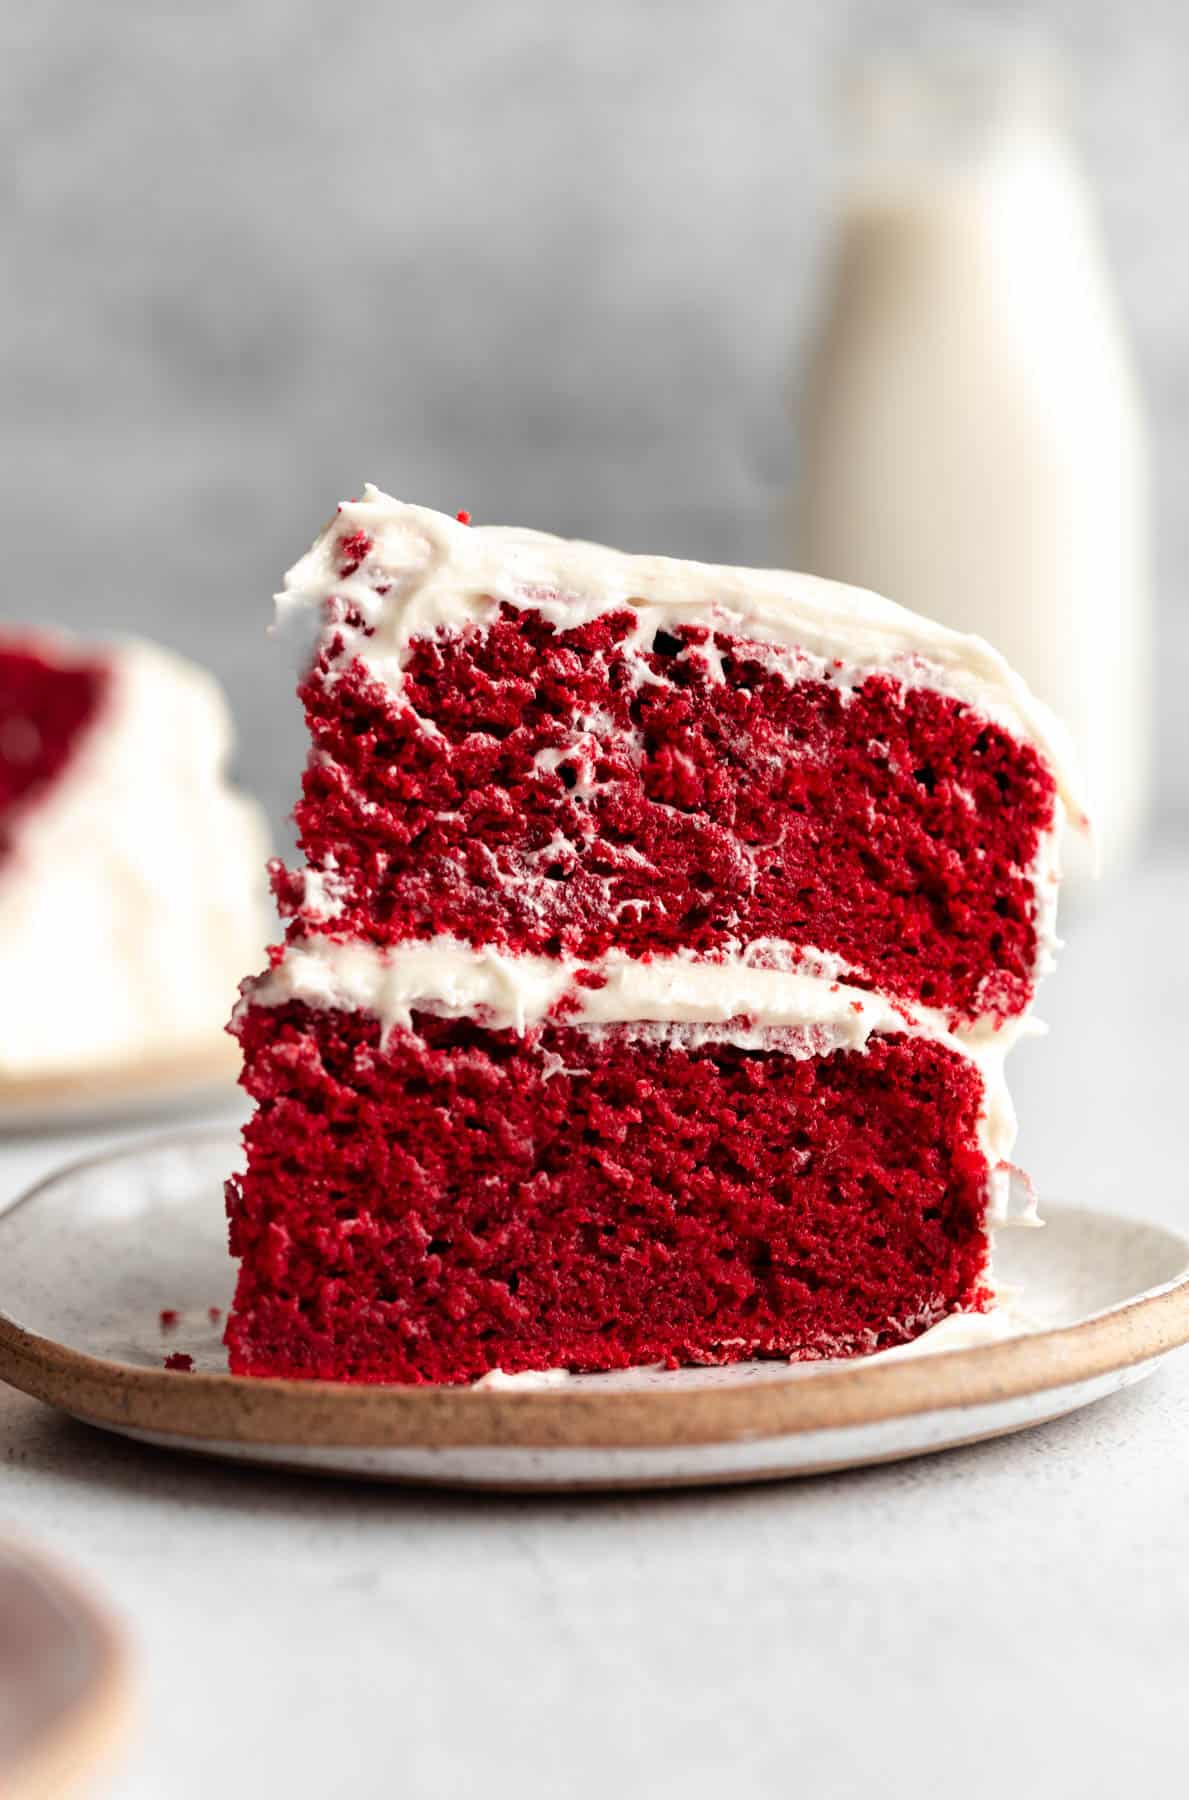
Frost the top of one layer, then add the second layer on top and frost the top and sides. Enjoy and try my gluten free coconut cake or gluten free red velvet cupcakes next!
WANT TO SAVE THIS RECIPE?
Tips to make this perfectly
Use room temperature ingredients. This is so important! The butter, buttermilk and eggs all must be at room temperature before you begin baking. This is key for making sure the cake rises properly and the ingredients mix well together when making the batter.
Spoon and level the flour. I say this all the time and you’re probably sick of it but this is so important! If you scoop the flour from the bag or pack it into the measuring cup, you’ll end up with way more flour than you need which will result in a dry cake.
Watch the bake time. All ovens are different which is why I give a range for the bake time. It will also depend on whether you use 8 or 9 inch pans, 9 inch pans will cook a bit faster. Start on the low end of the time, check with a toothpick and add just 2 minutes at a time until the cake is done.
Can you make red velvet cake without food coloring?
Yes! The flavor will still be exactly the same, but the color will be a very light brown.
You can try using a beetroot extract or powder to add a slightly natural red color, though it will not compare to using regular red food coloring.
In order to achieve that rich red color, red food coloring is needed.
Make it in advance!
If you’re making the cake before decorating, you can allow the cakes to cool at room temperature, then wrap them in plastic wrap and stick in the fridge for 24 hours until ready to frost.
Once the cake has been frosted, keep it covered to prevent it from drying out. Once it has been frosted and sliced, keep it even more tightly covered to prevent the inside from drying out.
How to store
Once prepared (frosted and decorated), this cake will keep for about 3 days. You can store it in the fridge or at room temperature, but I suggest letting it come to room temperature before serving.
Try these gluten free cakes and cupcakes next!
- Funfetti Cake
- Gluten Free Chocolate Cake
- Lemon Cake
- Gluten Free Chocolate Cupcakes
- Banana Snack Cake
Lastly, if you want more recipes straight to your inbox, be sure to subscribe to my email list. If you make this recipe, be sure to tag me on instagram and leave a comment below!
Gluten Free Red Velvet Cake
by: claire cary
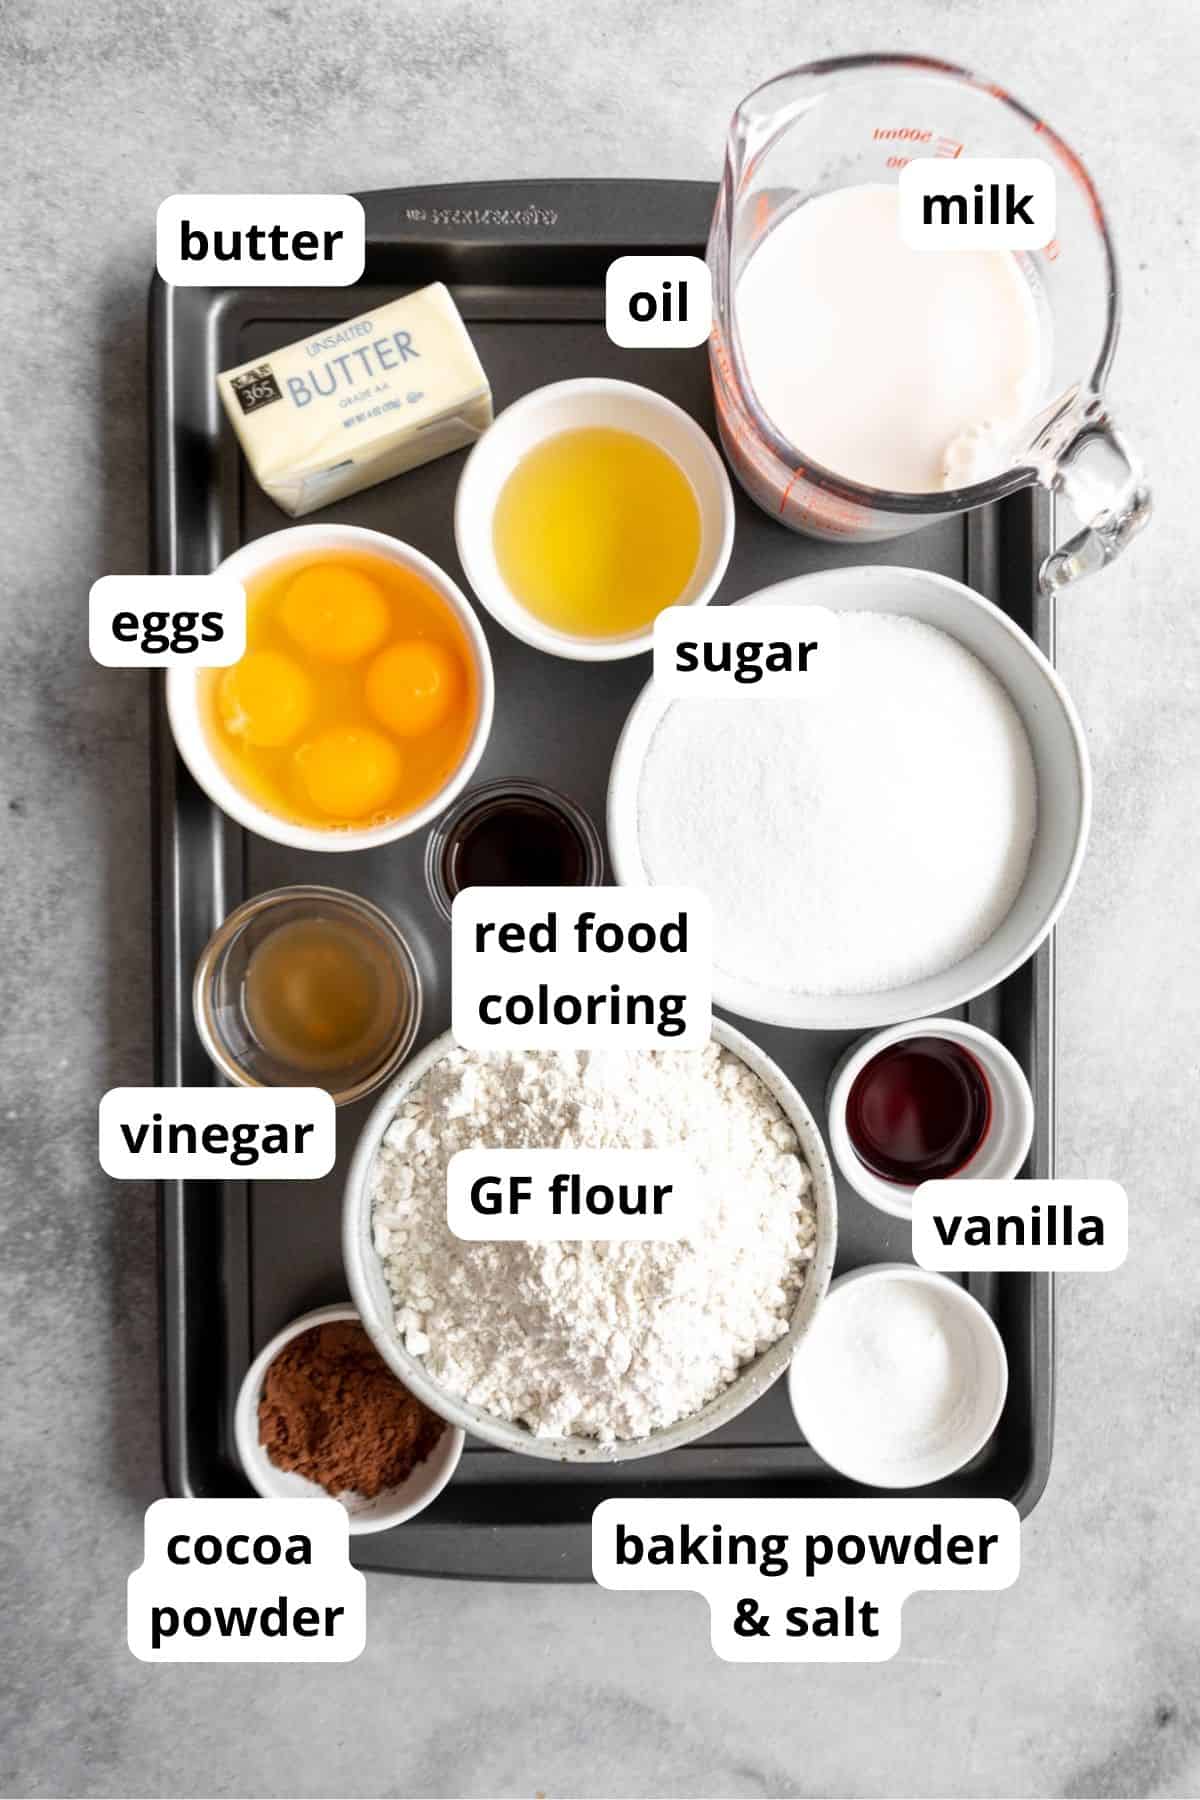
Ingredients
Wet:
- ½ cup butter, softened dairy or non-dairy
- ¼ cup oil
- 4 large eggs room temperature
- 1 ½ cups buttermilk
- 1 ½ cups fine granulated white sugar
- 1 tablespoon vanilla extract
- 2-3 teaspoons red gel food coloring
Dry:
- 3 cups gluten free all purpose baking flour I used Bob’s Red Mill 1:1
- 2 tablespoons cocoa powder
- 3 teaspoons baking powder
- 1 teaspoon salt
Buttercream:
- 8 ounces plain cream cheese at room temperature dairy free or regular
- ½ cup butter at room temperature dairy free or regular
- 1 tablespoon vanilla extract
- 4 cups powdered sugar
- pinch of salt
Instructions
- *please make sure your ingredients are at room temperature before baking!*
- Preheat the oven to 350 degrees Fahrenheit. Lightly grease and then line two 8 or 9 inch round cake pans with parchment paper and set aside.
- I used 8 inch pans, if you use 9 inch, the layers will just be a bit thiner.
- In a large mixing bowl or bowl of a stand mixer, beat together the room temperature butter, oil and sugar until well combined.
- Beat in all remaining wet ingredients except for the food coloring.
- Beat in the dry ingredients with the wet and mix together until smooth. Add in the food coloring and beat until well combined.
- Transfer to the prepared cake pans and bake in the center of the oven for 32-40 minutes or until a toothpick comes out clean.
- Remove from the oven, let cool for about 10 minutes, then flip onto a cooling rack and let cool completely.
- To make the buttercream, beat together the butter and cream cheese until well combined.
- Beat in the powdered sugar about 2 cups at a time until smooth and creamy. Beat in the salt and vanilla. Wait until the cake has cooled completely before frosting.
- Frost the top of one layer, then add the second layer on top and frost the top and sides. Enjoy!
Notes
Comments
-
To get authentic red velvet cake taste, use buttermilk instead of plain milk.
-
Can this icing stay out at room temperature for a few days or does it have to be refrigerated?
-
Best in the fridge!
-
-
I have two gluten free, dairy free friends and I’m excited to try this recipe!
Would you mind sharing the non-dairy butter, milk and cream cheese brands that you use? Thanks so much!-
Earth Balance for butter, any kind of milk I usually do almond, and then Kite Hill for cream cheese!
-
-
Oops! Re my last comment, I forgot to add the milk. Ok this time.
-
Oh perfect, glad it worked out!
-
-
Is the batter supposed to bea lot thicker than the chocolate cupcake batter?
Thanks
-
Those are two different recipes, but the batter really shouldn’t be too thick. I would make sure you measured everything properly!
-
-
This is my first time making gluten free anything. It was..different..a good different. Very moist for sure but a bit “gummy” and not quite as flavorful. How do I intensify the flavors and decrease that chewiness?
-
Which flour did you use? Definitely shouldn’t be gummy! Be sure you don’t over mix since that can lead to gumminess. You can add some extra vanilla, increase the sugar or swap a bit of the flour for more cocoa for a stronger chocolate flavor.
-
-
Will it work to make a sheet cake for a child’s Birthday ??
-
Yes! Just keep an eye on the bake time, it will likely need about 10 extra minutes.
-
-
Extraordinary!!!
-
Thank you, Janice!
-
-
Can I ask why you used milk instead of buttermilk? Can I use buttermilk?
-
To make it dairy free! You can sub for buttermilk though.
-
-
Just wondering, why do you use apple cider vinegar instead of white vinegar?
-
That’s just usually what I have on hand, but either will work!
-
-
Should I use non-salted butter or will regular butter be fine?
-
Regular will be fine, but omit the additional salt!
-
-
Can you use beetroot powder for natural colouring?
We aren’t keen on frostings they tend to be too sweet. Can we just sprinkle icing sugar on top and decorate with fruit?
What are your suggestions?
-
You can use beetroot powder, but the color won’t be nearly as vibrant. Feel free to use less frosting or a lower sugar one, I think berries for decoration would be delicious!
-
leave a comment and rating