Gluten Free Brownie Bites


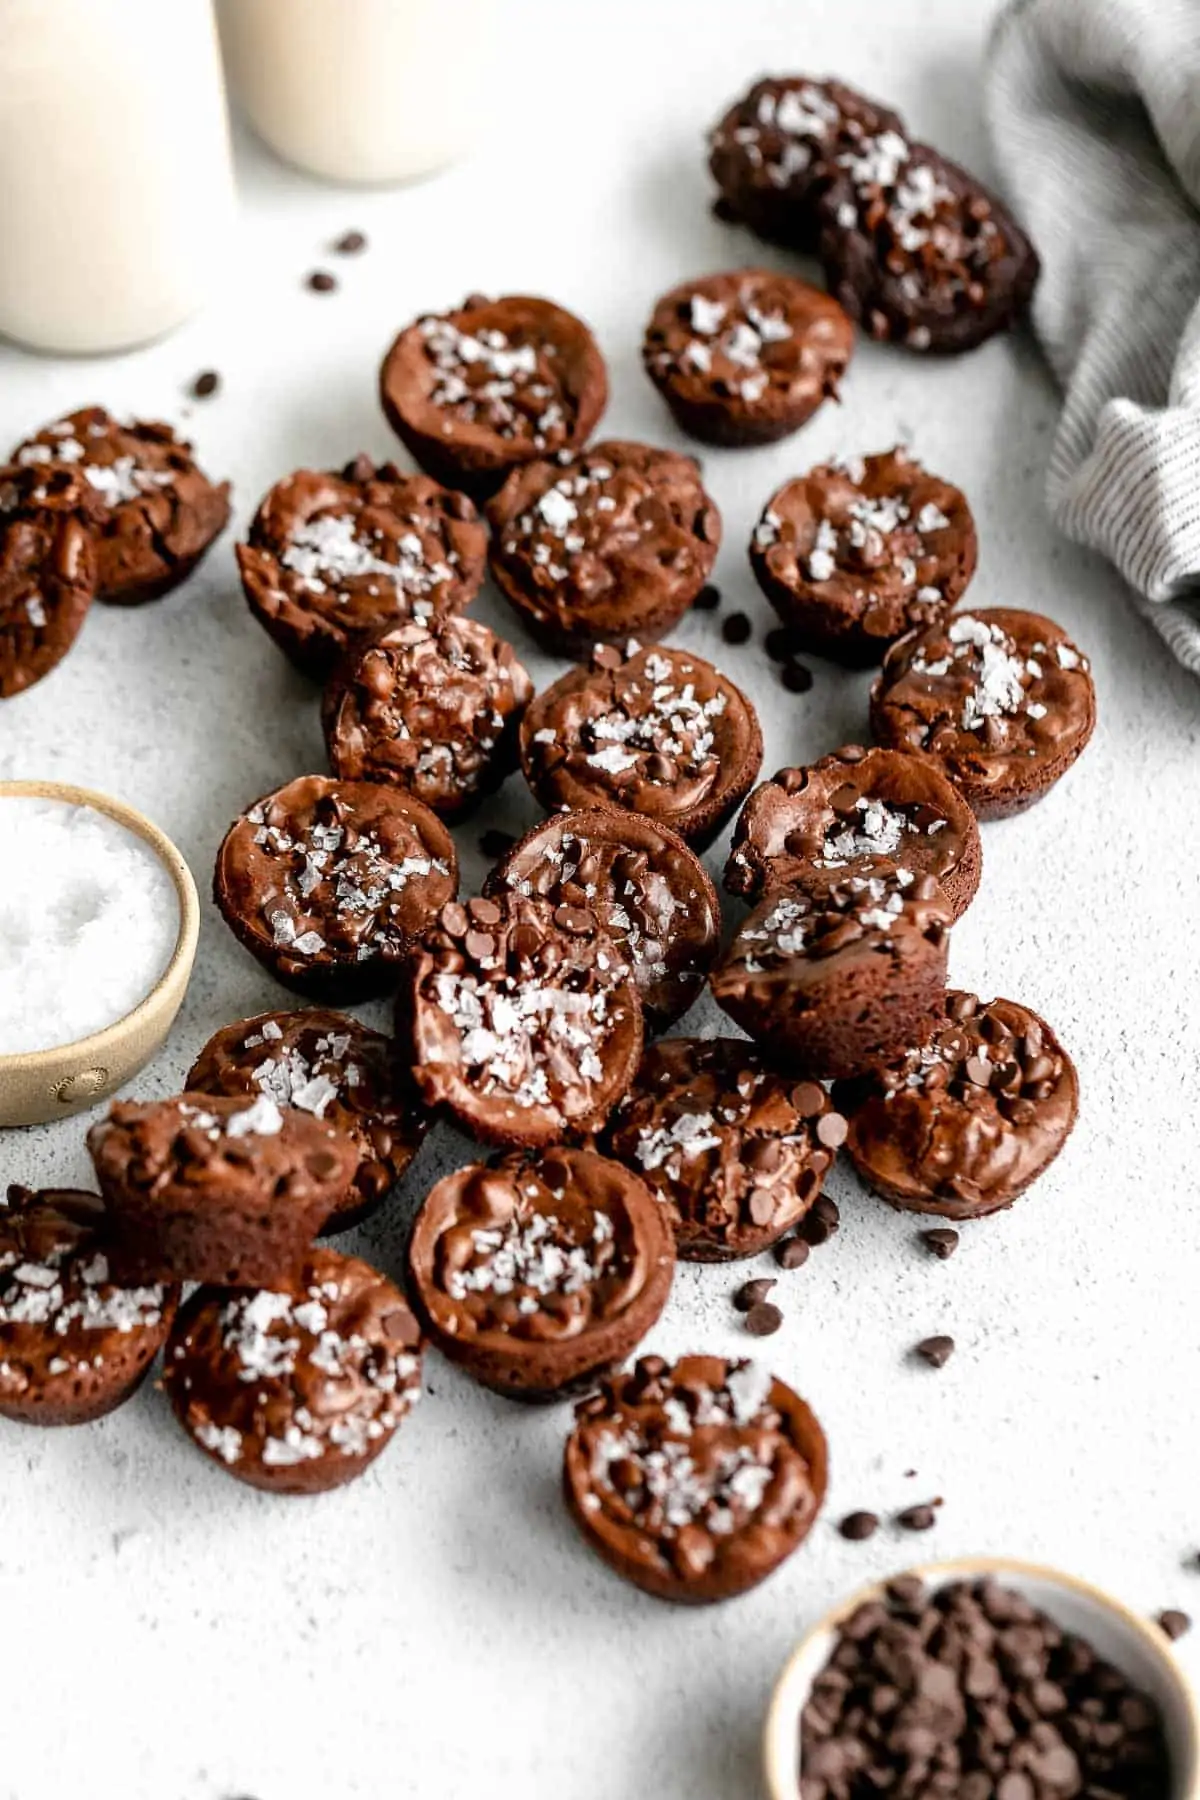
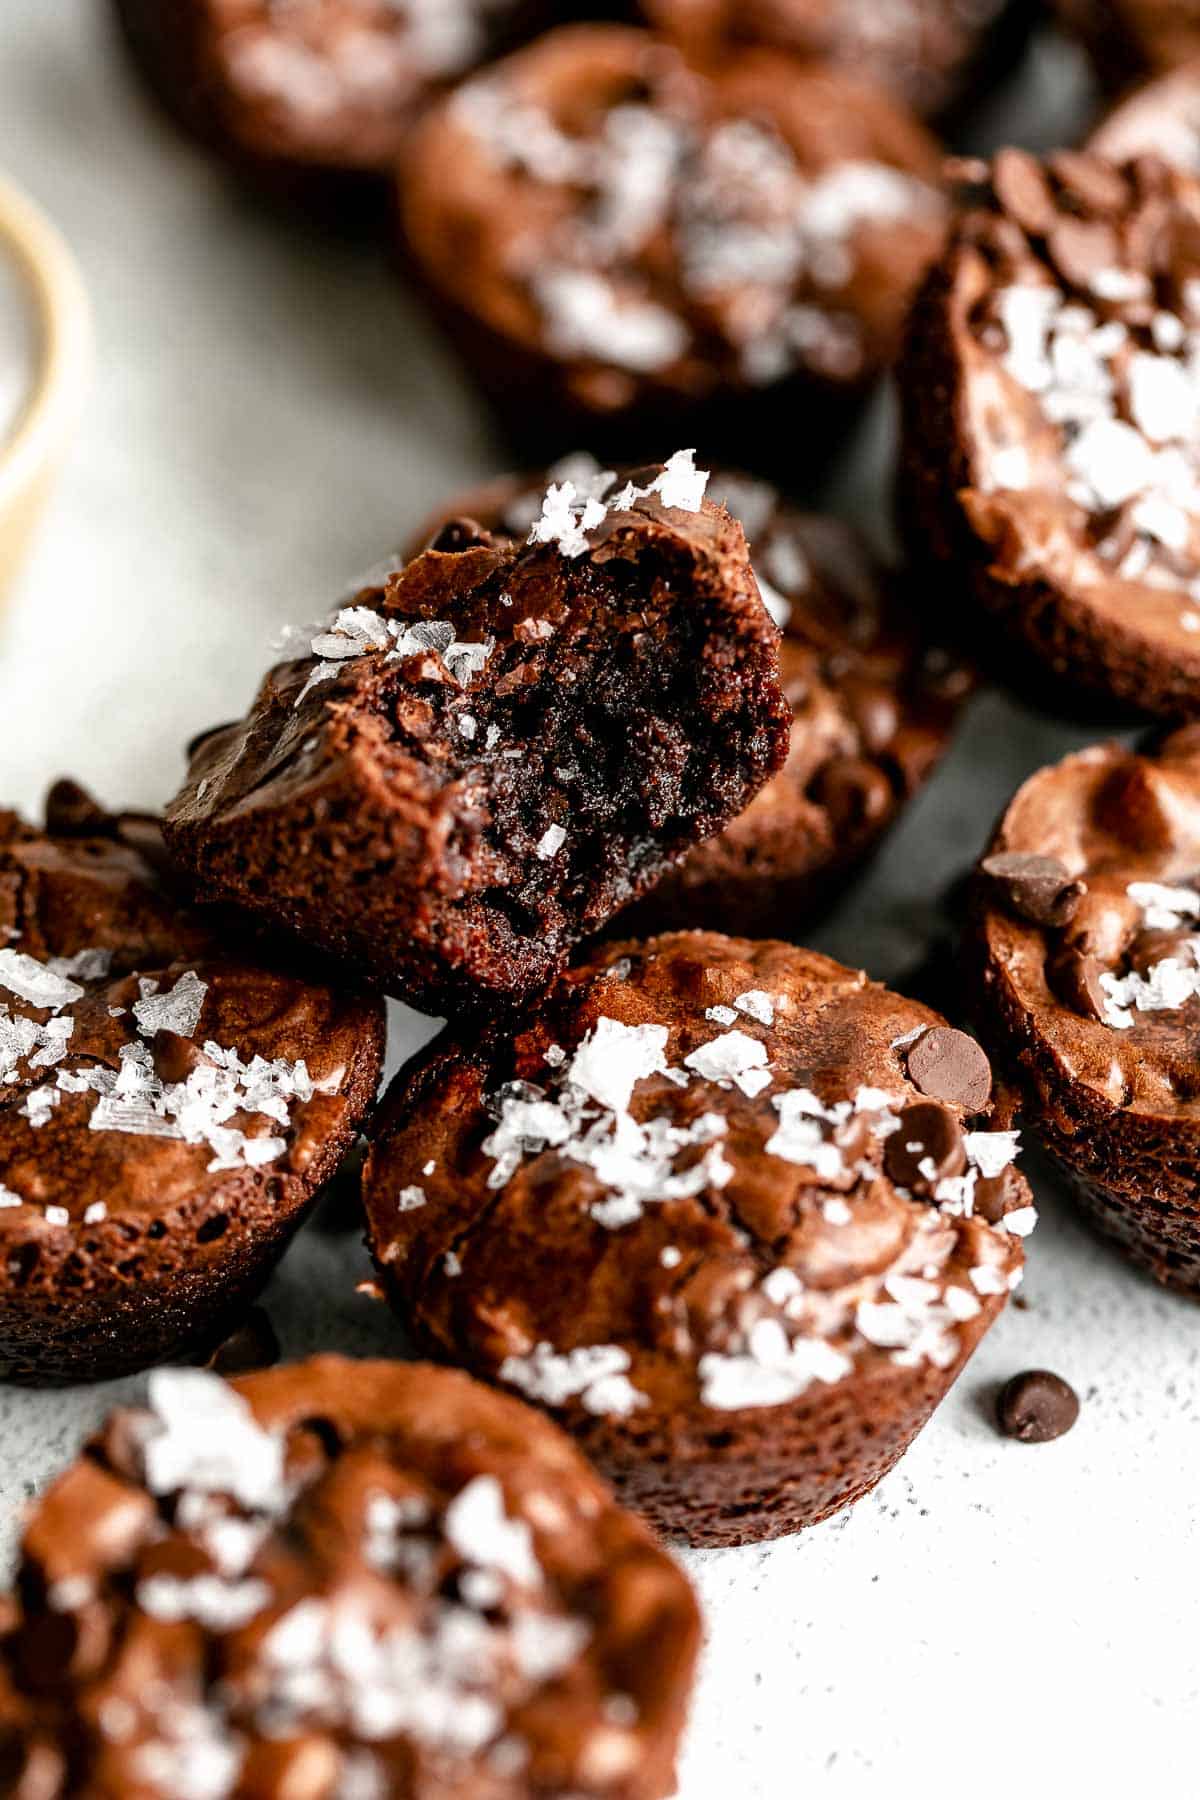
These gluten free brownie bites are fudgy, rich and so easy make. They’re the perfect two bite dessert for birthdays, parties, or just for fun. These brownies have a crackle top and you would never know they’re gluten and dairy free!
I was obsessed with two bite brownies as a kid. I cannot remember the brand, but they were my (very unhealthy) after school snack of choice. You guys have been loving my brownie cookies with the perfectly crinkly tops lately, and these brownie bites are take on those! Mini versions of things are always fun too.
They’re made in a mini muffin tin and bake up a lot faster than traditional brownies, which is a win for everyone. I love them with a generous pinch of sea salt on top and extra chocolate chips, but totally plain is also great.
They’re fudgy, gluten free, perfectly sweet and way better than the box mix you’ll get at Walmart or Costco! If you love this recipe, try my peanut butter brownies or vegan gluten free brownies next!
Before we get started
- You can use coconut oil or butter here! If using coconut oil, just make sure it is refined so there is not coconut flavor in the brownies.
- For flour, I used Bob’s Red Mill 1:1 Baking Flour, but any gluten free flour blend with xanthan gum should work just fine since we only need 1/3 cup for this recipe.
- To make removal easier, you can use mini muffin liners instead of just spraying the pan with oil.

How to make brownie bites
Preheat the oven to 350 degrees Fahrenheit. Spray a mini muffin tin (usually 24 cavity) with oil and set aside.
Add the 1 cup of chocolate chips and butter or coconut oil to a bowl. Melt in the microwave using 30 second increments, stirring between each until fully melted. This will take about 2-3 times. Meanwhile, beat together the eggs and sugar in a mixing bowl for one full minute. Beat in the vanilla.
Beat in the melted chocolate and butter mixture. Fold in all dry ingredients, then the final 1/2 cup of chocolate chips. Use a greased spoon or small greased cookie scoop to scoop the batter into the tin.
Bake for 14-20 minutes or until a toothpick comes out clean. Let cool completely, then use a knife to carefully lift each brownie out of the tray. Enjoy and try my almond flour brownies or M&M brownies next!

Key ingredients & swaps
CHOCOLATE. You need a mix of chocolate chips and cocoa powder to get that rich flavor and the crackly tops! I suggest semi sweet chocolate chips for best results.
OIL. You can use either refined coconut oil or butter for these brownie bites.
EGGS. You need two eggs which will help bind all of the ingredients together and give the brownie bites a bit of a rise. You can try subbing with flax eggs or a store bought egg replacer, but I have not tested that and cannot guarantee the results.
SUGAR. I suggest regular white granulated sugar to get the beautiful crackly tops, but you can opt for coconut sugar for a refined sugar free option. Keep in mind, the brownies won’t have the same crackly top as pictured if you use a different sugar. I do not recommend any liquid sweeteners here.
FLOUR. I used gluten free all purpose flour, but if you are not GF, regular all purpose flour will work well! I do not recommend any flour subs here. Instead, try my oat flour brownies!
WANT TO SAVE THIS RECIPE?

What chocolate is best for brownies?
I suggest semi-sweet chocolate chips and a high quality cocoa powder. Since we’re only using three tablespoons of cocoa powder, dutch processed or regular should be fine. You can use another kind of chocolate chips such as bittersweet, but this will change the final flavor of the brownies.
How to get crinkle tops
This is something I have finally mastered after SO much trial and error. Whether you’re making traditional brownies, brownie cookies or brownie bites, there are a few things that you need to know if you want crinkly tops. One, use melted chocolate and not just cocoa powder. It works every time! I suggest a high quality semi-sweet chocolate for the best flavor.
Second is the eggs and sugar. Beating together the eggs and sugar for a generous minute before mixing in the other ingredients will force air into the batter and create an almost meringue like top when the brownies bake. You’ll definitely need an electric mixer (standing or handheld) for this recipe. A whisk won’t do the trick since we want to incorporate a lot of air into the mixture.

Frequently asked questions
How do you get brownie bites out of a pan?
Carefully with a knife! Be sure to grease your pan (even if it says non-stick) and let them cool completely before attempting removal. Once they’re cool, they should pop out very easily with a knife. Because of this, it’s important you don’t over bake the brownies since they will continue to sit in the pan for quite some time and continue cooking a bit.
How do you know when they’re done?
When the tops are nice and shiny and a toothpick comes out mostly clean. If you like them fudgier, simply bake for less time. About 15-18 minutes usually works best in my oven. Again, keep in mind they will continue to firm up/cook as they cool.
How to store and freeze
Once prepared, these gluten free brownie bites will store for about 3-5 days. Allow them to cool completely before transferring to an air tight container. I store them at room temperature, but they’ll keep for longer in the fridge!
To freeze, allow to cool completely, then slice and place in a ziplock bag or wrap tightly in plastic wrap and place in a freezer safe container. Reheat in the oven at 300 until warm through the center and enjoy!
More recipes for the chocolate lover!
- Flourless Brownies
- Gluten Free Brownie Cookies
- Vegan Brownies
- Gluten Free Mini Muffins
- Tahini Brownies
- Oatmeal Chocolate Chip Cookie Bars
Lastly, if you want more recipes straight to your inbox, be sure to subscribe to my email list. As always, if you make this recipe, be sure to tag me on instagram and leave a comment below so I can see your creation!

Fudgy Brownie Bites
by: claire cary
Ingredients
Wet
- 1 cup semi sweet chocolate chips
- ⅓ cup refined coconut oil or butter
- 2 large eggs room temperature
- ¾ cup + 2 tablespoons white sugar
- 1 teaspoon vanilla extract
Dry
- 3 tablespoons cocoa powder
- ⅓ cup gluten free all purpose baking flour can sub regular if not GF
- 1 tablespoon corn starch
- ¼ teaspoon salt
- ½ cup chocolate chips
Instructions
- Preheat the oven to 350 degrees Fahrenheit. Spray a mini muffin tin (usually 24 cavity) with oil and set aside.
- Add the 1 cup of chocolate chips and butter or oil to a bowl. Melt in the microwave using 30 second increments, stirring between each until fully melted.
- Meanwhile, beat together the eggs and sugar for 1 minute. Beat in the vanilla.
- Beat in the melted chocolate.
- Fold in all dry ingredients, then the final 1/2 cup of chocolate chips.
- Use a greased spoon or small greased cookie scoop to scoop the batter into the tin.
- Bake for 14-20 minutes or until a toothpick comes out clean.
- Let cool completely, then use a knife to carefully lift each brownie out of the tray. Enjoy!
Notes

Comments
-
Extra cheat: bake a few extra minutes, when cooled, freeze 15-20 minutes. Cut each mini brownie in half, pipe in or spread a thick layer of frosting, I used pink peppermint, put back together, then frost and if desired add sprinkles or further decorate the tops.
Cheat sheet “instant” petite fours! 😉
-
These look amazing and can’t wait to try them. From the photo, it looks like you’ve added salt flakes to the tops, but that step is not listed in the instructions. Did you sprinkle the salt on before baking or after?
-
After! Totally optional.
-
-
These are, wow, so good and fudgey
-
Thank you, Emma!
-
These little brownies tasted really good however mine stuck to the well-greased mini muffin pans. I had a hard time getting them out whole and ended up layering the brownie pieces with peanut butter, chocolate, and Reese’s–there’s always a way to salvage brownies! Next time I’ll try using parchment baking cups in the pans. I used unrefined coconut oil since that was all I had and there was a hint of coconut flavor but it blended in nicely. Thank you for the great gluten-free recipe!

-
Hmm definitely try using liners next time! Glad you enjoyed these regardless.
-
-
-
Can these be made into pan ?brownies.am making these for a wedding.will 3 recipes be enough to put into a brownie pan?
-
One recipe should fit into a standard 8×8 brownie pan!
-
-
These were delicious and just the right size! Couldn’t find espresso powder so looking forward to adding next time ,thank you!
-
Thank you, Anne!
-
-
I really didn’t want to like this recipe because it is gluten free. Lol. Oh boy, was I wrong. This recipe is the BOMB! I made these for a baby shower and so many people commented how good they are. I passed the recipe along to several and sneaked some samples out the door to one. These are so good! I will definitely be making these again!
-
I get that a lot! So glad you loved these 🙂
-
-
THIS HAS TO BE THE BEST BROWNIE RECIPE I’VE EVER COOKED!AND IT WILL BE THE ONLY RECIPE I USE FROM NOW ON. I DIDN’T HAVE A MINI PAN SO I HALF FILLED REGULAR PAN AND THEY ROSE TO THE TOP. THANK YOU!!!
-
Amazing, thank you Douglas!
-
-
Can’t wait to make These brownie bites
-
Let me start by saying having eatwithclarity has been a saving grace for my kids ! With gluten egg and nut allergies all her recipes have the option to swap the option for vegan and always gluten free ! I am thankful for this . Now for the brownie bites ! OMG I have tried many gluten free brownie recipes nothing comes close to yours ! So soft most and sooo delicious ! You wouldn’t even know if it was gf vegan nut free ! An absolutely wonderful recipe ! Yay for brownie bites ! Thank you !
-
Thank you so much Sejal, just made my day! Can’t wait to see what else you make!
-
These aren’t vegan though? Did you use an egg replacer with success? I’m replying to Sejal’s comment
-
leave a comment and rating