Vegan Sticky Sesame Chickpeas
Easy, flavorful, and packed with plant protein, these sesame chickpeas are a vegan chickpea recipe that make for a quick and delicious dinner the whole family will love. They’re ready in just 15 minutes and are great to meal prep for the week.
I have a thing for super easy dinners. These sticky sesame chickpeas, sesame noodles, chana masala and these Mexican stuffed sweet potatoes are my favorite easy dinners at the moment.
But I’m partial to these vegan sesame chickpeas because they literally take 15 minutes to make and have so much flavor your taste buds are going to explode.
Plus, this sesame sauce can be used on so many things. From chickpeas, to tofu, tempeh, salmon, sesame chicken, noodles, cauliflower, or any kind of buddha bowl! It’s a versatile recipe that is loaded with flavor.
Orange Chickpeas, General Tso’s Chickpeas, Peanut Chickpeas, I just love chickpeas!! This is the perfect recipe to use up those canned chickpeas that have been sitting in your pantry for months on end! Try my sesame chickpea meatballs, chickpea scramble or tortilla soup next!
Why you’ll love this recipe
- Easy to make- 15 minutes!
- Vegan and gluten free
- Packed with flavor
- Plant based protein
How to make vegan sesame chickpeas
Drain and rinse the chickpeas until no bubbles remain. Set them aside as you prepare the rest of the ingredients.
Mince the garlic (I like using this garlic press so it’s very finely minced) and add to a pan with 1 tablespoon of oil. Saute until the garlic is slightly golden brown and very fragrant.
Whisk together the arrowroot powder and 2 tbsp vegetable broth in a bowl and set aside. We’ll be using this in a minute to help thicken the sesame sauce. You can also use chicken stock or water instead.
To the pan with the garlic, add the sesame oil tamari (or soy sauce if not GF), maple syrup, ginger, rice vinegar, and the remaining vegetable broth. Whisk together.
Re-whisk the arrowroot mixture to make sure no clumps formed at the bottom and add to the saute pan with the rest of the sauce. Whisk together.
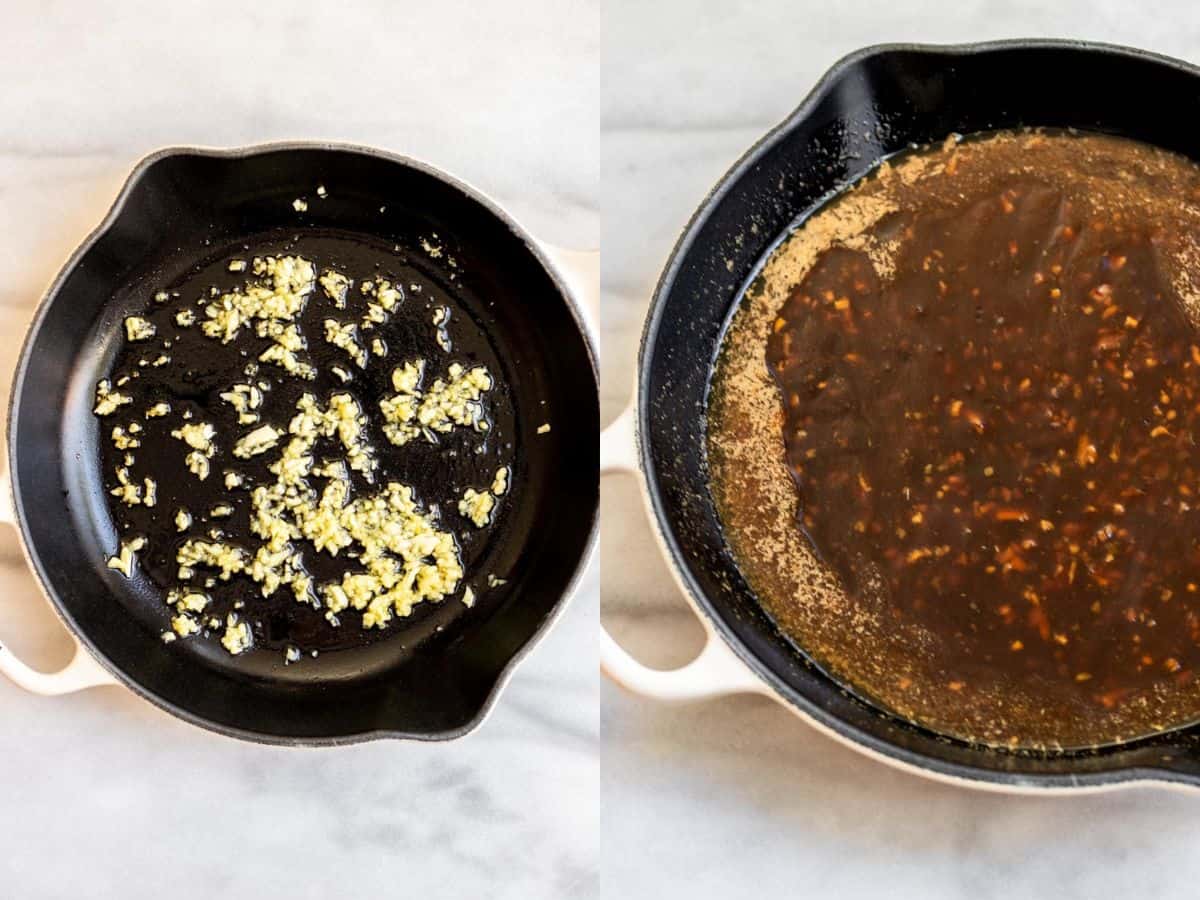
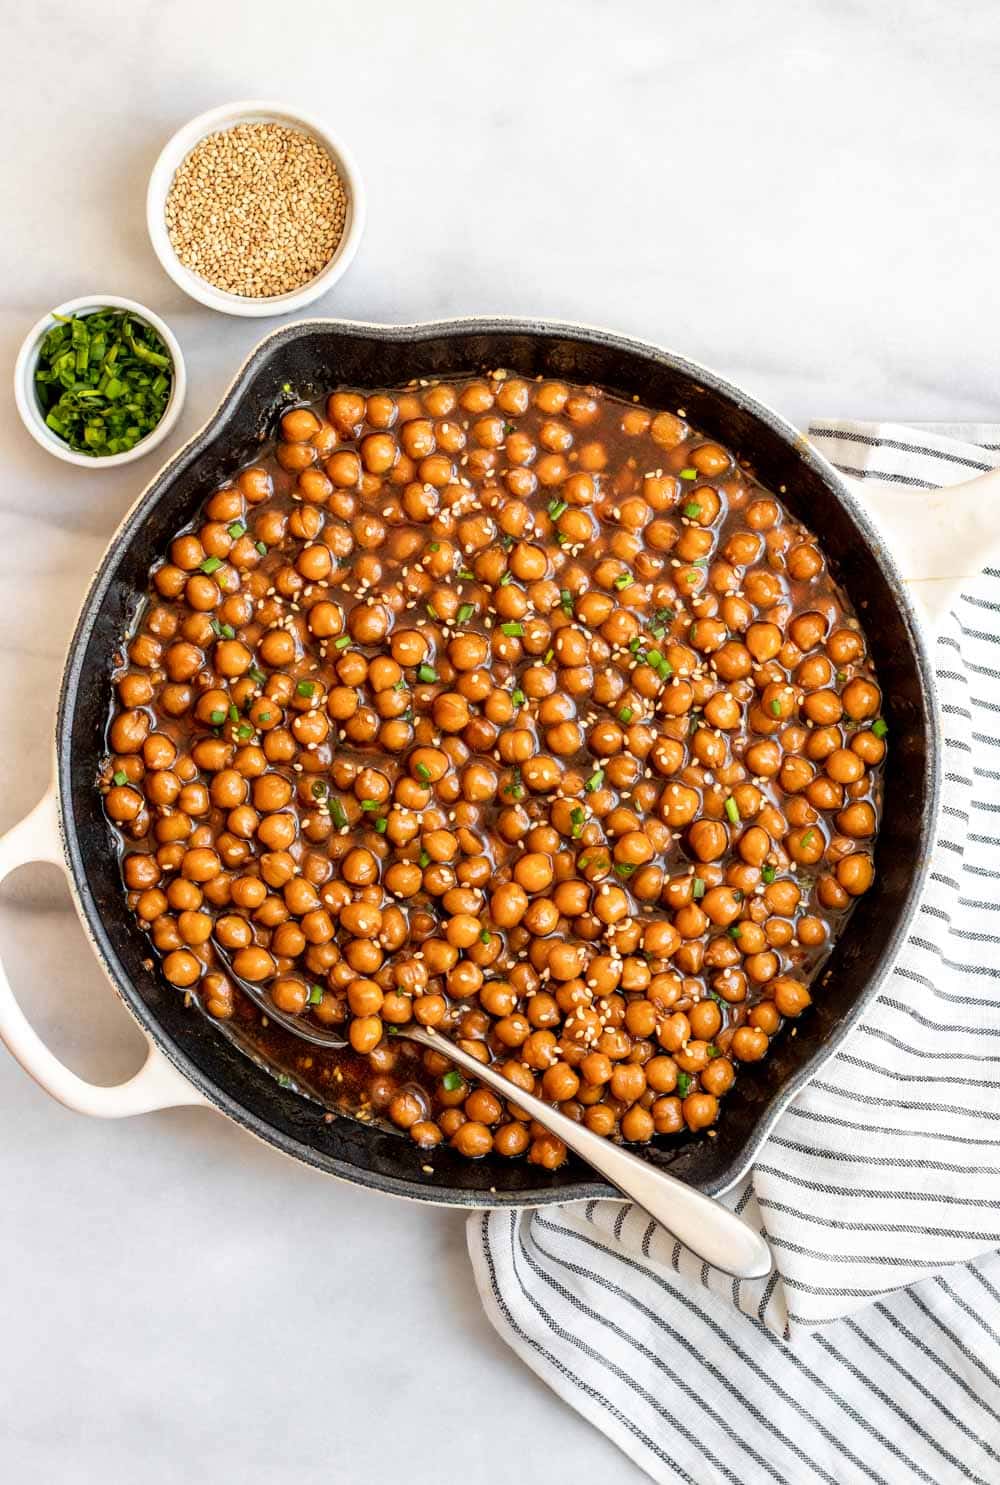
Cook over medium/low heat until the mixture starts to bubble. Once it is bubbling around the edges, give it a quick stir and add in the chickpeas and carefully fold the sauce over the chickpeas until they are well coated.
WANT TO SAVE THIS RECIPE?
The sauce will start to thicken, keep stirring so the sauce covers the chickpeas. Let the chickpeas cook until the sauce is nice and thick. The chickpeas will also darken as they absorb the sauce, this is good since it yields major flavor!
After 5 or so minutes or once the sauce is thick, turn off the heat and allow all of the flavors to blend together for an additional 5 minutes. Enjoy and try my marry me chickpeas or lemon pepper chickpeas next!
Serving Suggestions
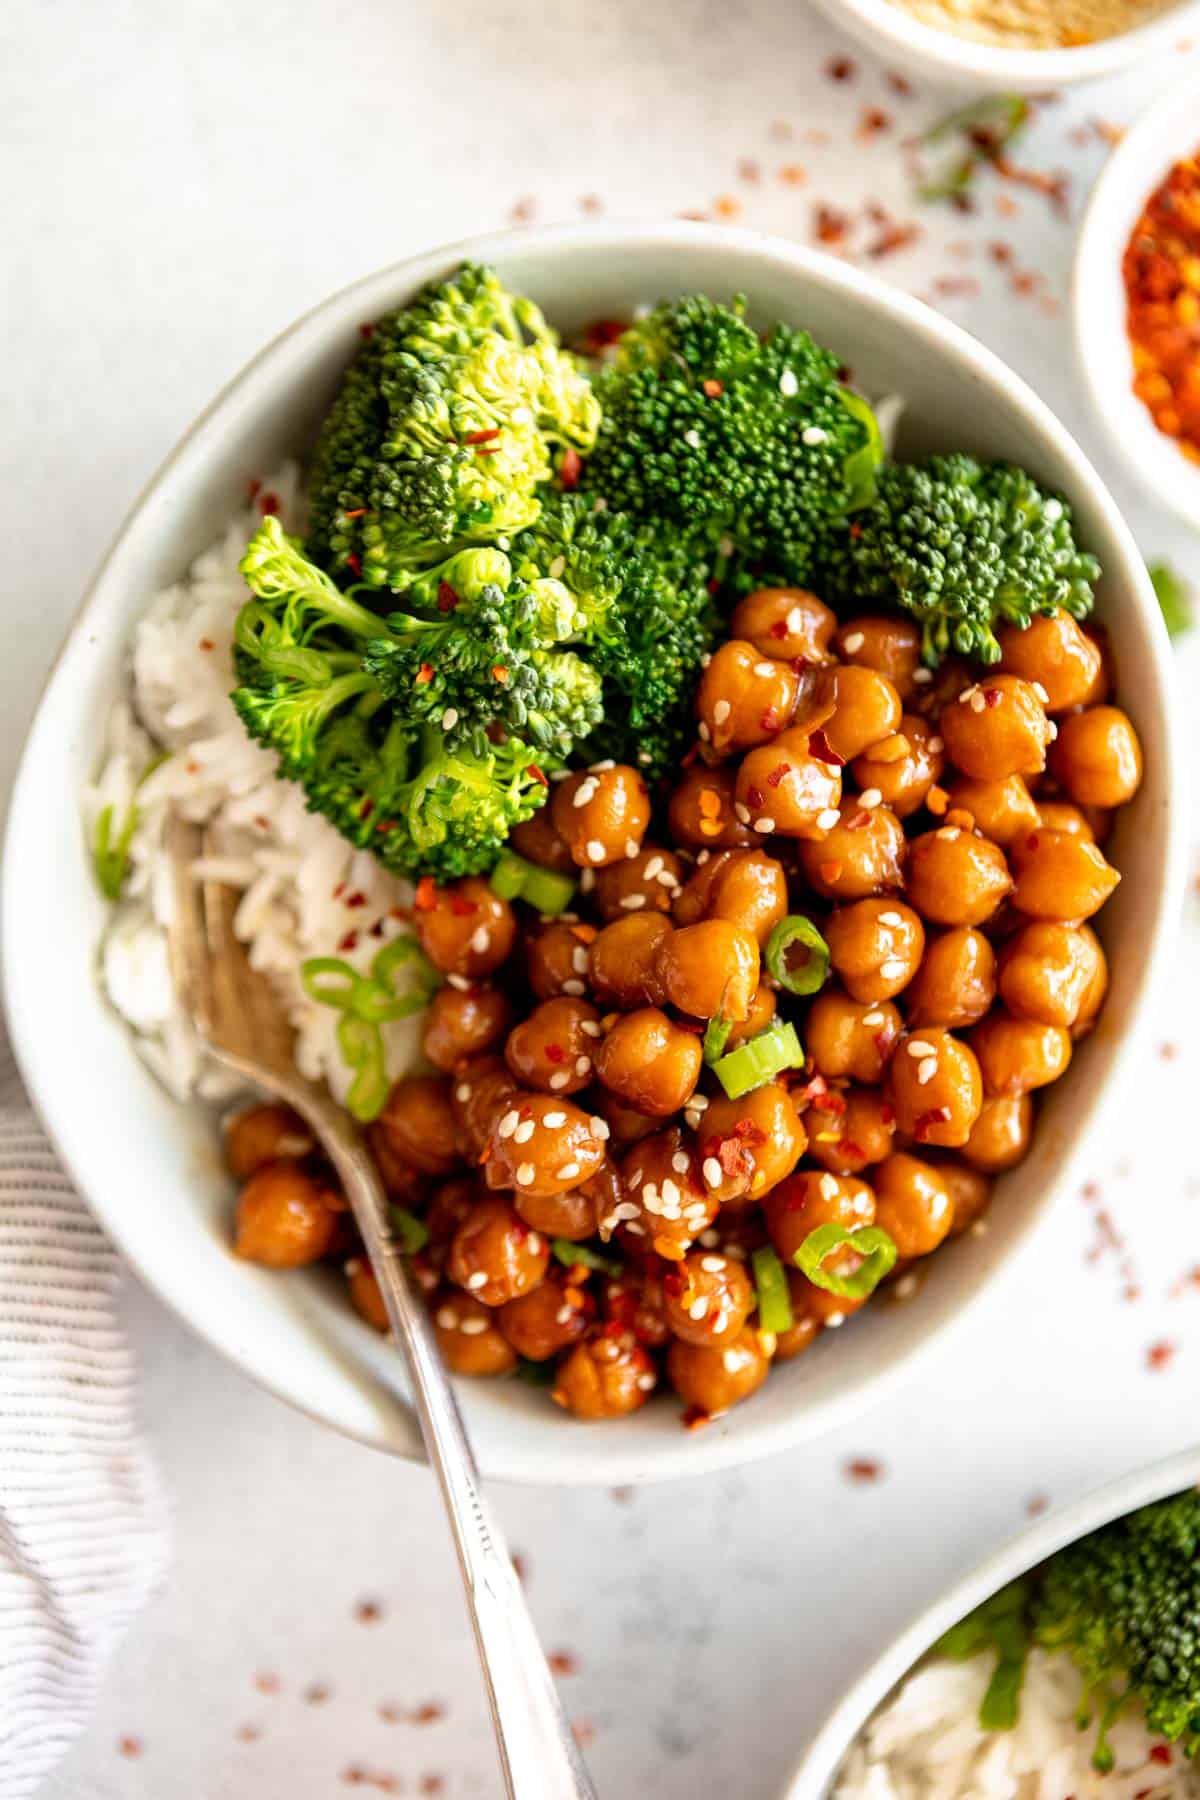
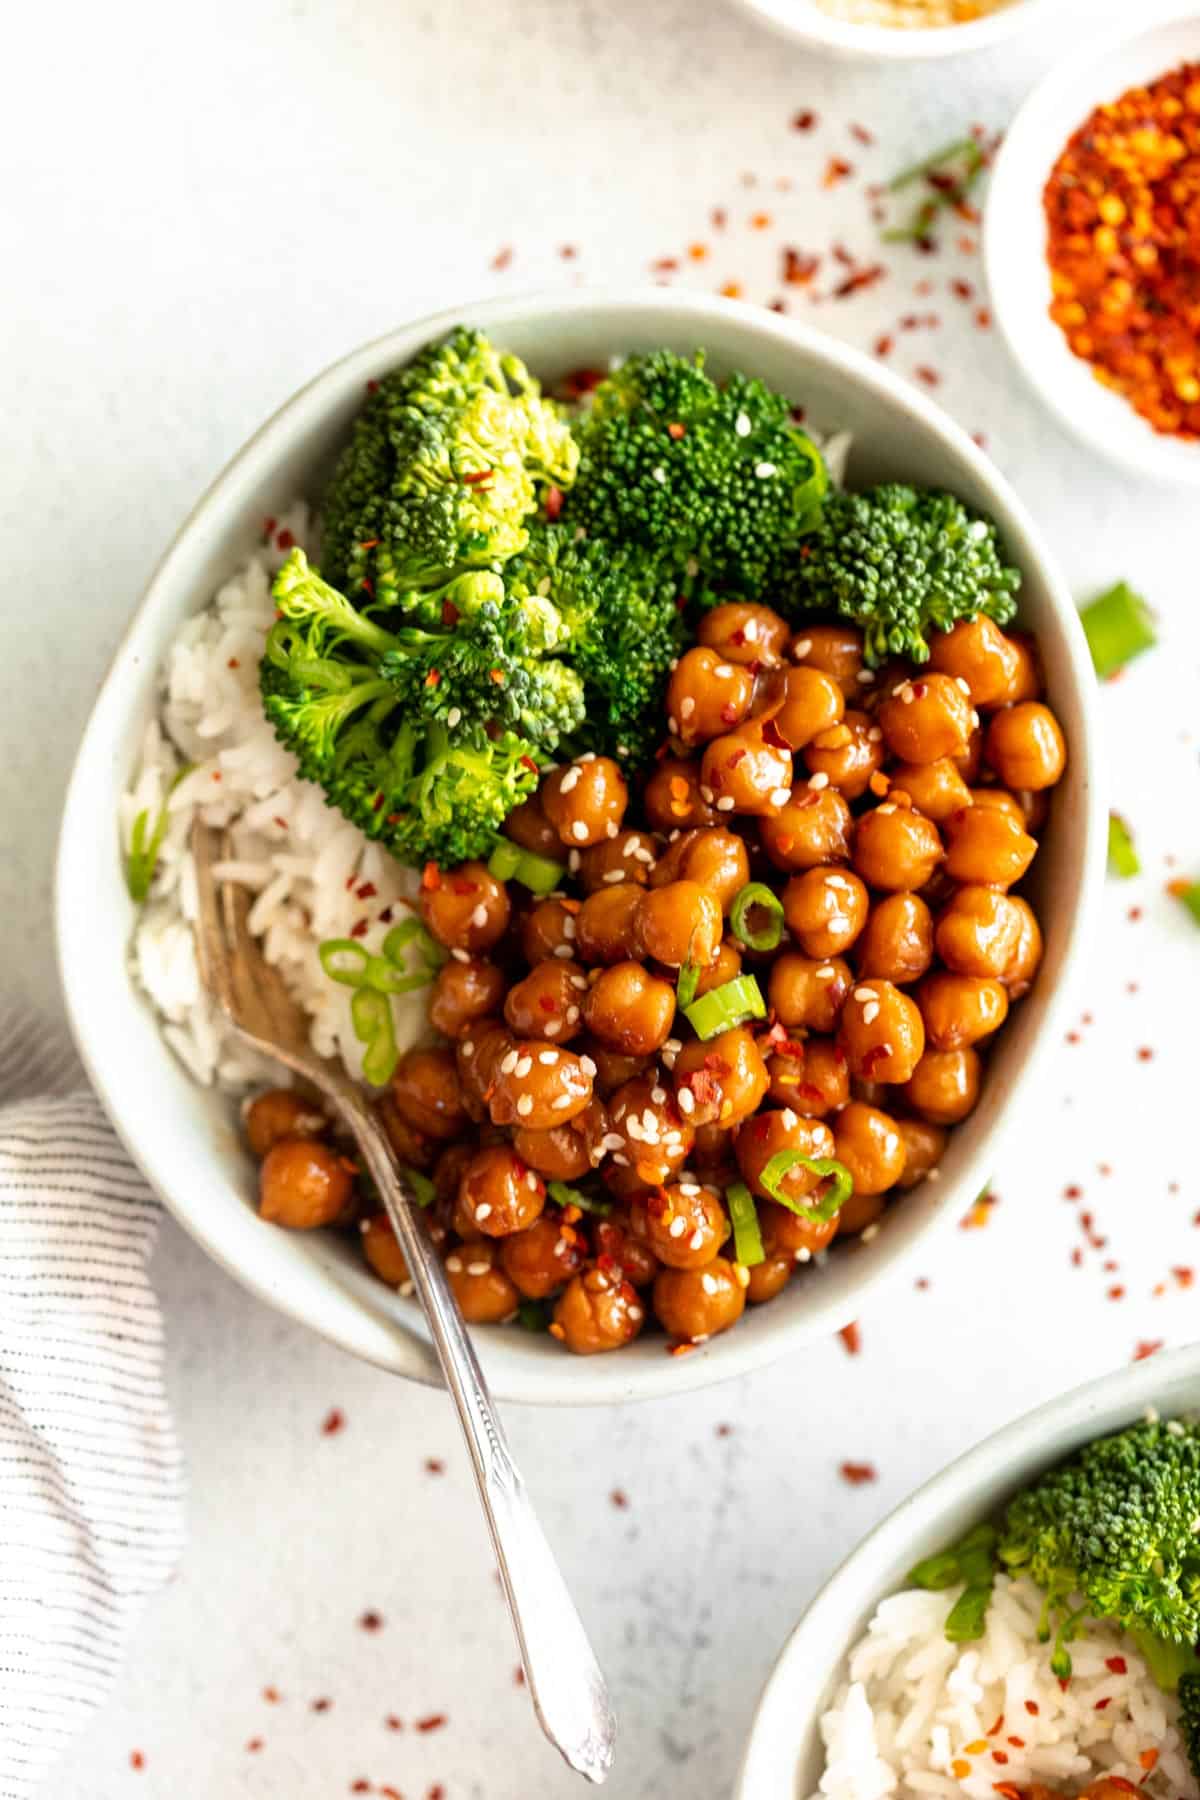
My favorite way to have this vegan chickpea recipe is with my instant pot rice, steamed broccoli, and scallions or chives to top it all off!
It’s also delicious with quinoa, bok choy, sautéed spinach and a sprinkle of sesame seeds on top. You really can’t go wrong. This sesame sauce can also be reused for chicken, salmon, tofu, cauliflower, or any other protein. You can even add it to my peanut noodles, or sesame noodles with extra veggies of choice. Make it into a stir fry with tons of veggies, rice, quinoa, cauliflower rice, or anything you have on hand.
How to store
Once prepared, this vegan chickpea recipe will keep in the fridge for about 3 days. To reheat, add it to a pan with a splash of veggie broth or oil so it gets nice and saucy.
Beans and legumes unfortunately don’t keep for too long, you’ll notice it’s gone back when it starts to smell!

Are chickpeas gluten free?
Chickpeas, also known as garbanzo beans, are a legume that are naturally gluten free, and so is this whole recipe! Be sure to use tamari (gluten free soy sauce) if you have a gluten intolerance or allergy. I suggest low sodium tamari so this recipe isn’t too salty! The full strength stuff is just a bit too much in my opinion.
What sweetener is best for sesame sauce?
This sesame sauce does need a bit of sweetener to really round out the flavors. I usually opt for maple syrup or honey, but you can also try brown sugar or coconut sugar.
If you want a lower sugar option, you can cut back to 1-2 tablespoons in place of 3. I don’t recommend cutting out the sugar entirely because it does help make the sauce sticky and really balances the flavors of the dish.
Try these recipes next!
- Mushroom Broccoli Rigatoni
- Easy Dairy Free Pesto
- Sesame Tofu
- Sweet Potato Falafel Bowls
- Spicy Ramen Noodles
- Lemon Chickpea Soup
- Spicy Chili Garlic Noodles
Follow along on on instagram and subscribe to my email list for more recipes and updates. Leave a comment and rating below if you try this recipe and let us know how it turns out!

Vegan Sticky Sesame Chickpeas
by: claire cary
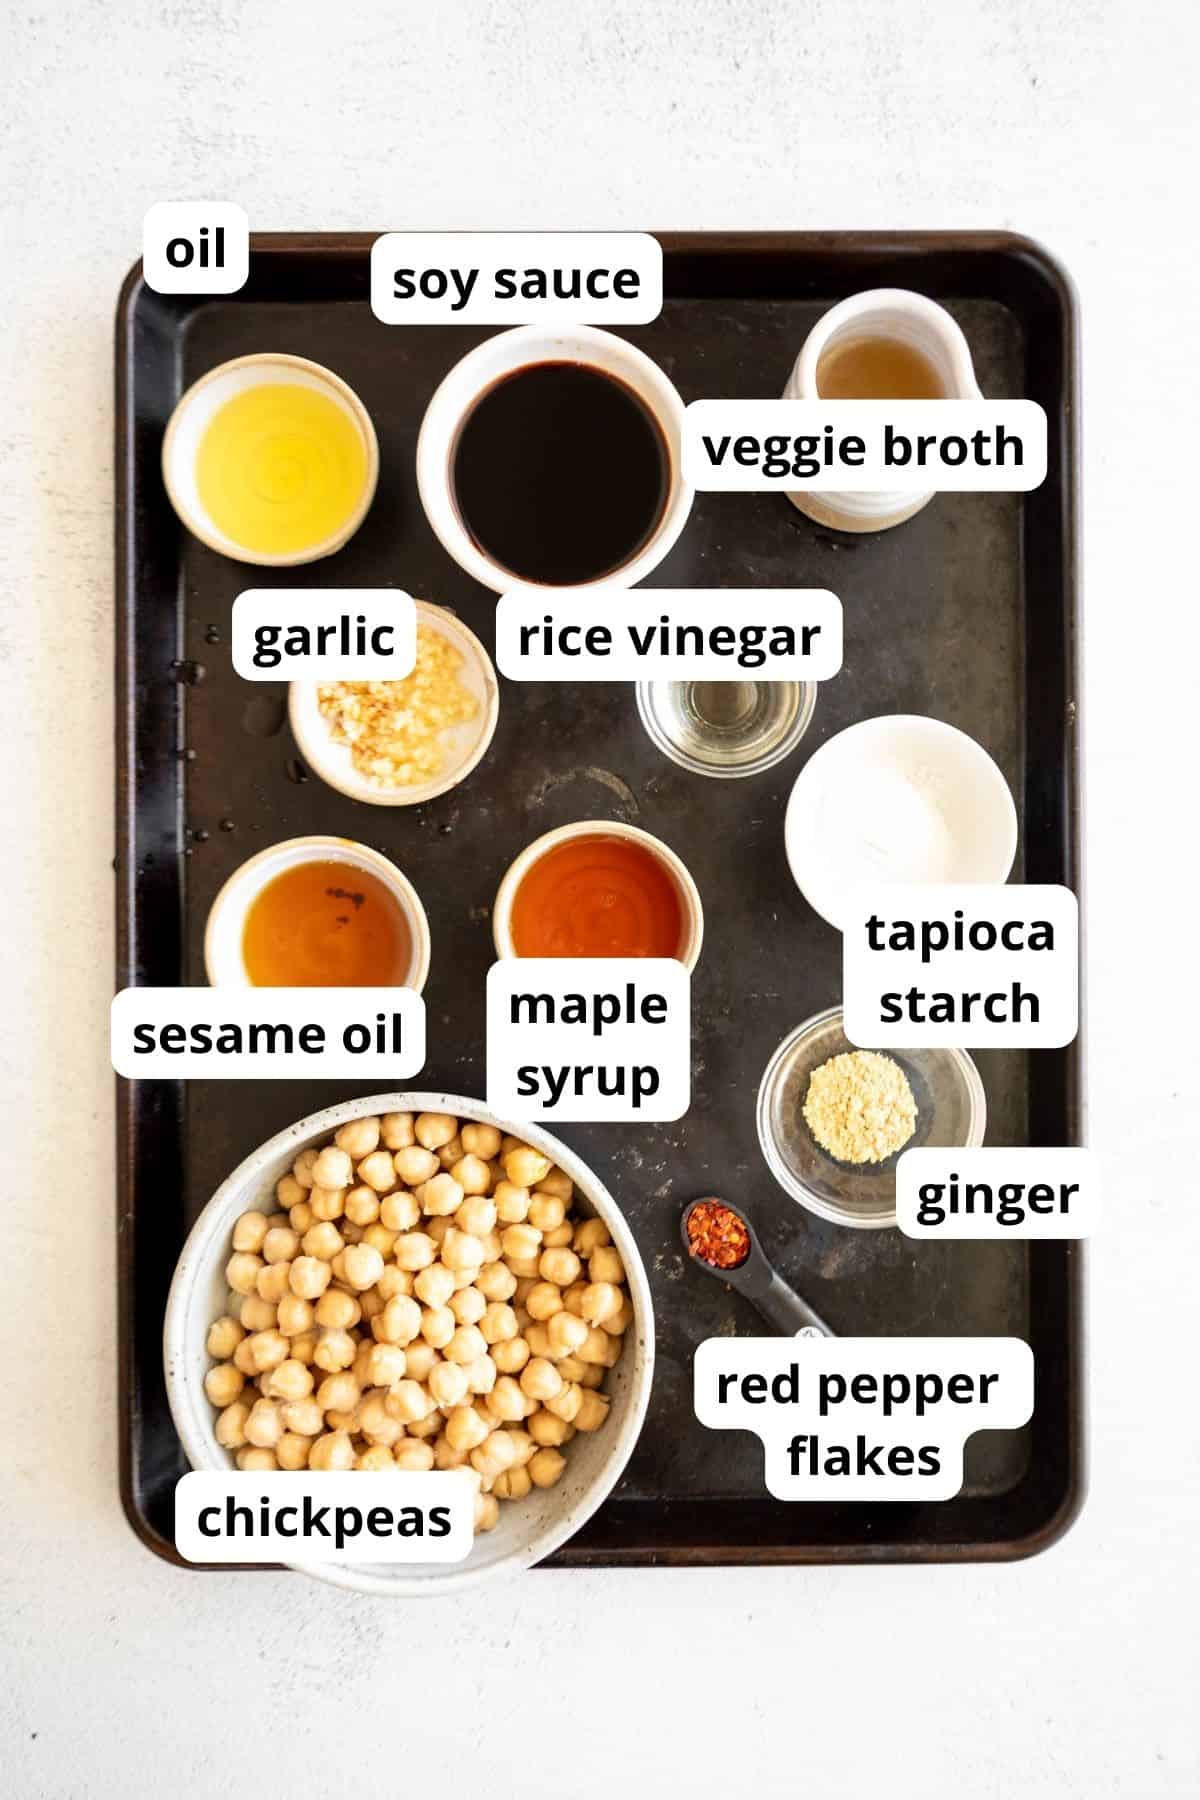
Ingredients
- 2 15 ounce cans chickpeas
- 3-4 large cloves garlic
- 1 tablespoon avocado oil or olive oil
- 1.5 tablespoons toasted sesame oil
- ⅓ cup low sodium tamari or soy sauce
- 3 tablespoons maple syrup
- 2 teaspoons rice vinegar
- ½ teaspoon ground ginger
- 1 tablespoon tapioca starch
- ¼ cup low sodium vegetable broth or water divided
- ½ teaspoon red pepper flakes optional for spice
Instructions
- Drain and rinse the chickpeas and set aside.
- Mince the garlic and add to a sauté pan with the avocado or olive oil.
- Sauté over medium for a few minutes or until the garlic is very fragrant.
- In a small bowl combine the tapioca starch and half of the vegetable broth and mix until no clumps remain. Set aside.
- To the sauté pan with the garlic, add in the low sodium soy sauce, sesame oil, maple syrup, rice vinegar, ginger, and the additional 2 tbsp of vegetable broth. Whisk together.
- Add in the tapioca mixture and stir.
- When bubbles start to form, add in the chickpeas and stir until they are well coated.
- Cook on low heat until the sauce becomes thick and sticky, about 5 minutes. stirring occasionally.
- Remove from the heat and let sit to allow the chickpeas to absorb all of the flavor.
- Serve with steamed broccoli, quinoa, or rice.
Notes

Comments
-
Stumbled upon this recipe through Pinterest and so happy I did!! Absolutely delish – even my 8 year old was a fan. Made with brown jasmine rice and steamed broccoli.

-
Yay! Nothing is better than when kids approve of my recipes 🙂 So happy it was a hit!
-
-
I made this recipe this week and it is DELICIOUS!! I can’t wait to try more of your recipes, thank you!
-
Thanks Katy! Can’t wait to hear what you think of some others 🙂
-
-
Yum!!! Just made this for dinner for me and my dad, easy to make and absolutely delicious! I’m trying to have more vegetarian days and this will certainly feature lots!! I already want to eat it again tomorrow!!
-
Right?! It’s almost addicting, but in the best way! I’m so happy you liked it and thank you for the feedback 🙂
-
-
My family loved this recipe! I used 3 cans of chickpeas and doubled the sauce ingredients. We like lots of sauce! Will definitely make this again.
-
More sauce is always a good idea! Thanks for the feedback Andrea!
-
I had these over a salad – so delicious
-
-
-
This recipe is fantastic! All four of my kids loved it, and it was so quick to make! Thank you so much for such an awesome recipe!
-
Thank you for the feedback, Brooke! I’m so happy everyone loved it. I grew up in a family with 4 kids and it was a rare day when we all liked the same meal!
-
-
This is amazing. My son who tends to eat with his eyes, loved it and gobbled it up. I love making vegan meals to change it up (and health reasons). This will definitely be made again!
-
Thanks for the feedback Amber! I always love when kids approve of my recipes 🙂
-
-
I love this recipe, delicious
-
So glad you love it! Thanks for the feedback 🙂
-
-
This looks absolutely delicious! Would it still be yummy if I cut the maple syrup in half?
-
Yes! I’ve made these with only a splash of maple syrup and they are still delicious!
-
-
Thanks for sharing! Does it keep long?
-
Should be good for about 3-5 days! Just heat them up with a touch of veggie broth so the chickpeas don’t dry out 🙂
-
-
This looks so good! What a great lunch meal prep for the week!
-
Thanks Suzanna! My favorite meal prep recipe!
-
Recipe is quick and easy, which is nice. I do think that the sauce leaves something to be desired though. I would add more garlic and ginger next time and try substituting the maple syrup for honey. It just lacked some defining flavour for me and the soy sauce really dominates the flavour profile. That being said, I would definately make again.

-
I’m with you, Jonny. I added 1 Tbsp of balsamic vinegar and 1/2 tsp of Aleppo pepper flakes which woke it up for me. And I’ll do 4 cloves of garlic instead of 3 next time. Love how little time is needed!
-
-
-
My “if it doesn’t have meat it’s not a meal” husband called this recipe a “keeper” and had a second full serving! I call that a win! My kids enjoyed it too. Thanks!!!
-
I love that!! So glad it was enjoyed by all! 🙂
-
-
My new favorite recipe. Its so yummy!
-
I’m so happy to hear that! Thanks Jen 🙂
-
-
I have made this weekly for the last three weeks because when I first did my husband said, “We MUST keep this in the dinner rotation for every single week!”
It is absolutely delicious. Husband AND kids all approved!
-
I’m SO happy to hear that Renee! I love when the whole family approves of my recipes! Thanks for the feedback 🙂
-
-
I made this for dinner tonight and it was awesome! My husband loved it too. Thank you so much. I can’t wait to make it for my adult children.
-
I’m so glad to hear that, Cheri! Thanks for your feedback and I hope your children love it too!
-
-
Hi. I’m making this tonight for dinner. Have you tried freezing it?
-
I haven’t, and I’m not so sure how well that would turn out. Hope you love the recipe 🙂
-
leave a comment and rating